
Relevant Products
Client-side authentication is available in pro print pro mfp
To create a custom application in Microsoft Entra ID, perform the following steps:
-
Log in to the Azure portal and click Manage Microsoft Entra ID.
-
Navigate to Enterprise Applications > All applications.
-
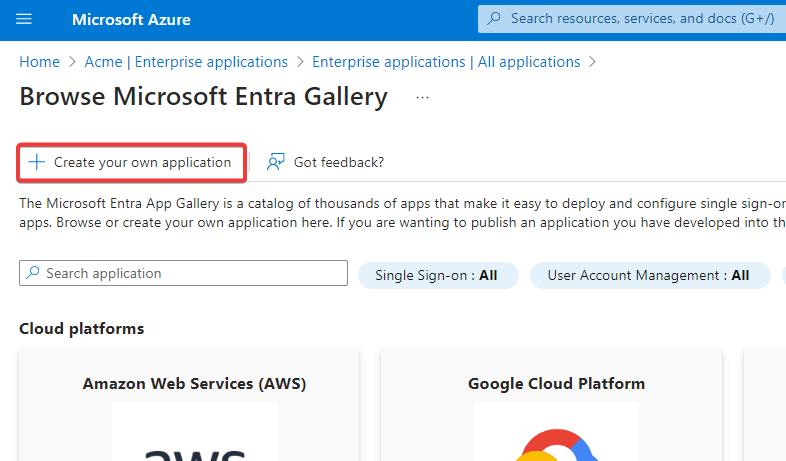
Click +New application and then click Create your own application.
-
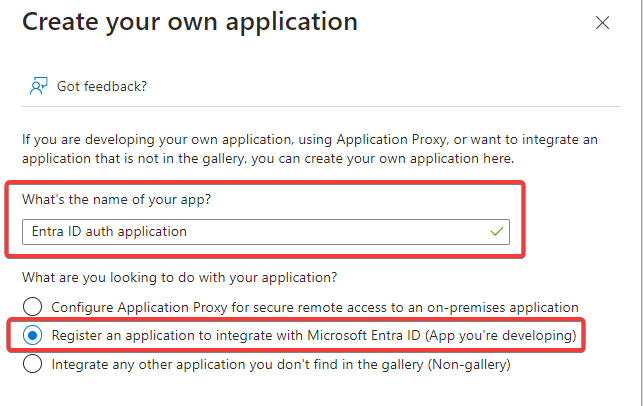
Name your application, select Register an application to integrate with Microsoft Entra ID (App you're developing), and click Create.
-
On the following screen, fill in the following values:
-
Name – Represents the name of the application.
-
In Supported account types, select Accounts in any organizational directory (Any Microsoft Entra ID tenant – Multitenant).
-
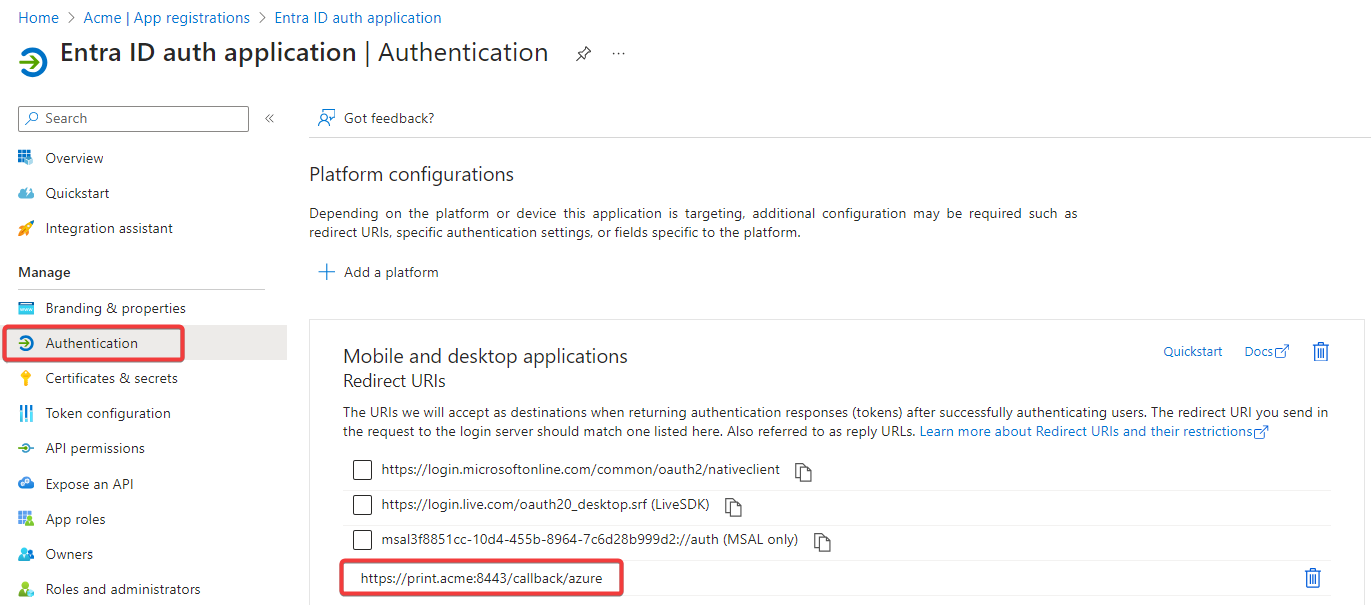
In Redirect URI, select Public client/native (mobile & desktop) and enter the URI. The field value should match this pattern:
https://<domain:port>/callback/azure. The domain and the port should be the same as the ones of the SAFEQ Cloud website URL. For example, if the SAFEQ Cloud web URL ishttps://print.acme.com:8443,the value should be:https://print.acme.com:8443/callback/azure.In environments with reverse proxy infrastructure, do not specify the port number in the URL, meaning the default HTTPS port 443 will be used. Example:
https://print.acme.com/callback/azure.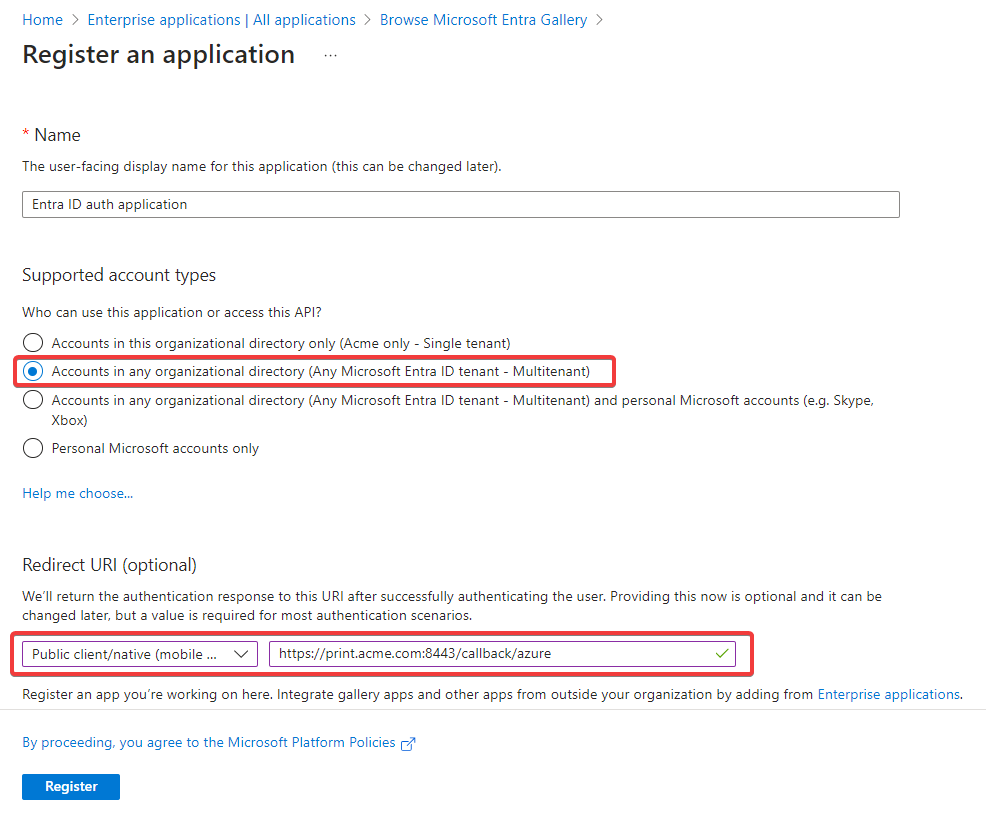
-
-
Click Register.
-
Navigate back to Microsoft Entra ID > Enterprise Applications > All applications.
-
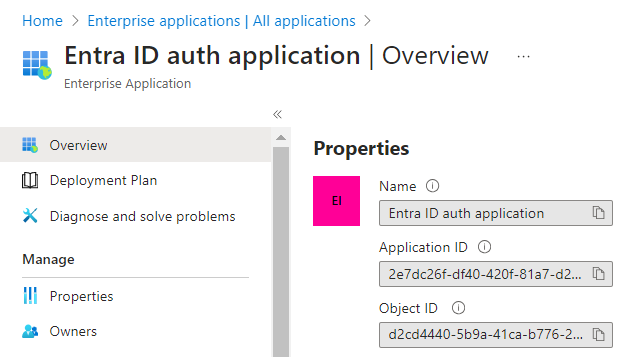
Click your application (click refresh if it does not appear at first) to open the application details to copy the Application (client) ID.
-
Log in to the SAFEQ Cloud Web UI and go to Users.
-
On the Authentication providers tab, click Add.
-
A new dialog window will be displayed.
-
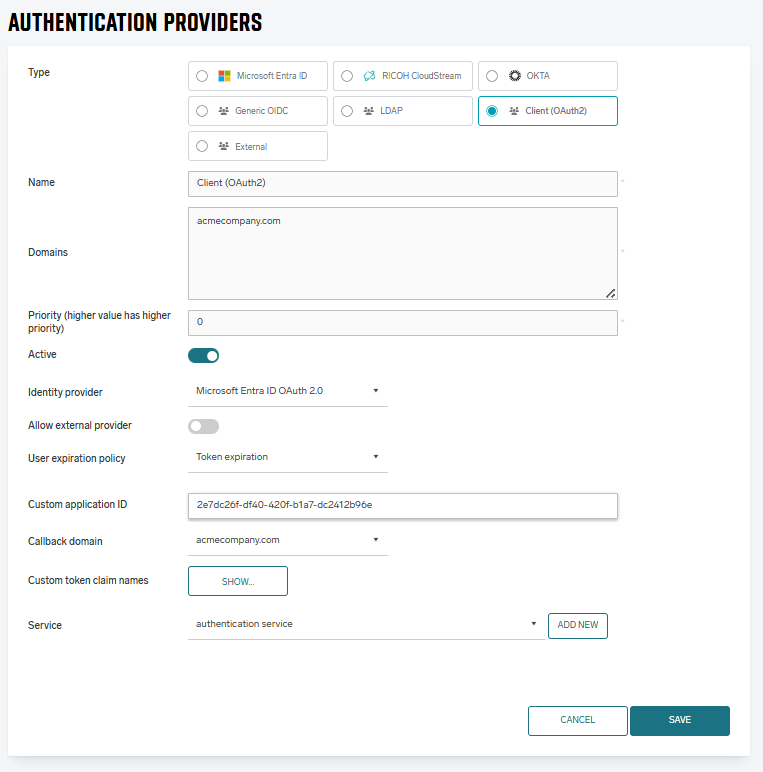
In Type, select Client (OAuth2).
-
In Name, enter the name of the authentication service. Should be prefilled with the selected Type.
-
In Domains, enter your Entra ID domain (Example: the "acme.com" part of john.doe@acme.com).
-
In Identity provider, select Microsoft Azure OAuth 2.0.
-
In Custom application ID, enter the value of the Application (client) ID from the newly created application.
-
In the Callback domain for custom application drop-down menu, select the domain that matches the one from the Redirect URIs that is already added in Azure application. The pre-selected value represents the domain from the SAFEQ Cloud Web URL. For adding or updating the Entra Redirect URIs, go back to the Entra ID homepage in Azure portal and click App registrations. Click your application and then click Authentication.
-
In Services, select authentication service.
-
-
Click Save.
-
Click Sync groups.
-
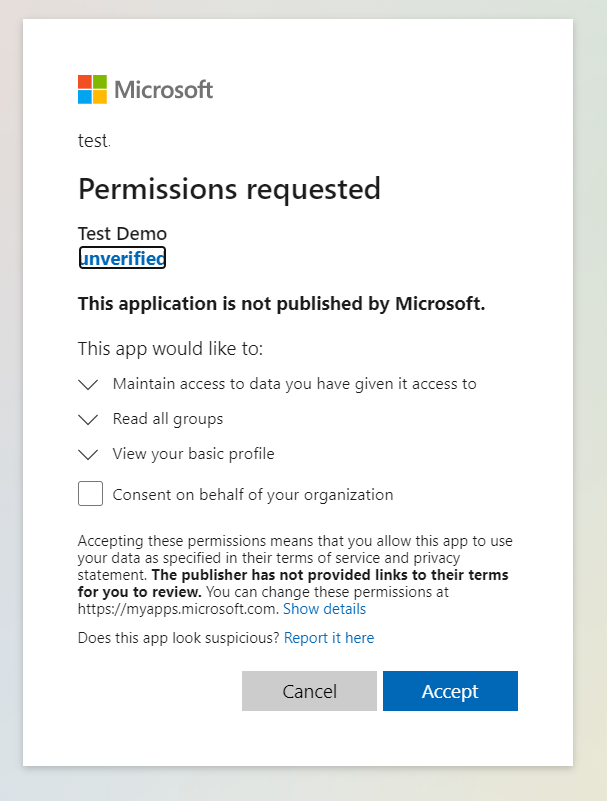
After that, the end users must accept all the required permissions.
-
When the users accept the permissions, the sync groups operation is done. If you perform the synchronization for the same account/application again, the users will not be required to grant permissions again.
-
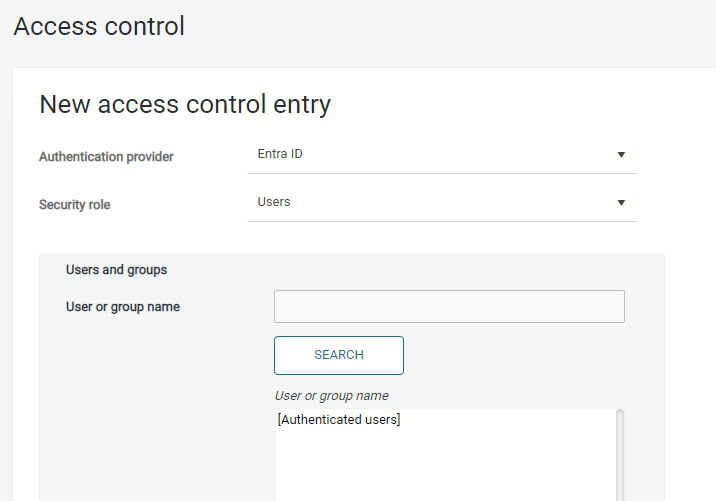
Go to Users page and to Access control tab.
-
Select your newly created authentication provider and click SEARCH. Then, the default group Authenticated Users and the Entra groups are visible. You can use all these groups in access controls to enable permissions for authenticated users.