Relevant Products
Scan connectors are available in BREEZE MFD pro mfp
Creating and editing a connector
-
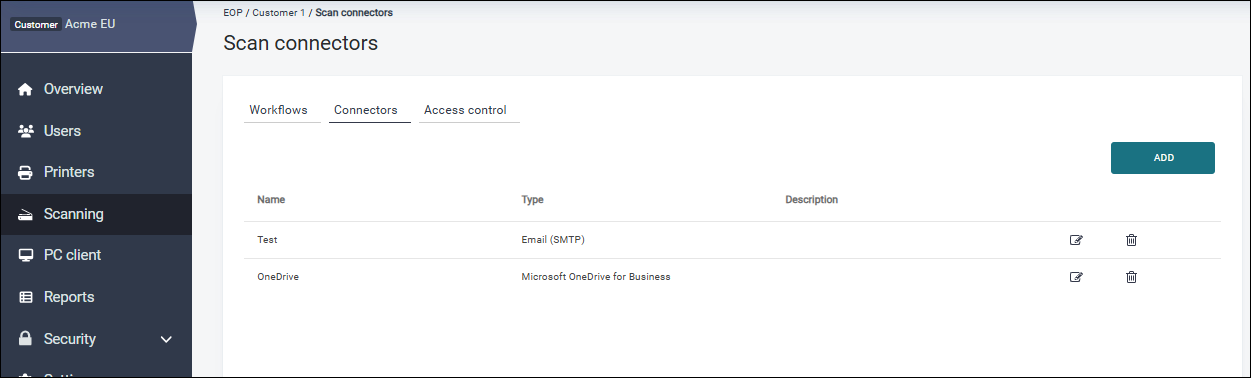
To create a connector or edit an existing connector, log in to SAFEQ Cloud Web UI and go to Scanning > Connectors.
Because connectors are required to be able to create workflows, they are available behind the same permission set.
The user doing this configuration must have the "ViewScanWorkflow" permission to access the section. Additionally, permissions "CreateScanWorkflow", "ModifyScanWorkflow", and "DeleteScanWorkflow" are required for their respective actions to be enabled.
-
To add a connector, click Add. To modify a connector, click the edit icon. The form is the same for adding and editing a connector.
-
Fill in the name and description of the connector.
-
In Connector type, select the type. Further configuration fields specific to your selected connector type will be displayed.
The Email(SMTP) connector has no configurable fields.

-
Fill in the Failure behavior fields. These fields that control the behavior of the Workflow Processing System in case of job processing failure.

-
(Optional) Enable delivery restrictions and define the maximum size of a scan job that can be delivered when using the connector.

If you wish to set up a failure notification email, do so in the Triggers section. See Rules - triggers and automation.
Deleting a connector
You can delete a connector by clicking the delete icon next to the connector by clicking Delete in the connector detail.
To do this, you must have the DeleteScanWorkflow permission.
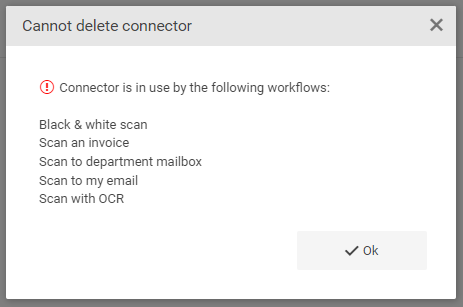
You cannot delete a connector that is used by one or more workflows. You will see an error message. The message displays a maximum of 10 workflows.