
Relevant Products
Create Print queues with specific output options are available in BREEZE MFD PRO PRINT PRO MFD
There may be cases where a customer would like to provide specific Print queues for their users, which force specific print output settings, for example, “Roaming Print Duplex Letterhead” which should force Duplex printing and set the output tray to tray3, because that paper tray always contains the company letterhead.
This is easily achieved with the YSoft SAFEQ Cloud Triggers system, which works simply on conditions “if this is true then do that”.
Below is an example of how you could configure a Print queue and a Trigger to force any print job coming to this Print queue, to always be Tray3 and Duplex. This can be customized for virtually all print output attributes, such as booklet, color/bw, hole punching, and stapling.
Create a Print queue with a name such as “Roaming Print Duplex Letterhead”. It doesn’t matter if this is a Pull or a Push queue.
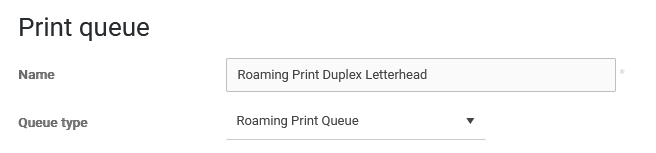
Remember, this could work on an existing Pull print queue or a Direct print queue as well, but triggered on a user group membership or similar. There are numerous ways a trigger can be configured. Ask support for help if you need it!
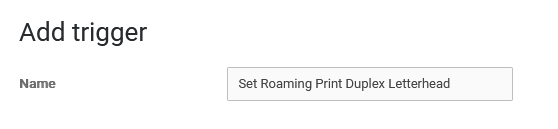
Next, go to Triggers and create a new Trigger. Name it something recognizable, such as “Set Roaming Print Duplex Letterhead”.
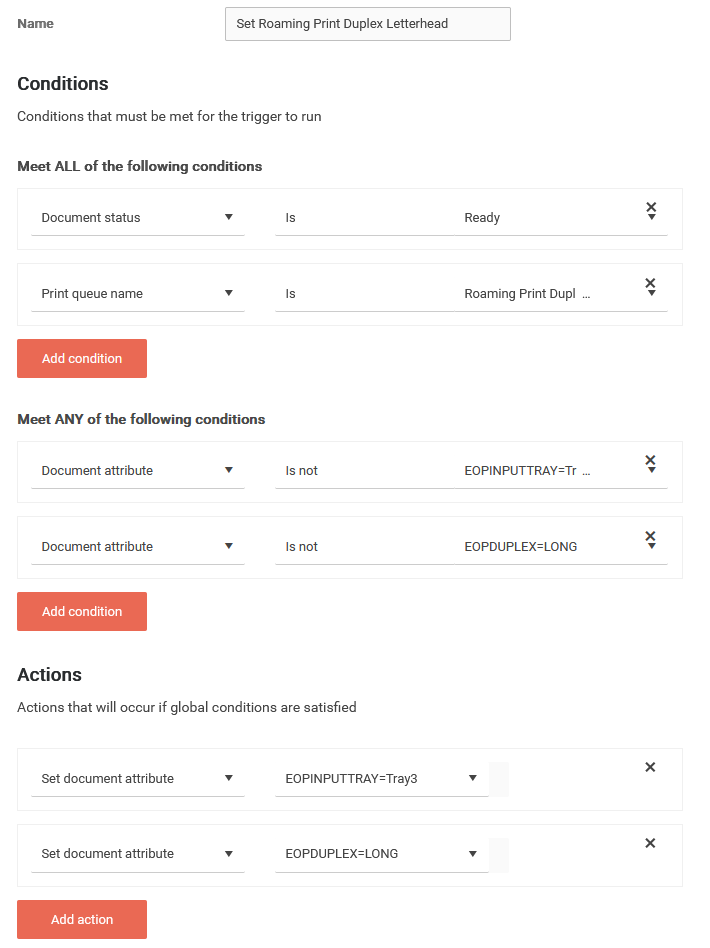
Set the first conditions so we fire this trigger only when a job has been received successfully (no point in spending time on triggers if it’s a failed job), and when the Print queue name matches the queue name we created.
Document status is Ready
Print queue name is Set Roaming Print Duplex Letterhead
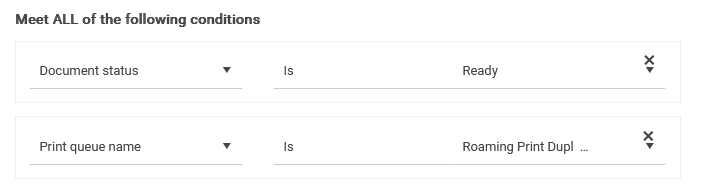
These two conditions should always be true.
Next, we create conditions that ensure we only run the trigger once (without these, the trigger would fire indefinitely):
Document attribute is not EOPINPUTTRAY=Tray3
Document attribute is not EOPDUPLEX=LONG
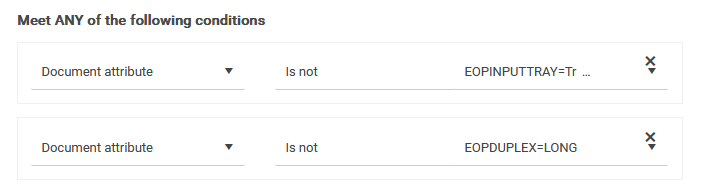
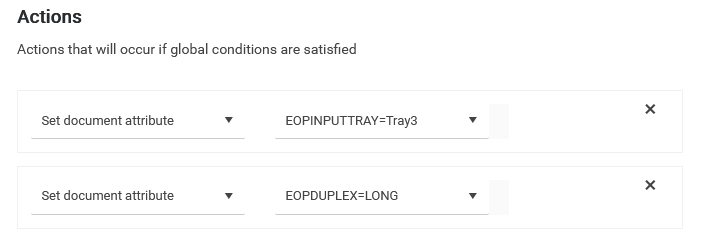
If any of these are true, it means at least one of these things is not set on the job, so create the actions to set these document attributes:
Set document attribute EOPINPUTTRAY=Tray3
Set document attribute EOPDUPLEX=LONG
Now our trigger is complete:
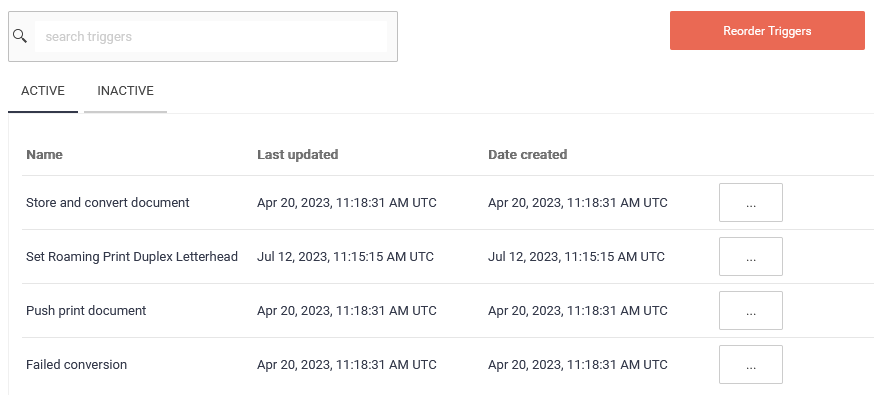
Save this trigger and move it after the Store and convert document trigger but before the Push print document trigger, so it doesn’t fire unnecessarily before the job is actually received and before the job is sent to a Pull print queue (if the Print queue was a Pull print queue).
Remember that we created our trigger above so it fired based on the Print queue name, but this could have been configured to trigger based on group membership if other attributes or conditions are set, etc. The possibilities are endless, reach out to support, if you need help configuring this.