Relevant Products
HP MFDs are available in BREEZE MFD PRO MFD
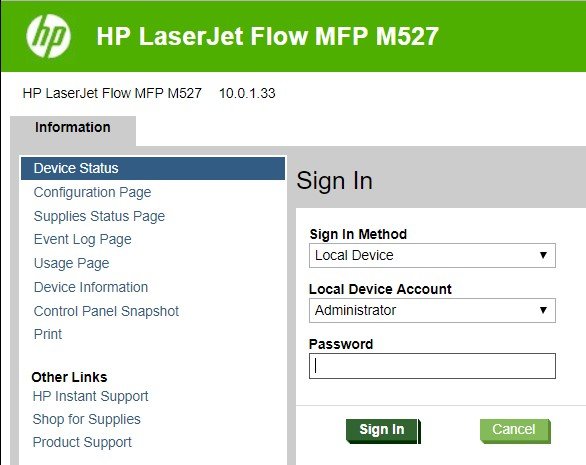
Open printers Webinterface in a browser and choose “Sign in” at the upper right corner.
Write “admin” under “Password” and choose “Sign in”.
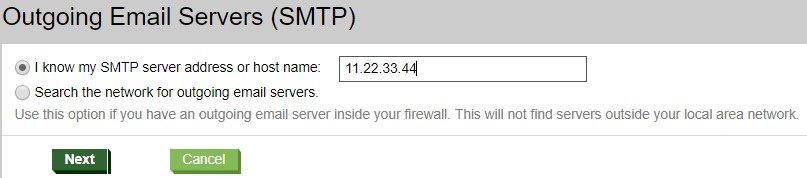
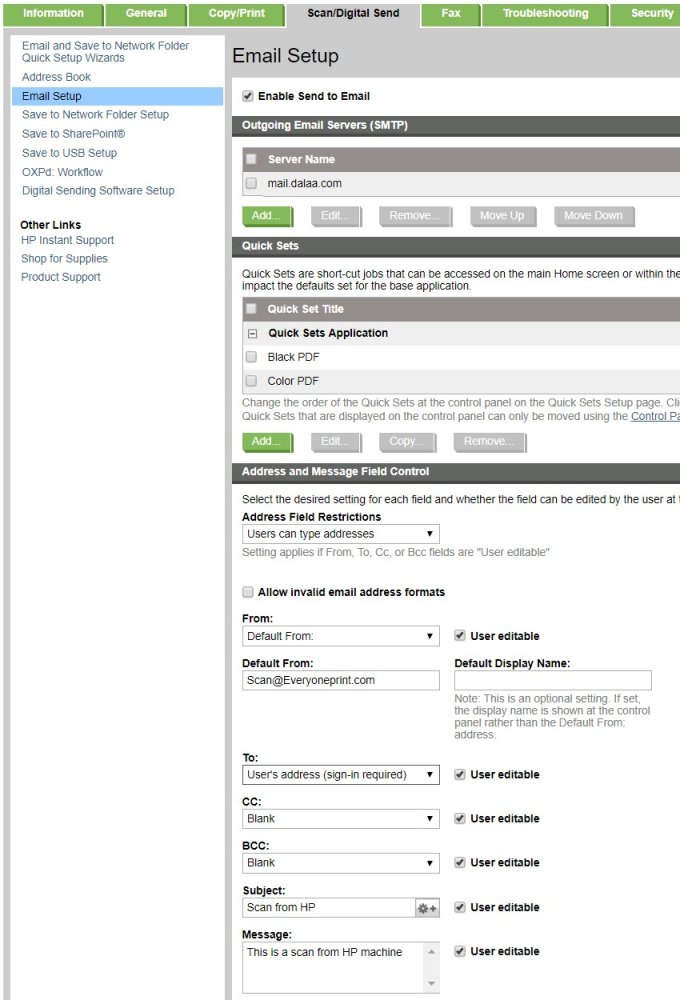
Under “Scan/Digital Send” choose “Email Setup” and choose “Add” under “outgoing Email Servers (SMTP).
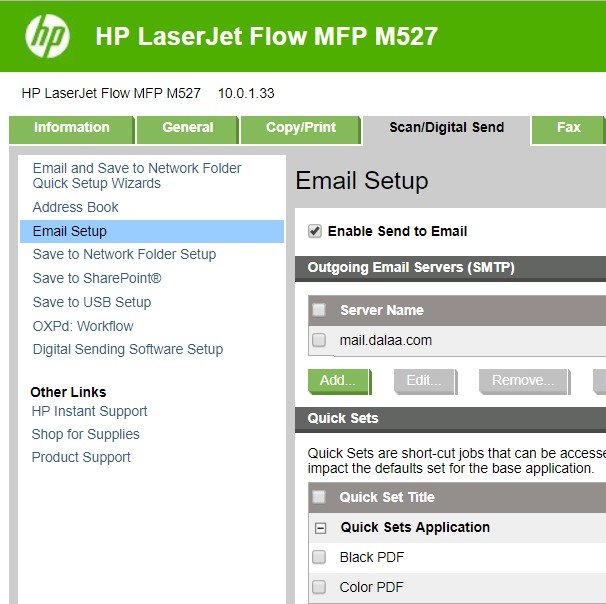
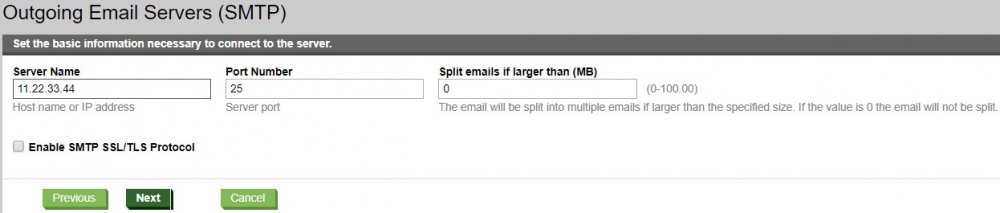
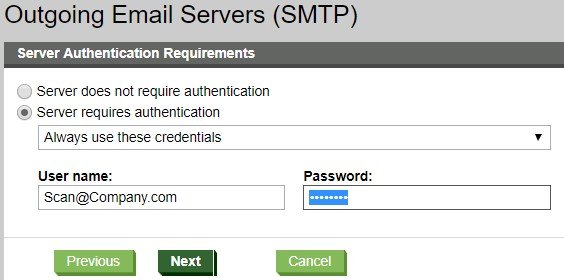
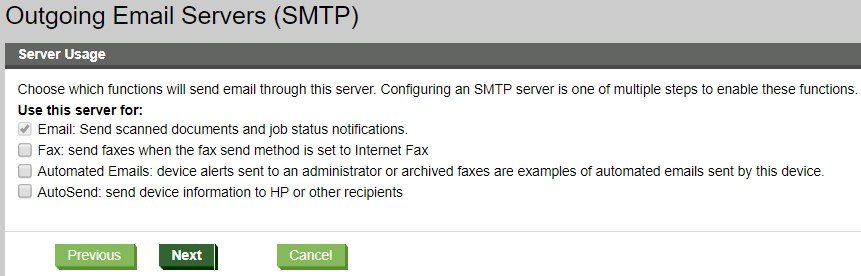
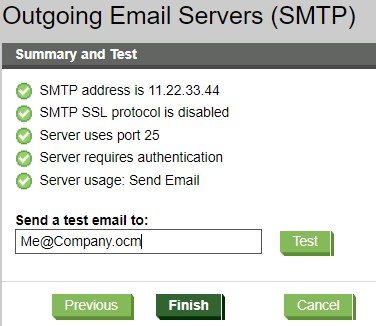
Follow the guide to set up Scan To Mail with proper information.
Be sure to remove the lower three markings.
Here you can send a testmail.
Under “Scan/Digital Send”, “Email Setup”, “Address and Message Field Control” you can choose wether the logged in user is set in as the default receiver of the scan, who should be in the “From”-field and which functions should be editable by logged in user.
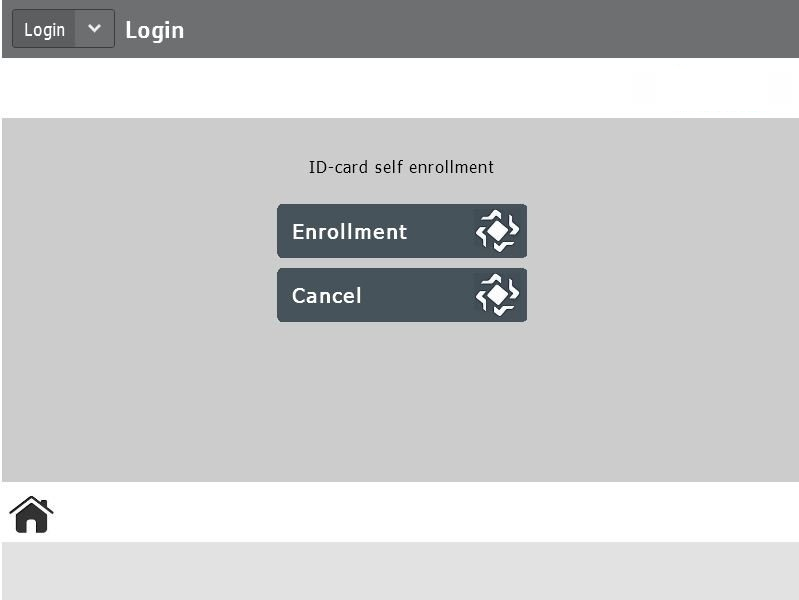
Card Self enrollment on the MFD:
Swipe your card and follow the guide for Self Enrollment.
Now your card are enrolled with your user and you can just swipe your card from now on.
Log in to the machine by card:
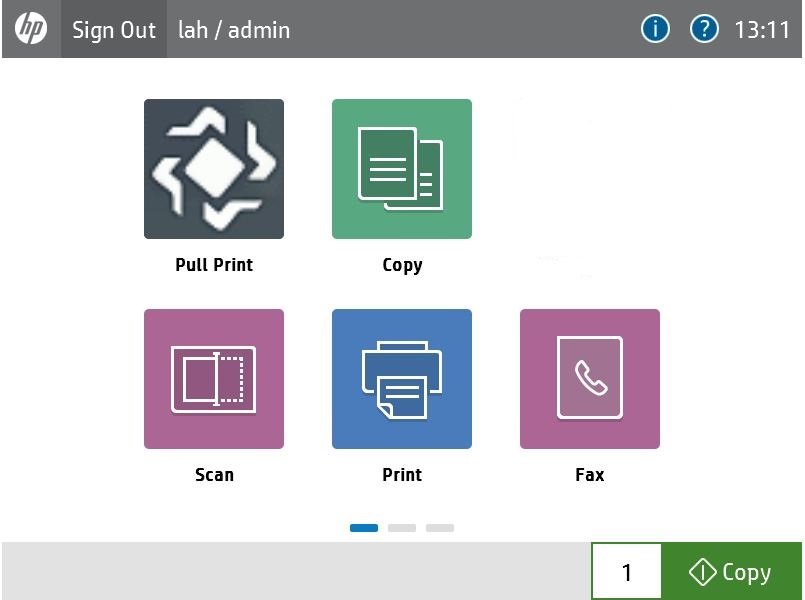
Just swipe the card and hit the function you want to use.
Swipe your card again to log out.
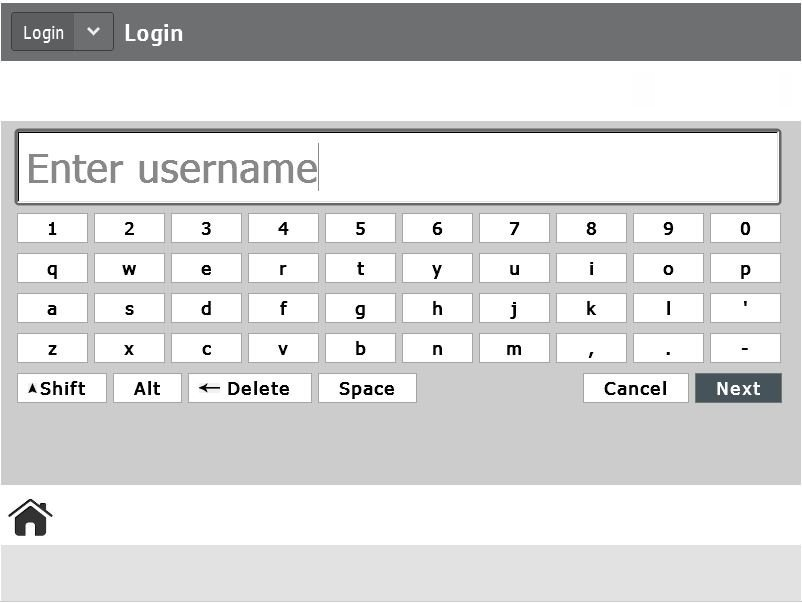
Manual login on the mfp:
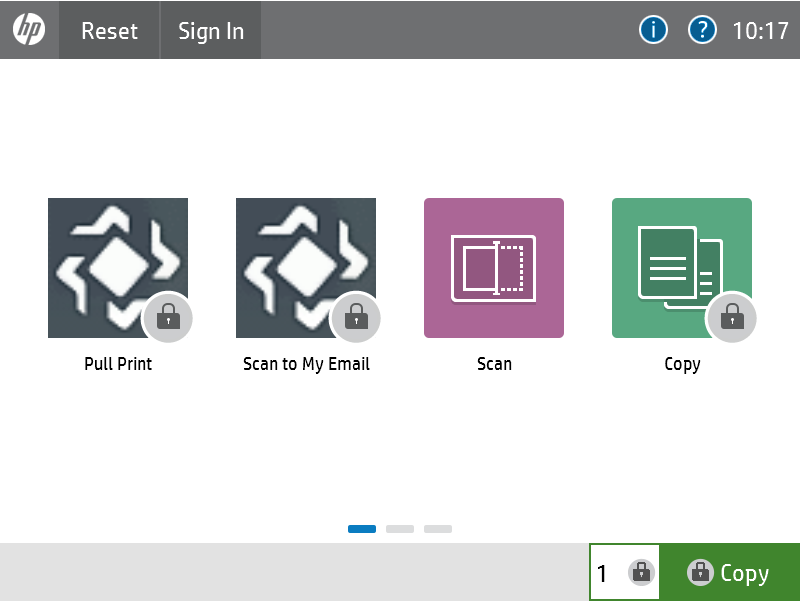
Hit the “Sign in”-icon
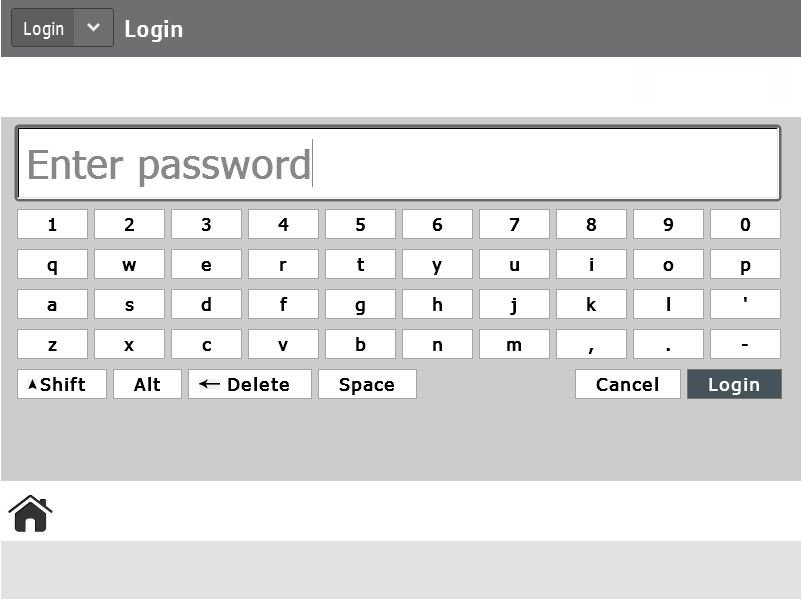
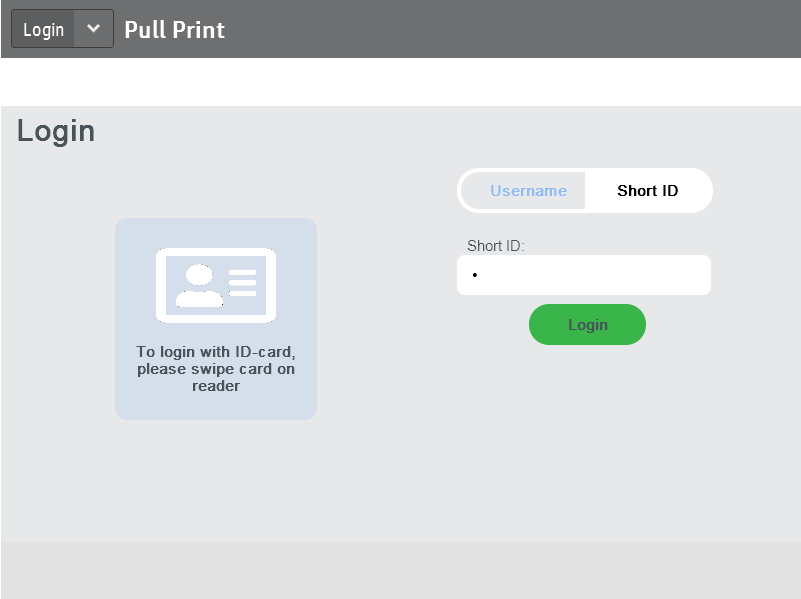
Authenticate using Username/Password or Short ID

You can now choose the function you want to use.

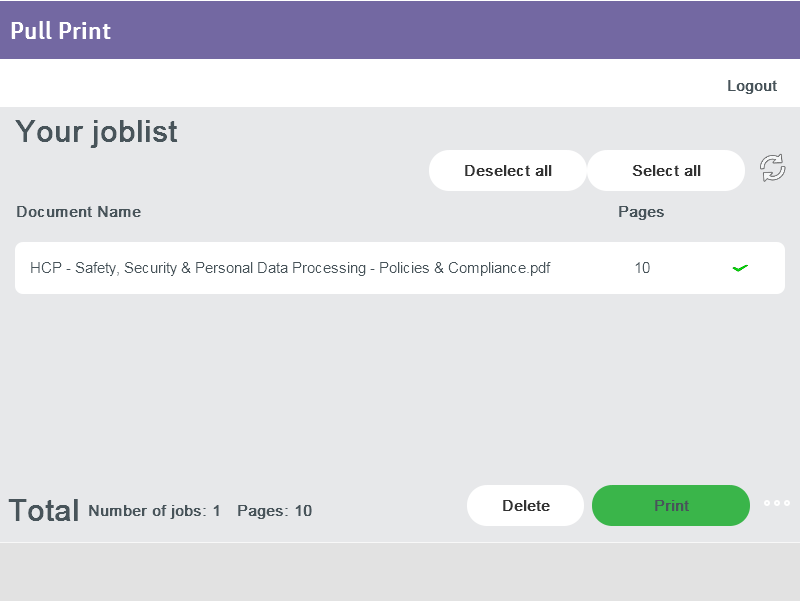
Releasing printjobs:
Log in on the mfp and choose “Pull Print” for releasing your printjobs.
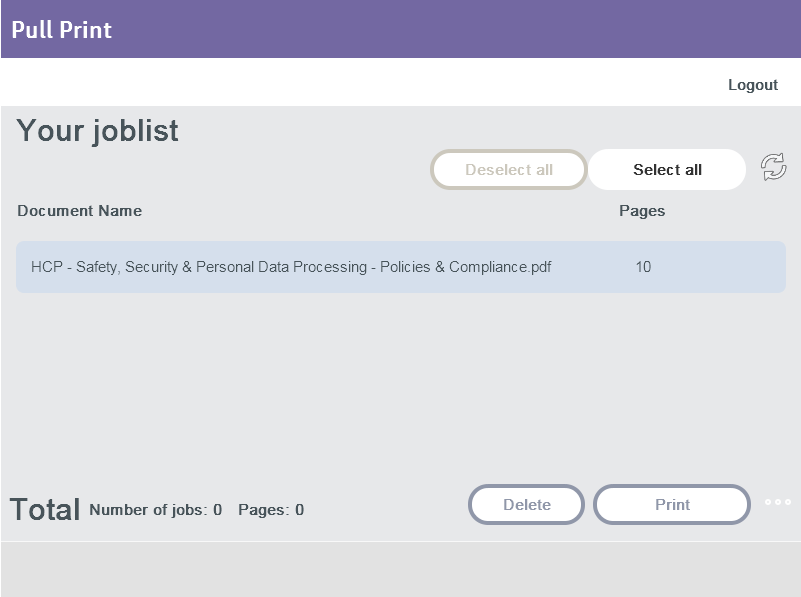
Select job(s) you want to release by touching the each job or using Select/Deselect all buttons
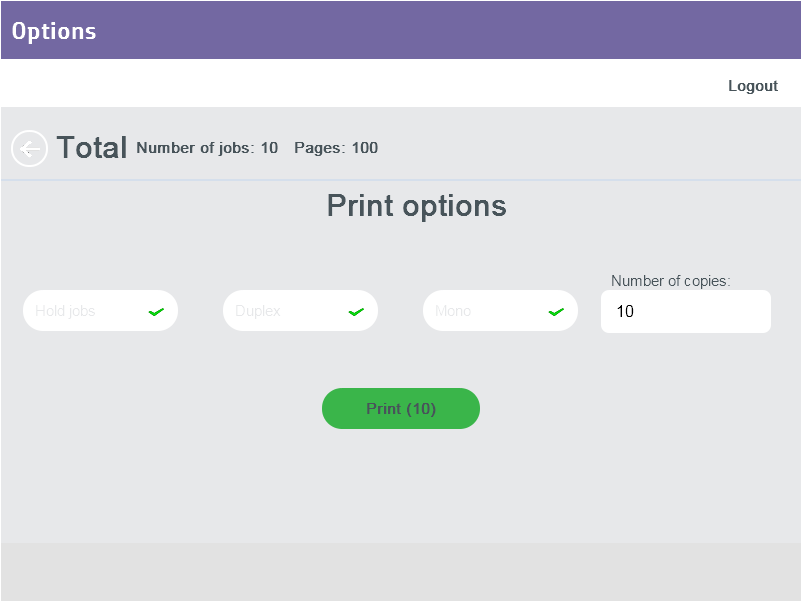
You can change options for your printjob by hitting the ellipsis in the bottom right corner.
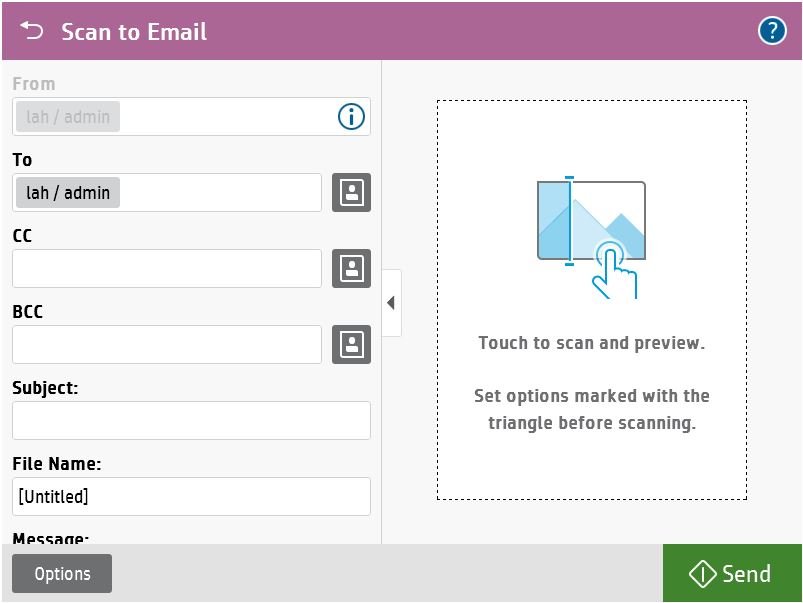
Using the native Scan-function:
Log in on the mfp and choose “Scan” in the mainscreen and then “Scan to Email”.

Choose “Options” for changing the options for your scan or just make your scan.
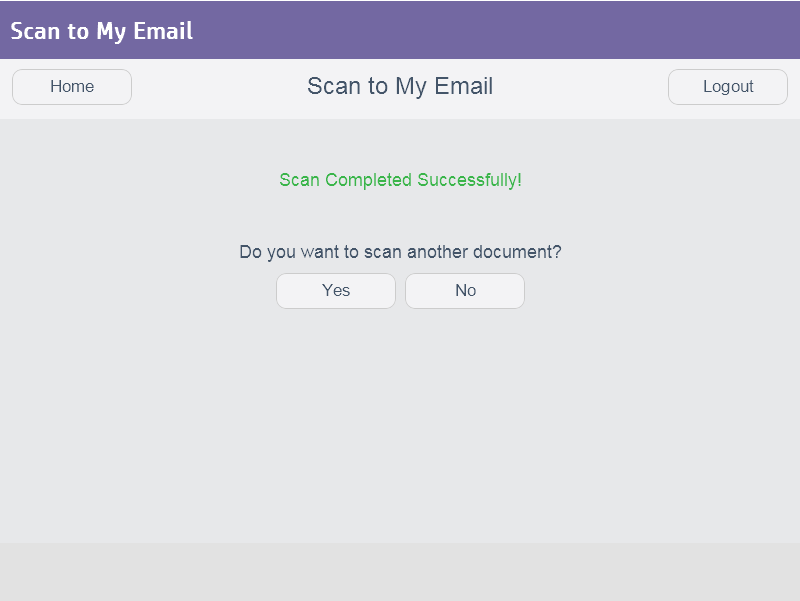
Using the Scan to My Email function:
Log in on the mfp and choose “Scan” in the mainscreen and then “Scan to My Email”.

You can change Scan Settings
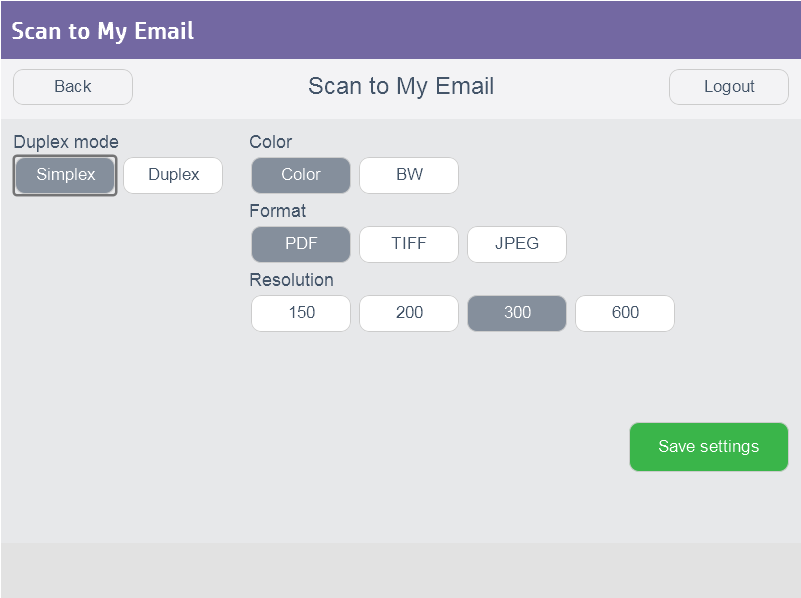
Start Scanning

You can scan another document at the end