Relevant Products
Messaging and Templates are available in BREEZE print BREEZE MFD pro print pro mfp
Messaging configuration enables YSoft SAFEQ Cloud to deliver messages, such as emails with scanned documents, to users.
A messaging configuration is added for each delivery mechanism, such as an email SMTP delivery. Furthermore, a messaging configuration is required for any SAFEQ Cloud feature that uses email.
Limitations
Note that SMTP Scan Workflows with the System default Messaging email connector used by Pure Cloud terminals utilize the globally available Amazon Simple Email Service (SES SMTP). This service has the following limitations:
-
The maximum size of the email message is 40MB (including images and other types of attachments).
-
Messages larger than 10MB are subject to bandwidth throttling. Depending on your sending rate, the service may be throttled for you to as low as 40MB/s. This means that your users would be able to send a 40MB message at the rate of 1 message per second or two 20MB messages per second. Therefore, the scan jobs may not be delivered if your scan workflows generate large files. For these cases, we recommend configuring your own SMTP provider.
Adding a new Messaging configuration
-
Click Add to add a new Messaging configuration.
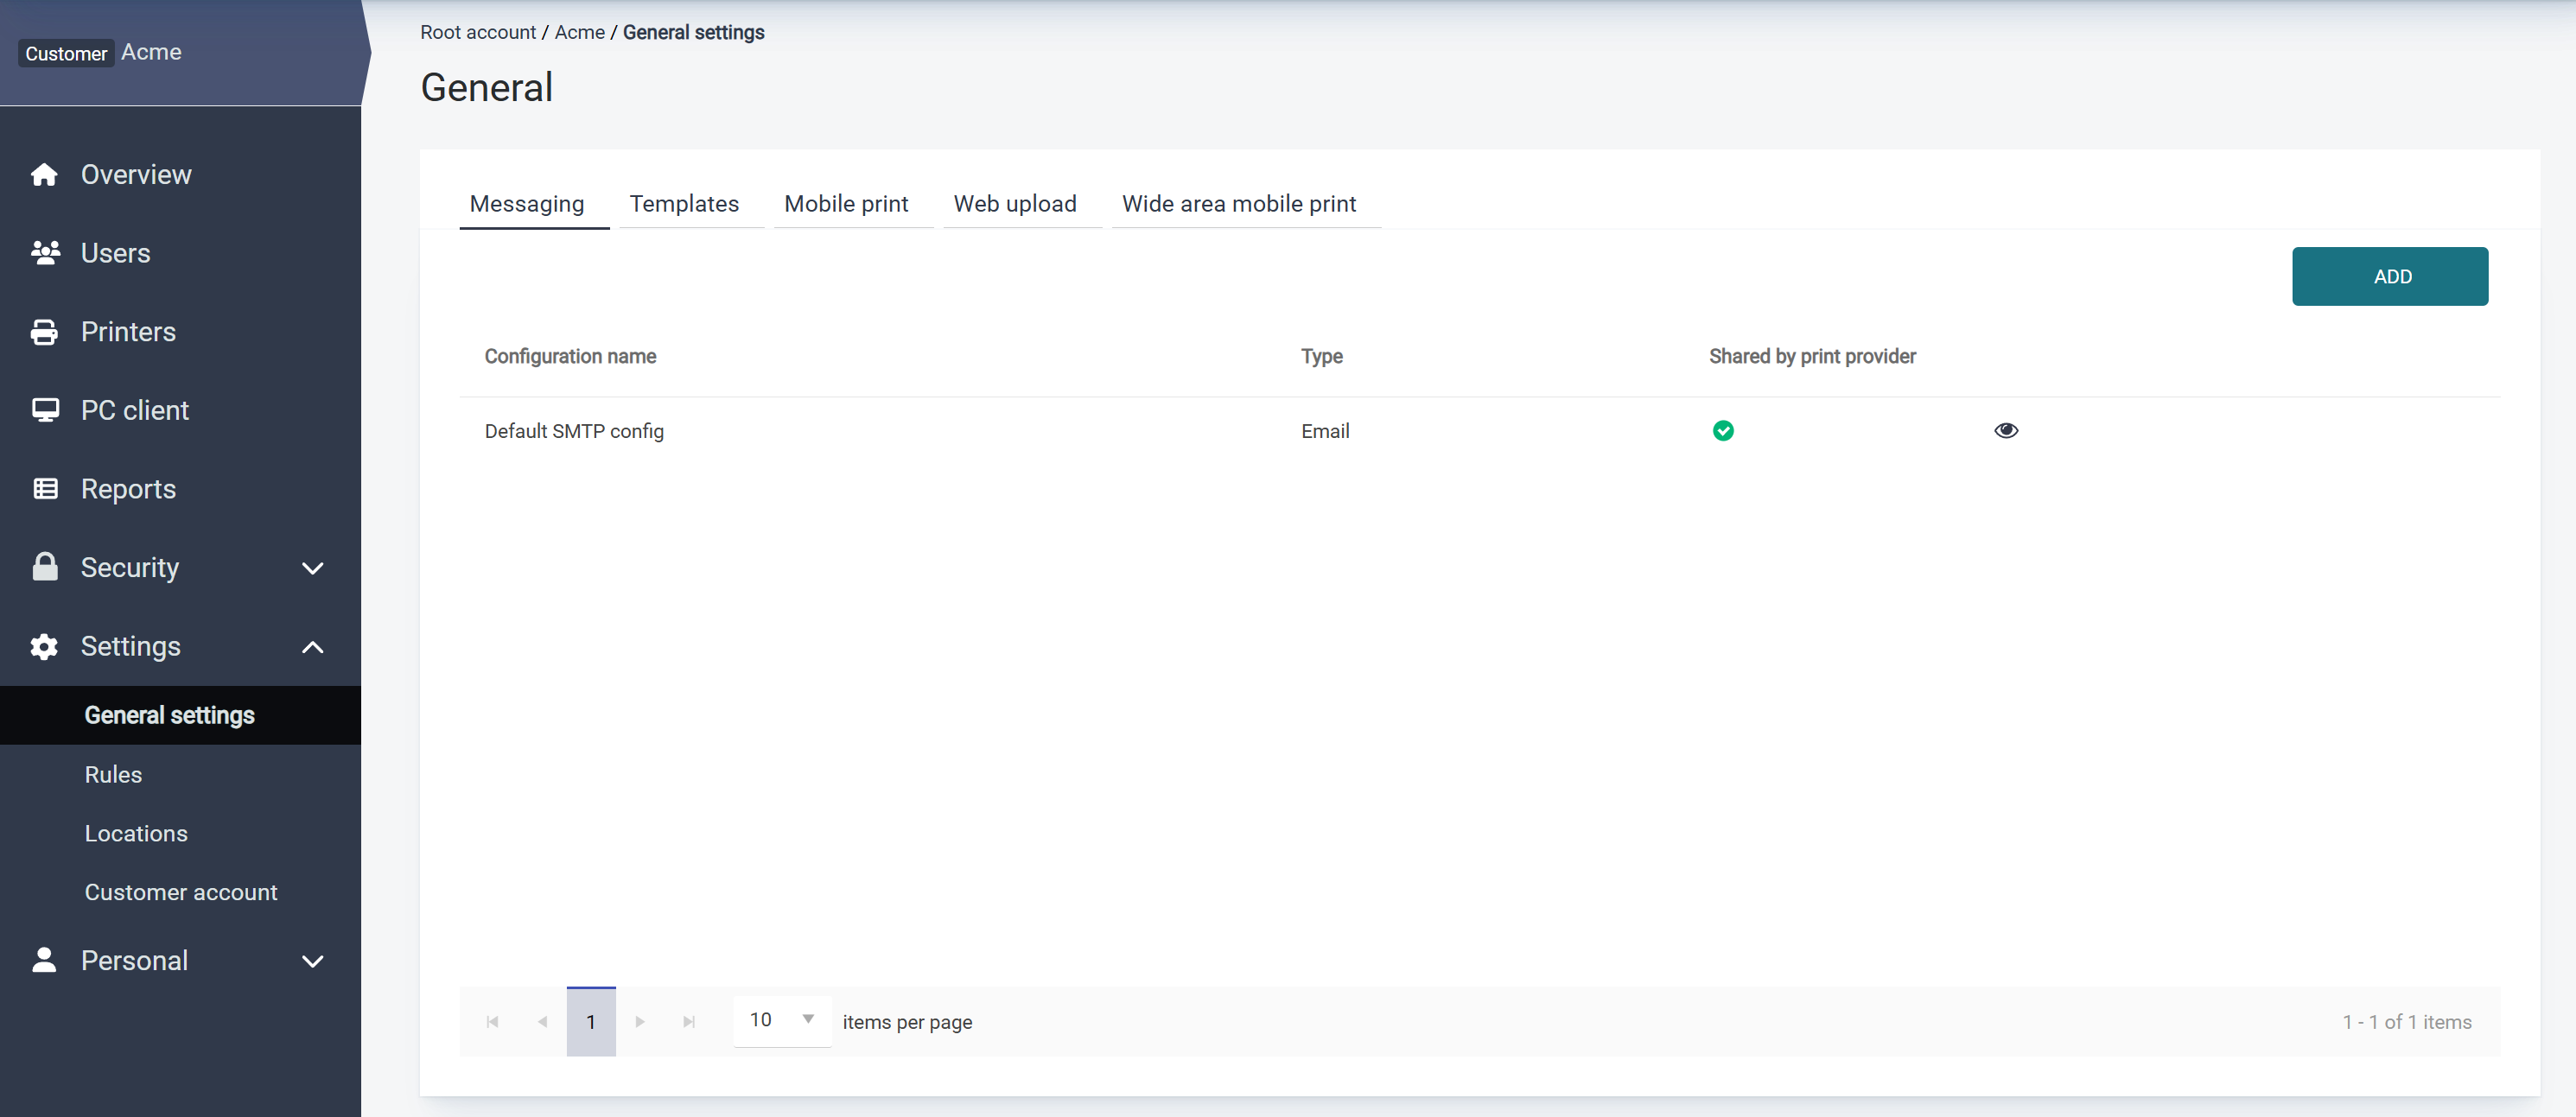
-
Enter the mail servers SMTP settings for outgoing email, including choosing relevant ports and security protocols as needed for the SMTP mail server. Any email service can be used, as long as it supports standard SMTP protocols, including Office365, Google Gmail, Exchange, etc. If a configuration is created or edited by the vendor, you can choose whether it should be shared with customers.

We strongly recommend using a secure Connection mode. An insecure mode may expose sensitive data such as scanned documents, usernames, and passwords to potential attackers.
-
Select the Messaging service from the drop-down list that will send the email using the SMTP configuration. If no service is already created, you can add it by clicking Add.
-
You can test the settings by entering an email address to receive a test email, and clicking Send test email. We recommend you to choose an external test email address, to confirm that SAFEQ Cloud can send emails to all users. The configured message service will deliver the test email from SAFEQ Cloud to the SMTP server, which will then forward it to the recipient.
-
If an error occurs, make sure that:
-
A Message Service has been added to a server.
-
Firewalls are open from the server hosting the message service and to the SMTP server on the ports used.
-
Sharing Messaging configurations with customers
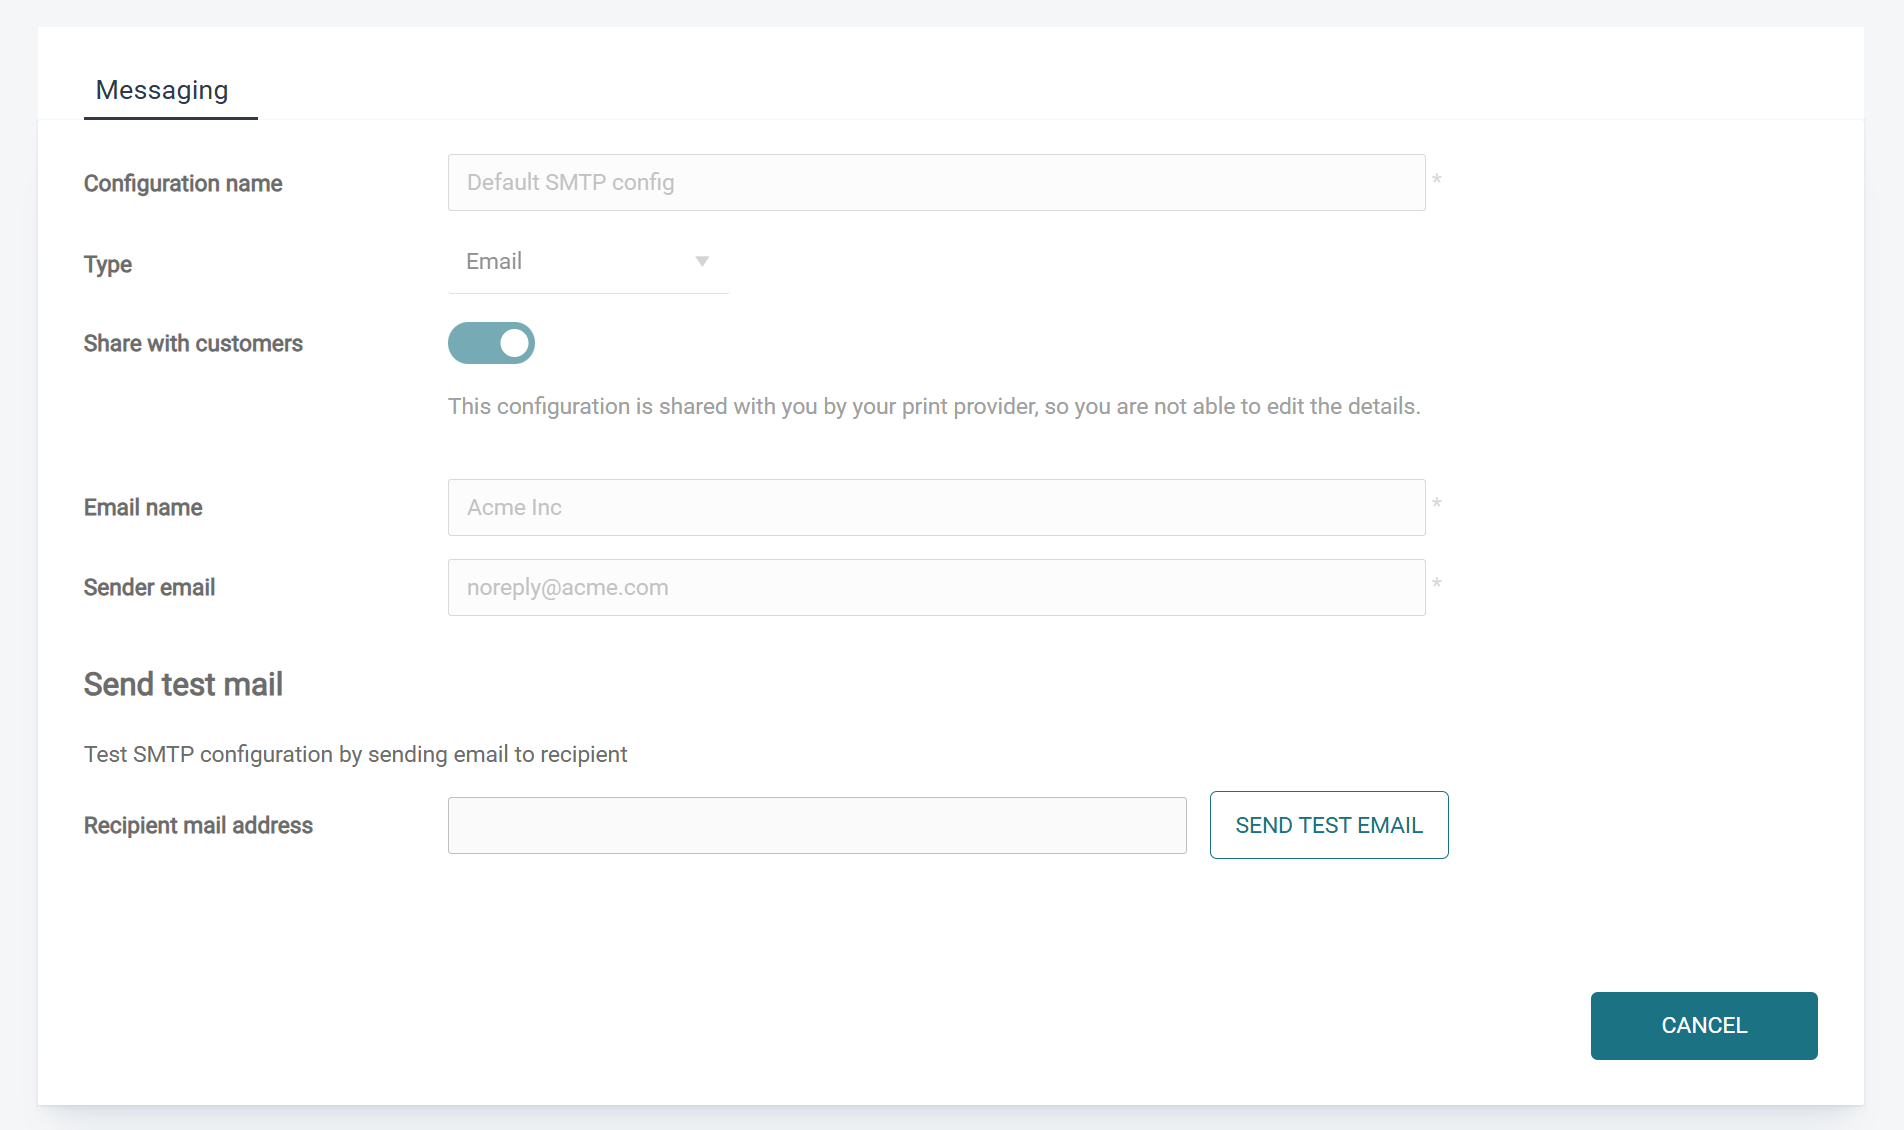
Vendors have the option to share their configuration with customers below them. If a configuration is shared, it is visible and usable by those customers.
Customers cannot edit or delete shared configuration details. Customers can only view sender details and use test mail functionality of shared configuration.
Emails sent by customers using a vendor's messaging configuration will display sender details based on the shared configuration settings.

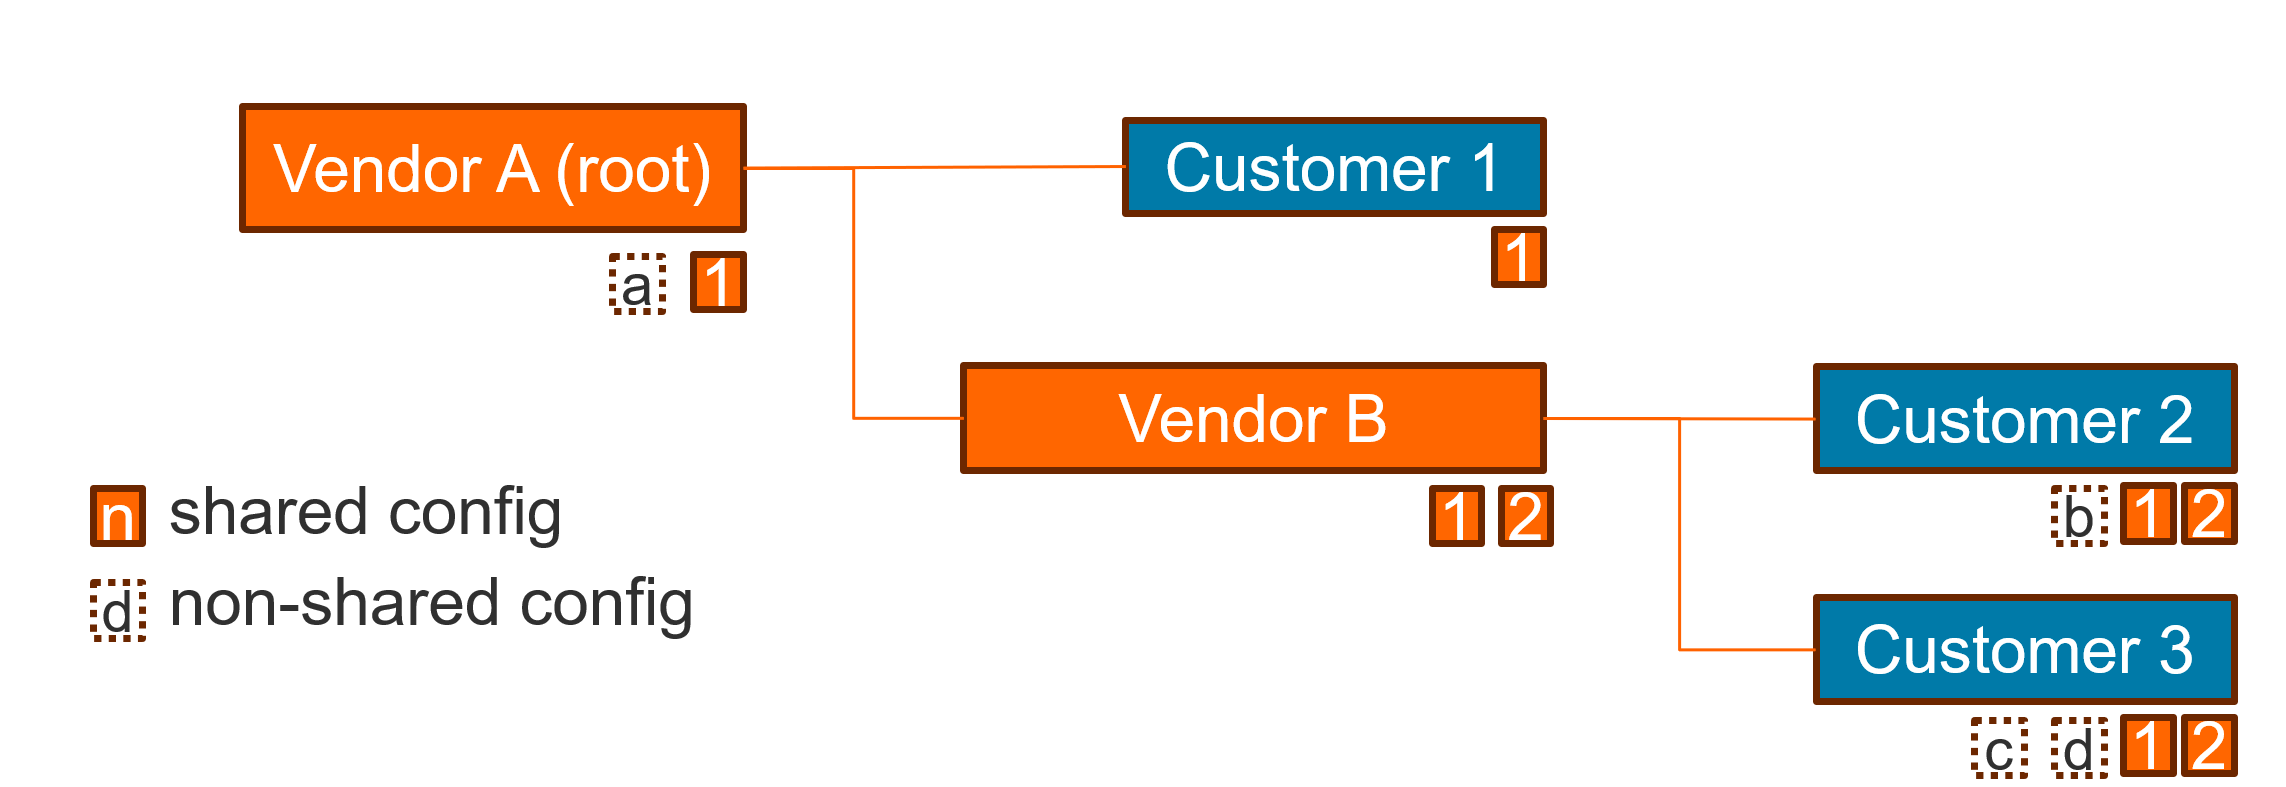
Customers have access to all shared messaging configurations from the vendors above them. If there is more than one, the configuration closest to the customer is used as the default.
For example, in the diagram below, a new customer under Vendor A will use Configuration 1 as the default, and a new customer under Vendor B will use Configuration 2 as the default.
Vendors should be cautious when disabling sharing for a configuration that was previously shared, as this may require reconfiguring the customers' use of the configuration.
Additionally, the customer may need to create their own configuration if they do not already have a custom one and no shared configuration from the vendor is available.
If the customer has no configuration available, a health check alert will be shown to notify them.
Office365 authentication option
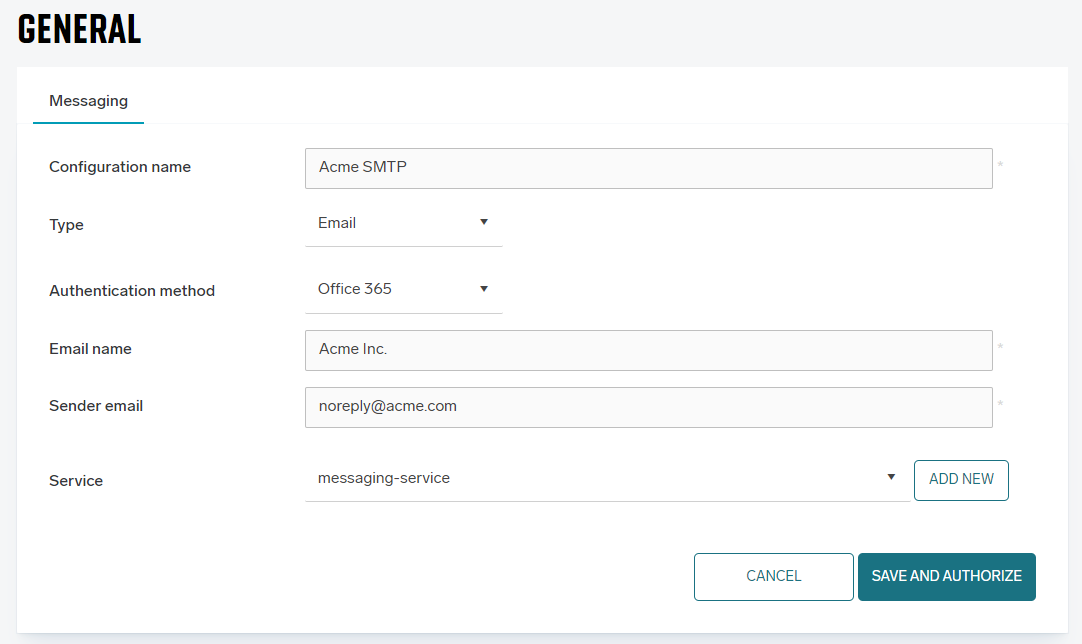
Office365 is one of the available authentication options under the authentication method dropdown. It uses OAuth 2.0 as the authorization protocol, and during authorization, you will be redirected to the Microsoft authorization flow (when saving a new Office365 messaging configuration or after pressing the Authorize/Reauthorize button when editing an already created Office365 configuration).
The Username field is not visible (or editable when editing) as it obtains the username from the OAuth 2.0 authorization process after it is finished. The fields for hostname, connection mode, and port are static for this option, so they are not shown.
When Office365 is not yet authorized, the Sending test mail section is not visible, as it would be able to send emails.
Sender email
Please note: The Sender email field is case sensitive. If your email is displayed in Entra ID as for example Printing.Notices@myDomain.com it must be entered here in the same format.

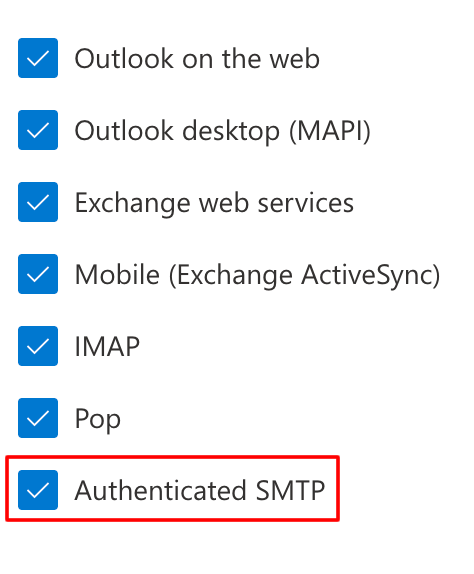
For the correct behavior of sending emails, the user who authorizes the configuration through the Microsoft authorization flow has to have enabled the Authenticated SMTP setting in the Microsoft 365 admin center; otherwise, the sending of emails will not work even if the configuration is authorized.
Gmail authentication option
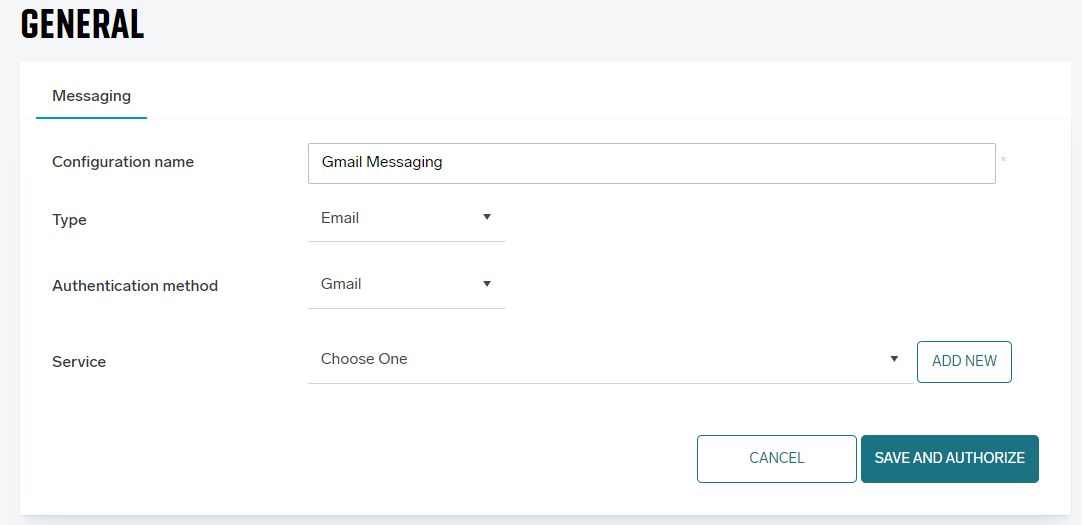
Gmail is one of the available authentication options under the authentication method dropdown. It uses OAuth 2.0 as the authorization protocol, and during authorization, you will be redirected to the Google authorization flow (when saving a new Gmail messaging configuration or after pressing the Authorize/Reauthorize button when editing an already created Gmail configuration).
The Username field is not visible (or editable when editing) as it obtains the username from the OAuth 2.0 authorization process after it is finished. The fields for hostname, connection mode, sender email, email name and port are static or obtained from the authorization process for this option, so they are not shown.
When Gmail is not yet authorized, the Sending test mail section is not visible, as it would be able to send emails.
