
Relevant Products
Single sign-on available in pro print pro mfp
To configure Microsoft Entra Single Sign-On, you must add a new application in your Microsoft Entra tenant.
-
In the Azure portal, on the left navigation panel, click Microsoft Entra.
-
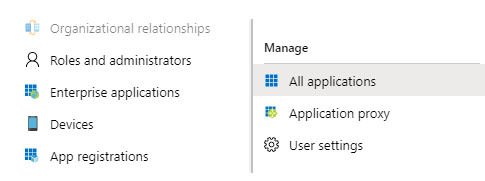
Select Enterprise applications and then select All applications.
-
Click New applications to add a new application.
-
In the search box, type the name of the application you want to use, like Microsoft Entra SAML Toolkit, from the result panel. Click Add to add the application.
Configure Microsoft Entra Single Sign-On
-
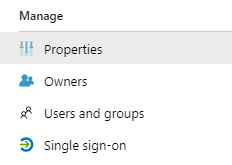
In the Azure portal, on the newly added application integration page, select Single sign-on.
-
In the Select a Single sign-on method dialog, select SAML mode.
-
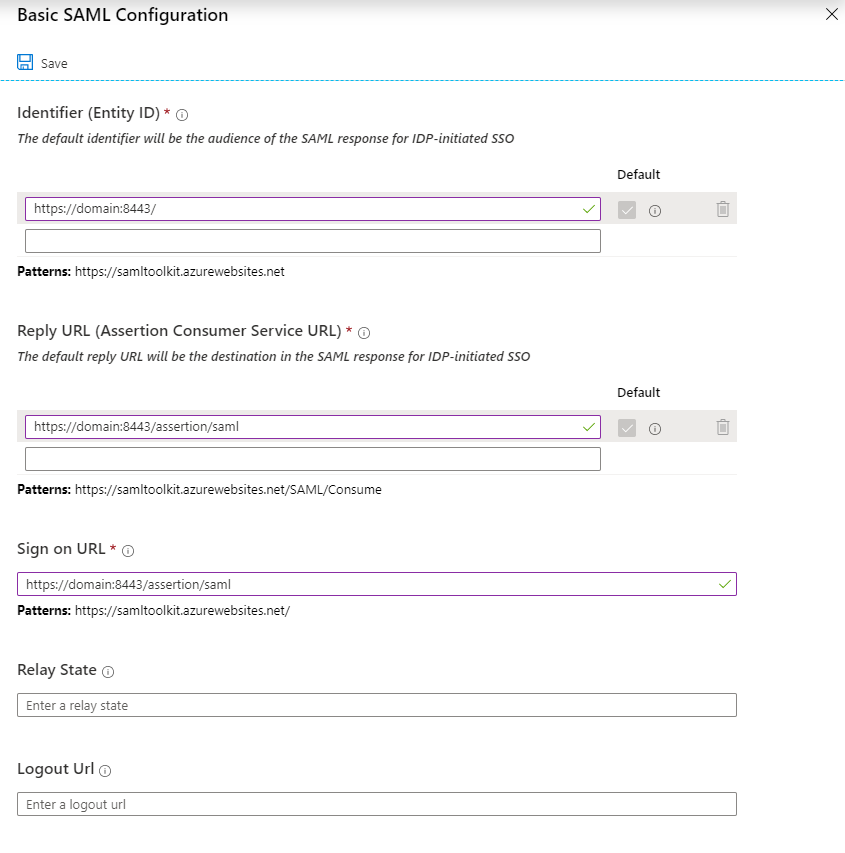
On the Set up Single Sign-On with SAML page, click the edit icon to open the Basic SAML Configuration dialog.
-
In the Identifier (Entity ID) text box, enter an issuer ID from the SAFEQ Cloud SAML configuration or URL that follows the pattern:
https://<domain_name_that_has_saml_configured>:8443/(if issuer ID is empty). -
In the Sign on URL text box, enter the login URL:
https://<domain_name_that_has_saml_configured>:8443/assertion/saml -
In the Reply URL text box, enter the URL:
https://<domain_name_that_has_saml_configured>:8443/assertion/saml -
The port is 8443. In environments with reverse proxy, do not specify the port number in the URL. Example:
https://<domain_name_that_has_saml_configured>/assertion/saml.
-
-
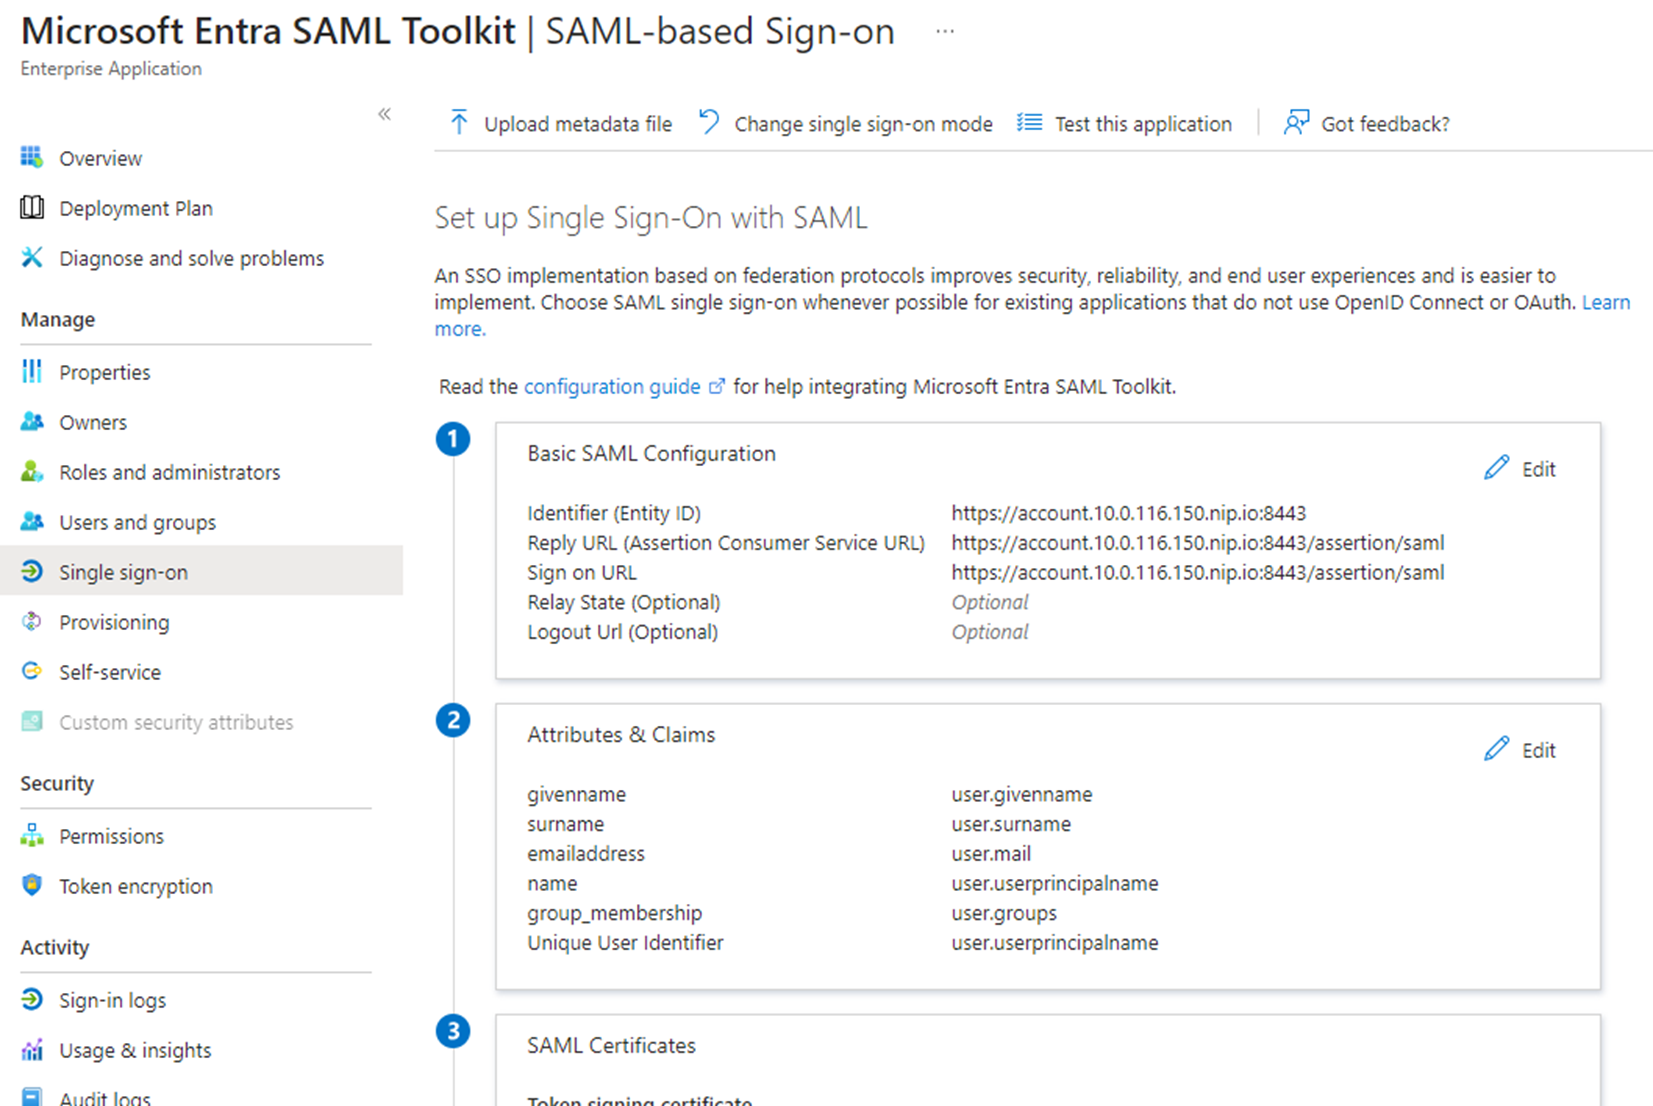
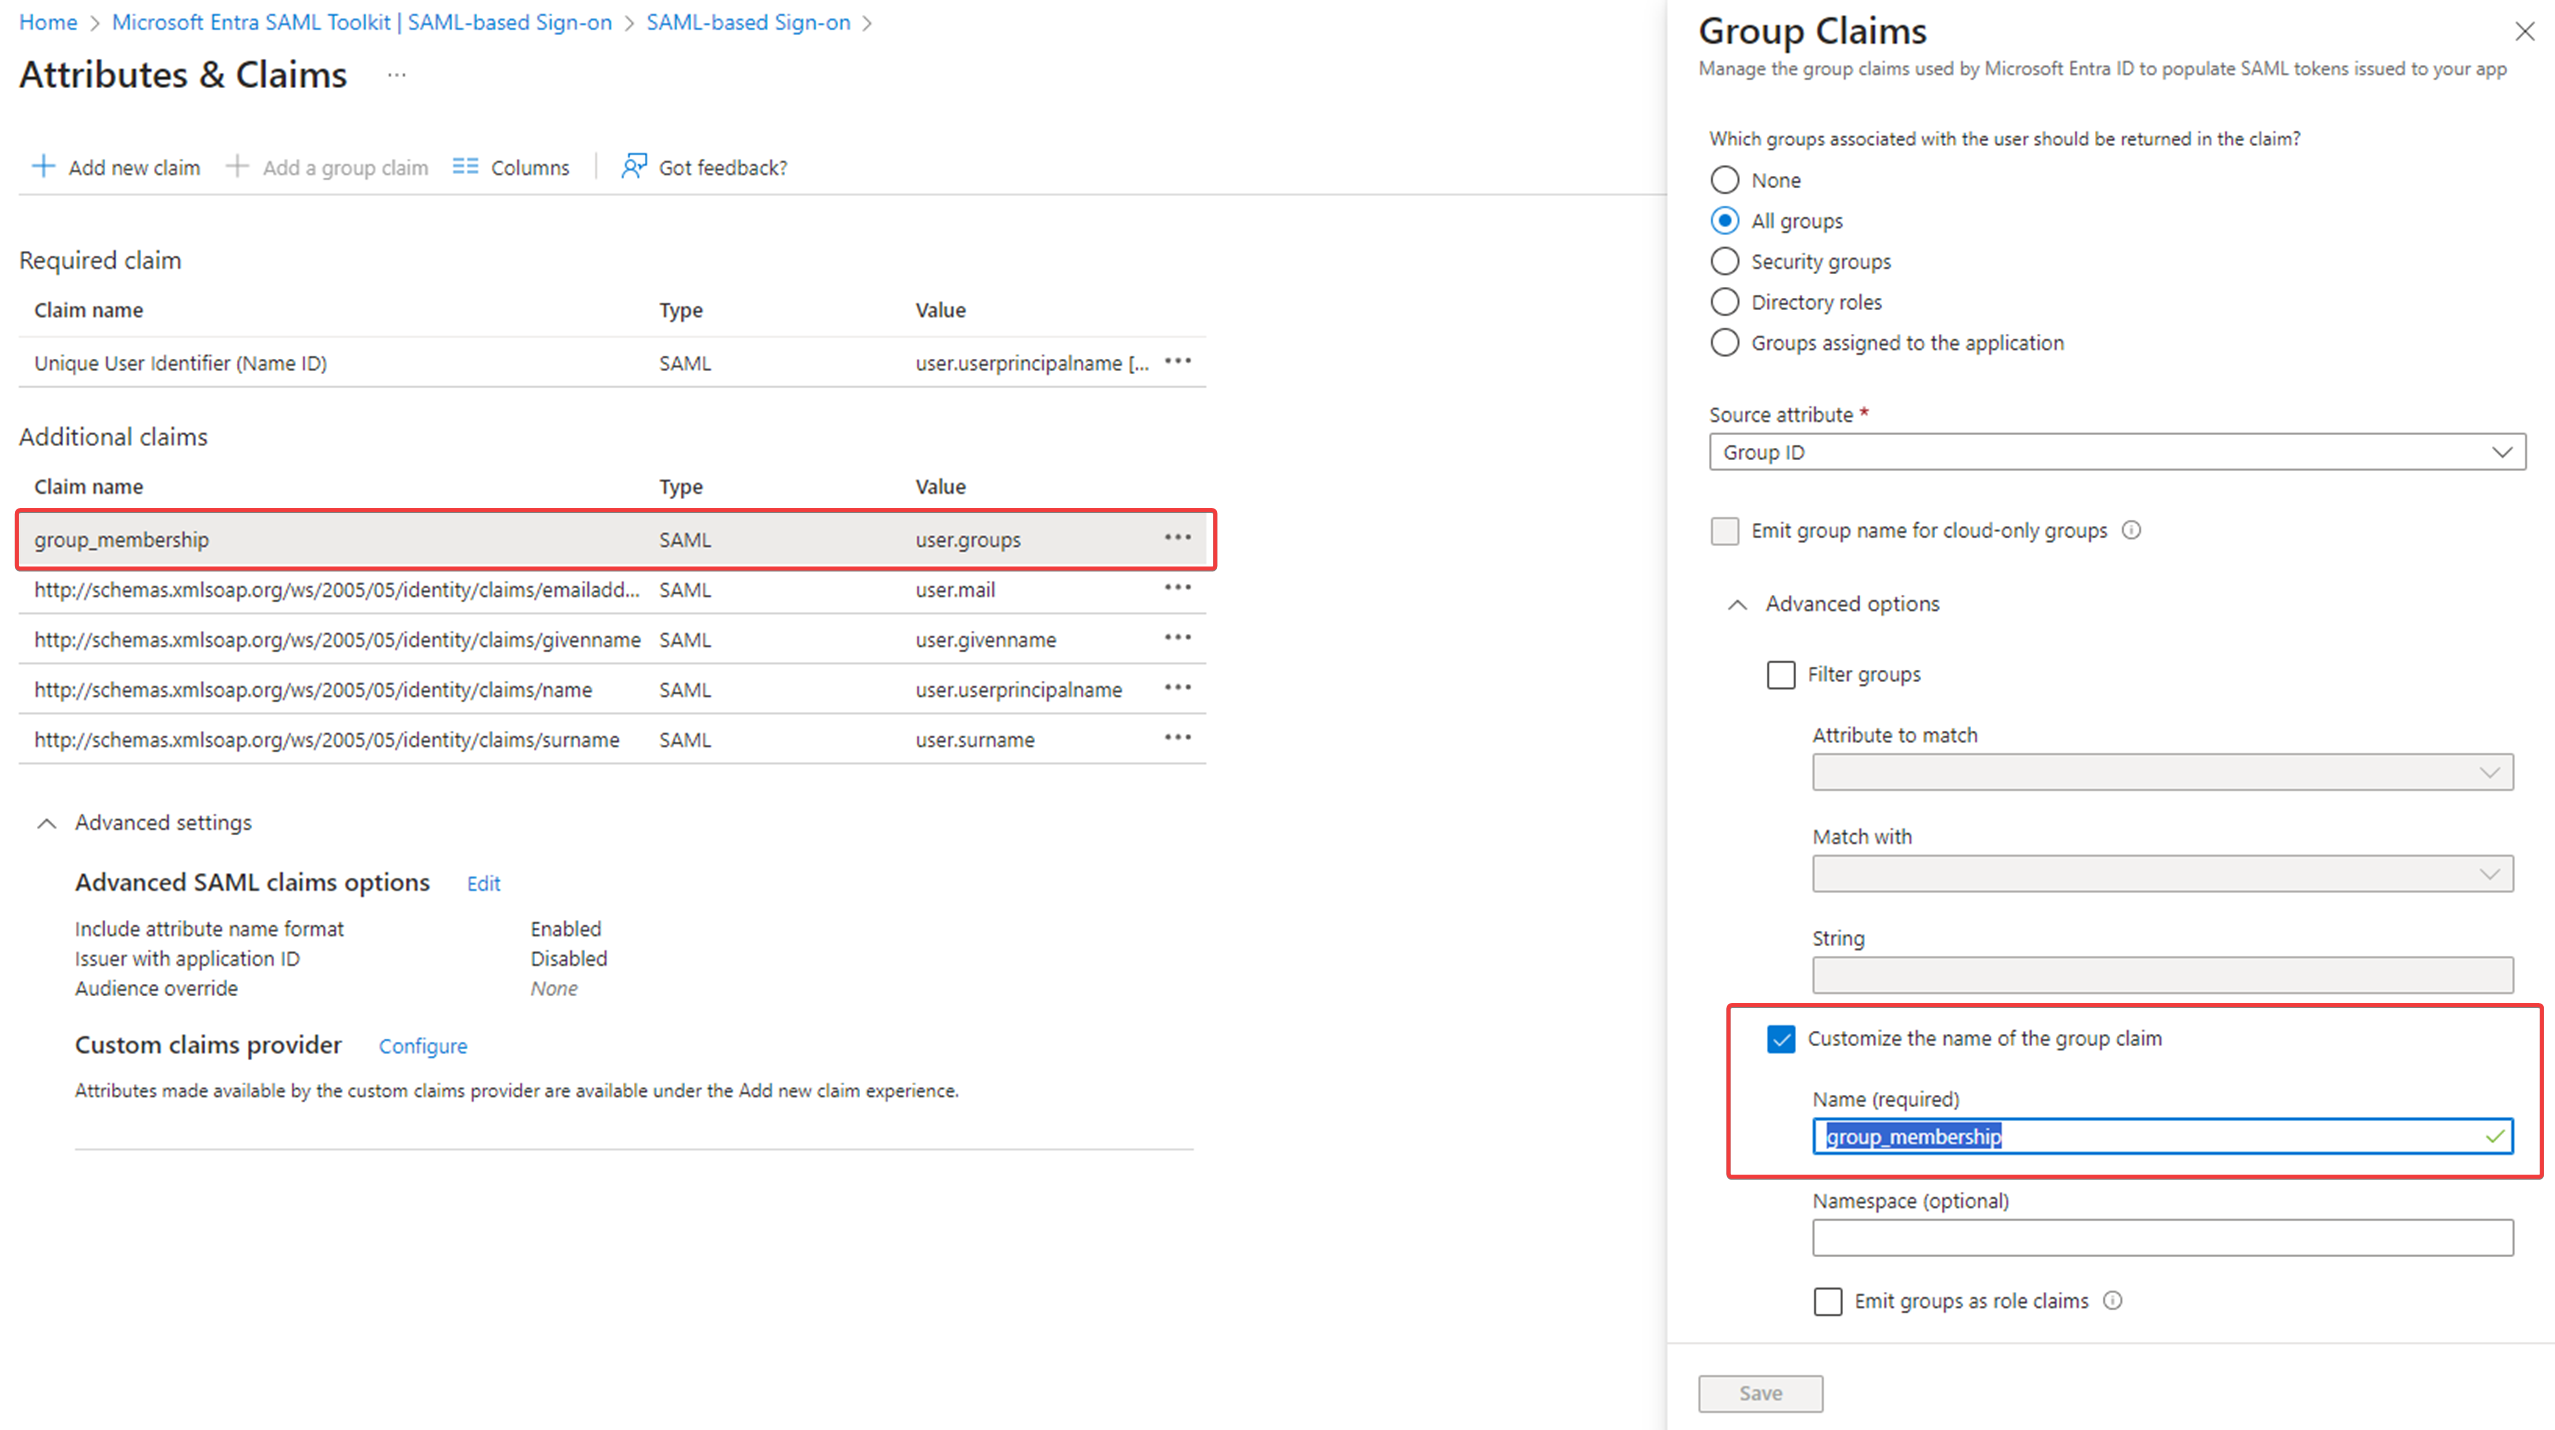
Click Single sign-on and then click Edit in the Attributes & Claims section of the page.
-
Click the claim with the user.groups value. In the dialog window that will be displayed, select Customize the name of the group claim. Enter the name of the group_membership.
-
Click Save.
Assign the Entra user(s)
-
In the Azure portal, select Enterprise Applications, and then select All applications.
-
In the applications list, select your added application.
-
In the application’s overview page, under the Manage section, select Users and groups.
-
Click Add user, then select Users in the Add Assignment dialog.
-
Type the username you want to have access to, then click Select at the bottom of the screen.
-
In the Add assignment dialog, click Assign.
Setup guides
https://learn.microsoft.com/en-us/entra/identity/saas-apps/saml-toolkit-tutorial