Relevant Products
Ricoh MFDs are available in BREEZE MFD PRO MFD
Setting up Scan2Mail
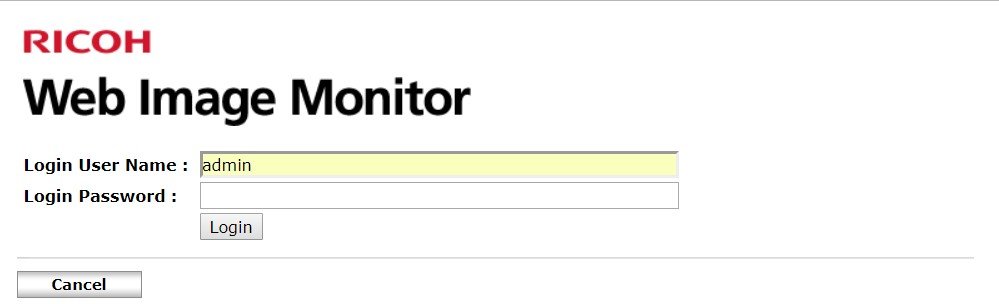
Open printers Webinterface in a browser and choose “Login” at the upper right corner.
Write “Admin” under “Login User Name” and don’t write a password if you have not changed it. Choose “Login”.
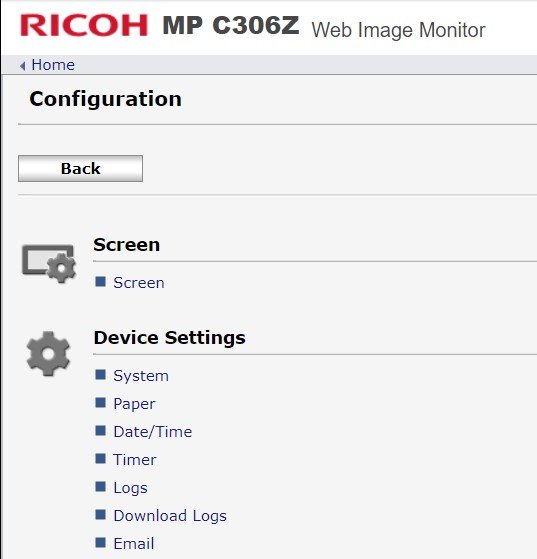
Under “Device Management” choose “Configuration”.
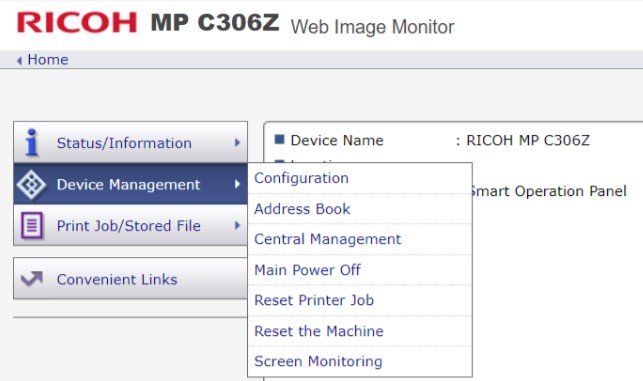
Choose “Email” under “Device settings”.
Fill out with proper information for setting up Scan To Email and choose “Ok” at the bottom of the page.
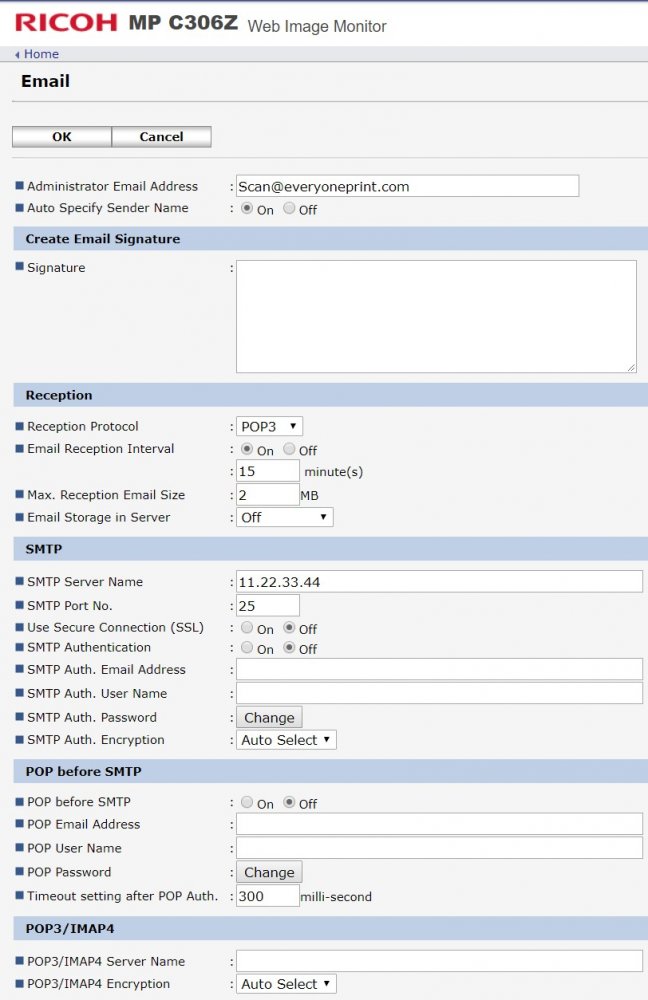
If “Auto Specify Sender Name” is set to “On” the Administrator Email Address will be set as the default sender at Scan To Email.
If “Auto Specify Sender Name” is set to “Off” the logged in users email address is set as the sender at Scan To Email. (Depends on model of MFD)
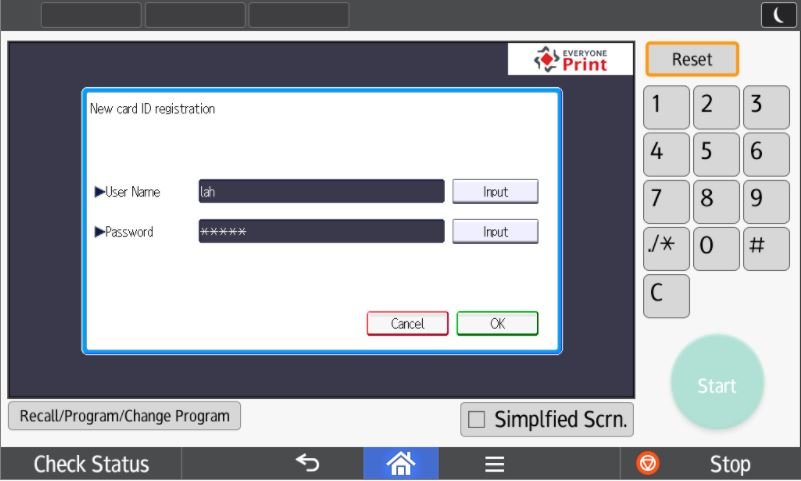
Card Self enrollment on the MFD:
Push the “Pull Print”-icon on the display. Swipe your card over the cardreader, enter your username and password when asked for it and then “Ok”. Now your card is enrolled to your user.
Log in to the machine by card:
Just swipe your card and choose the function you want to use.
Swipe you card again to log out.
Manual login on the mfp:
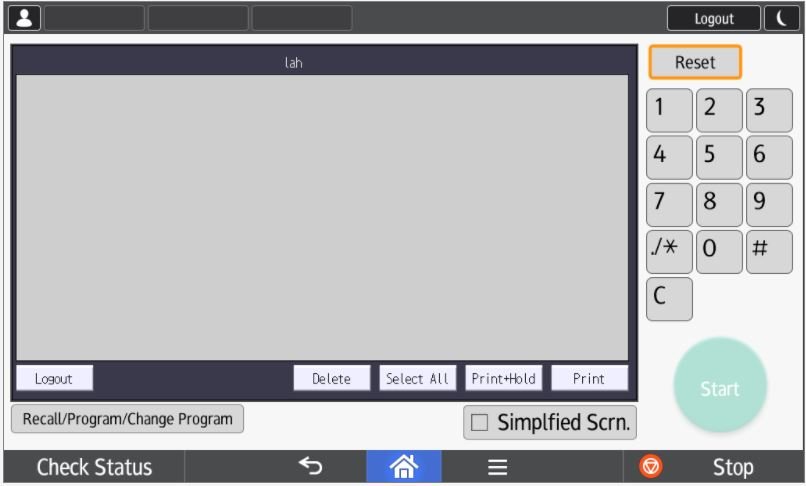
Choose the “Pull Print”-icon and enter your username and password, push “Ok”.
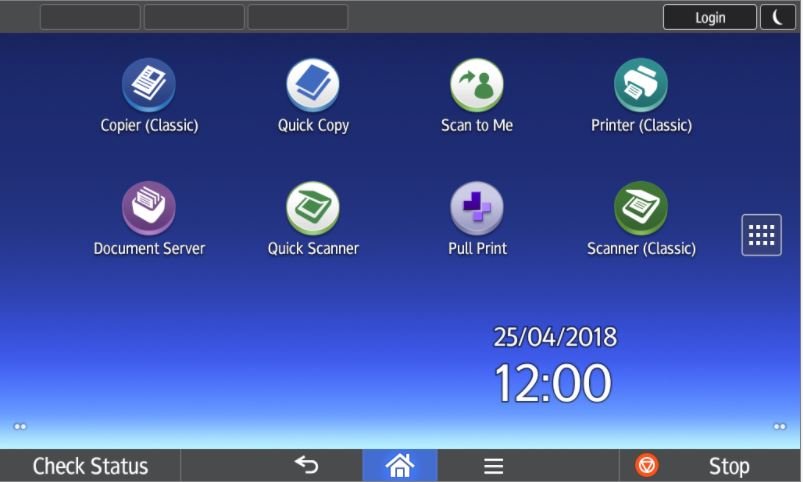
Now you can release your printjobs or push the “Home”-button in the bottom for Scan, Copier etc.
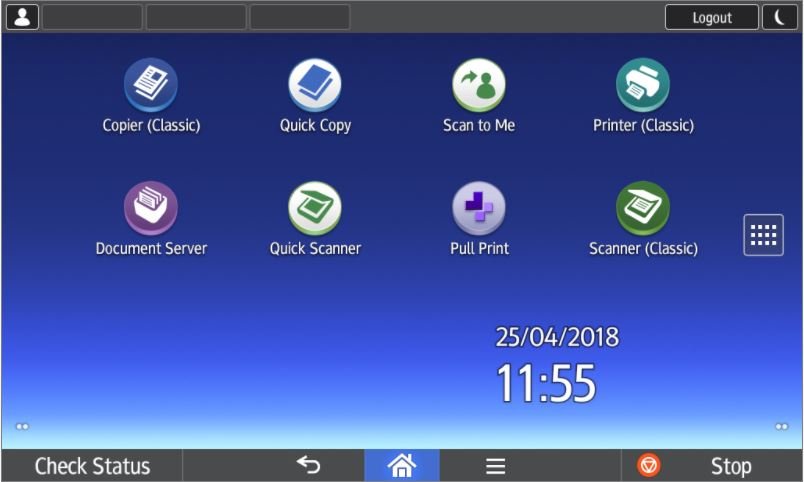
After “Home”-button is pushed you are able to choose the functions you want to use.
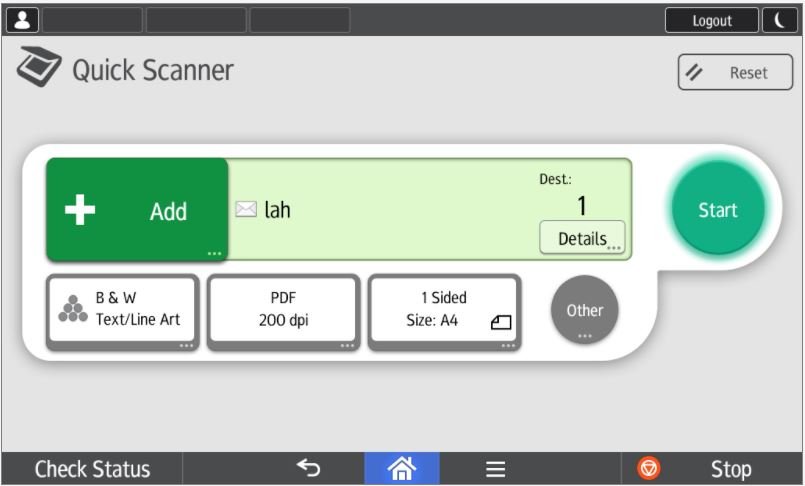
Using the Quick Scanner:
After logging in to the mfp push the “Quick Scanner”.
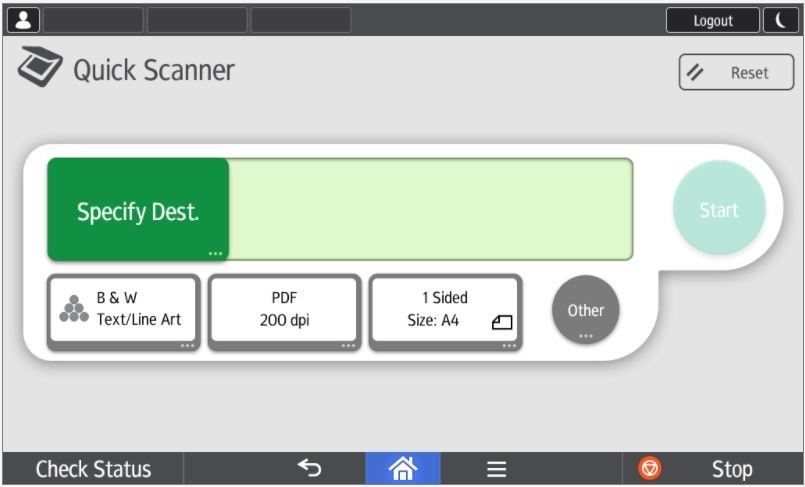
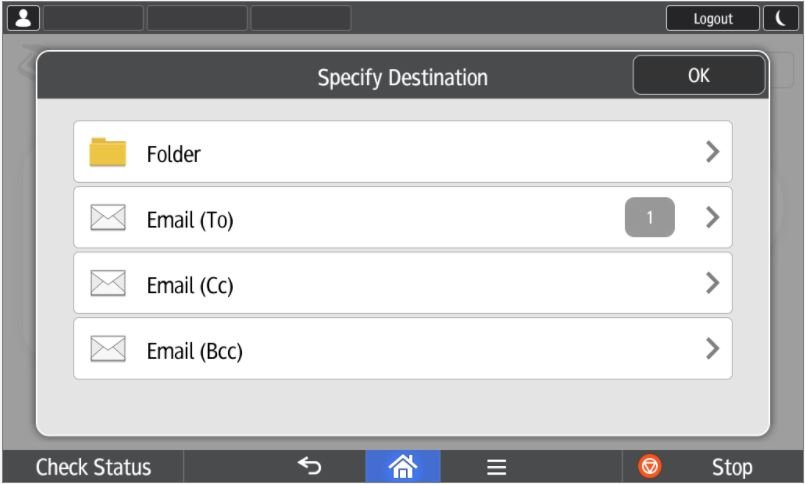
Hit the “Specify dest.”-button and choose “Email (To)” in the next view
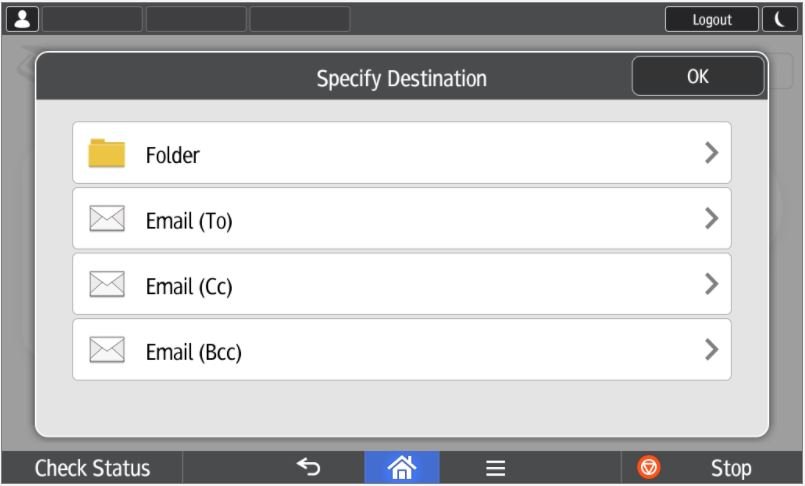
Mark you user/email and push “Previous Scr.”
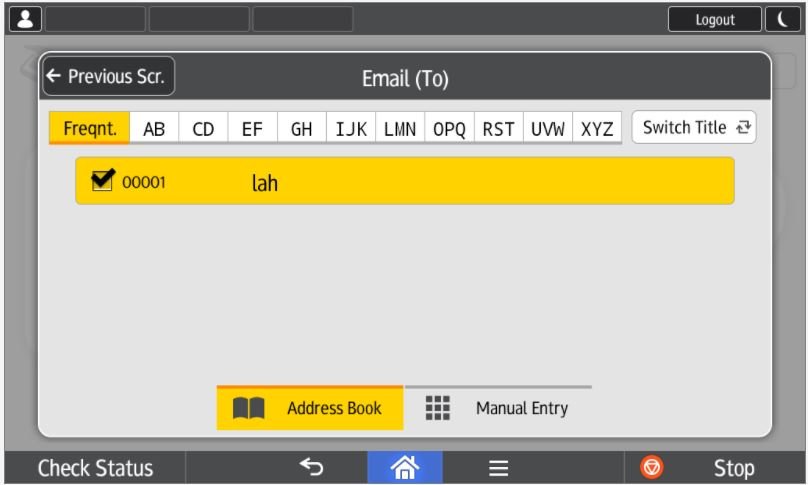
Hit “Ok” and make you scan
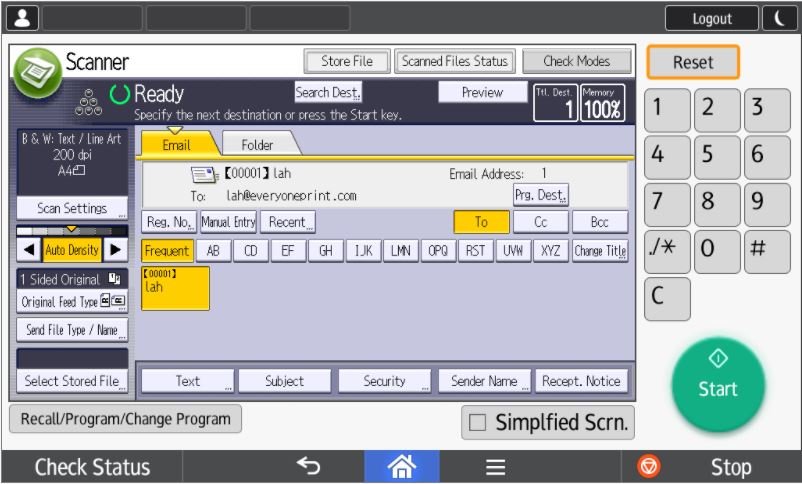
Using the Scanner (Classic):
After logging in to the mfp push the “Scanner (Classic).
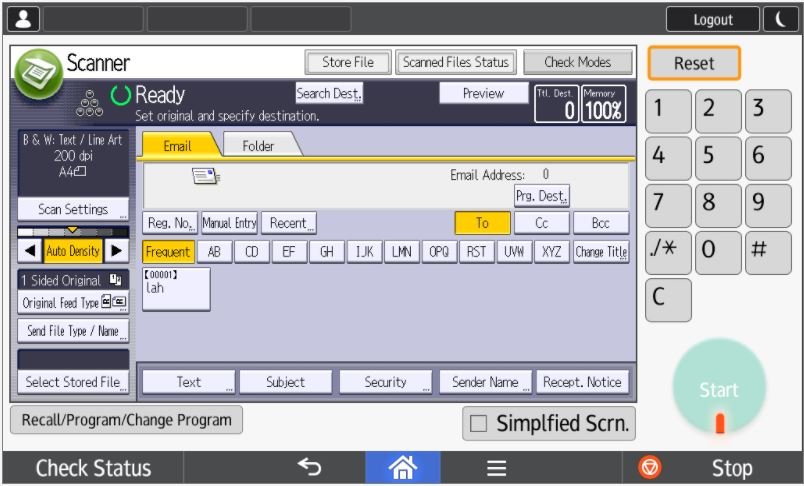
Choose your username and start scanning.