
Relevant Products
Cloud Terminal is available in BREEZE MFD PRO MFD
Registering your card
See Card registration at the MFD.
Logging in and out
Logging in
-
The authentication method depends on how your administrator configured the terminal. You can log in via card, PIN (Short ID), username/password, or their combinations. Follow the instructions on the screen.
Example for login via card: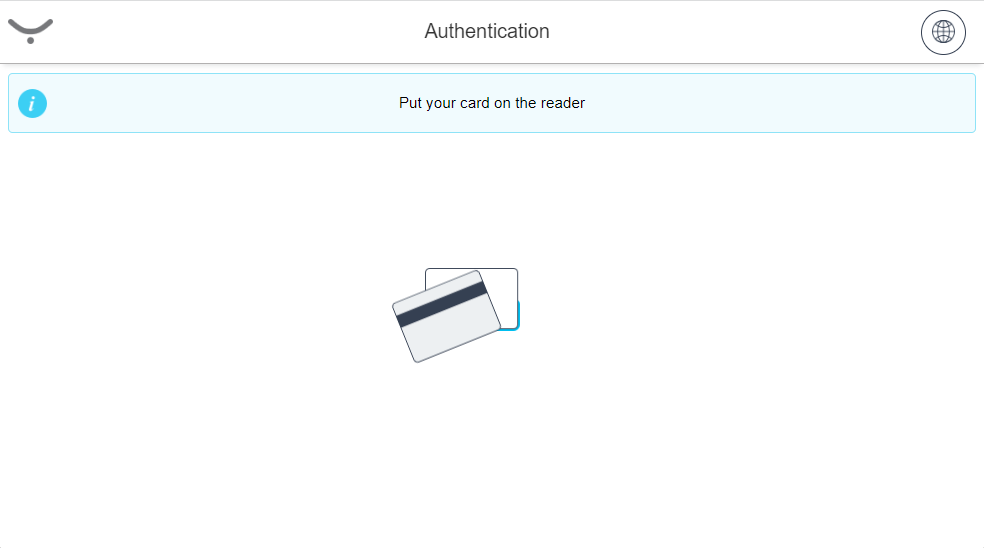
-
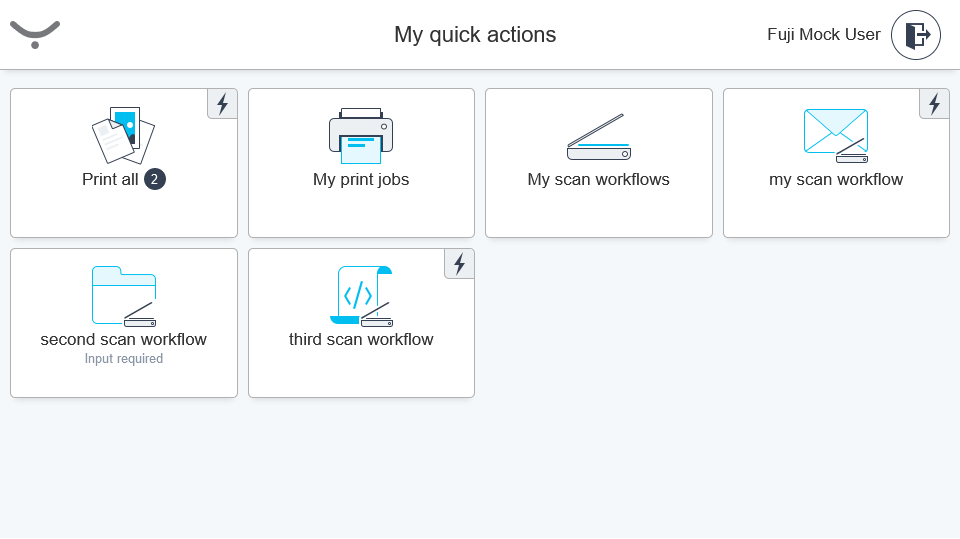
You will see the Cloud Terminal home screen – My quick actions application.
-
If the authentication fails, you will see an error message saying "You have placed unknown or damaged card."
-
If your card is not registered, you will see a message "Your card has not been activated yet." You must register your card. See Card registration at the MFD.
My quick actions application
My quick actions application enables you to access frequently used functions, such as print all jobs or use a scan workflow immediately after login. The quick action buttons are displayed according to your rights and scan workflows assigned to you.
Printing and managing jobs
-
Log in to the Cloud Terminal. You will see My quick actions screen.
-
If you wish to release all of your print jobs, tap Print all.
If there are no jobs to be printed, the Print all quick action is greyed out.
-
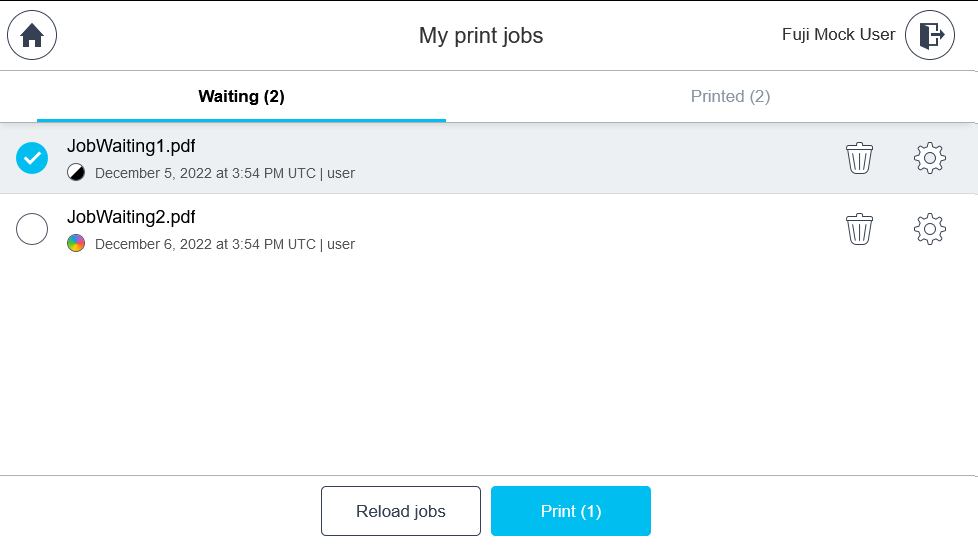
If you wish to release only specific print job, tap My print jobs.
-
Tap the print job.
-
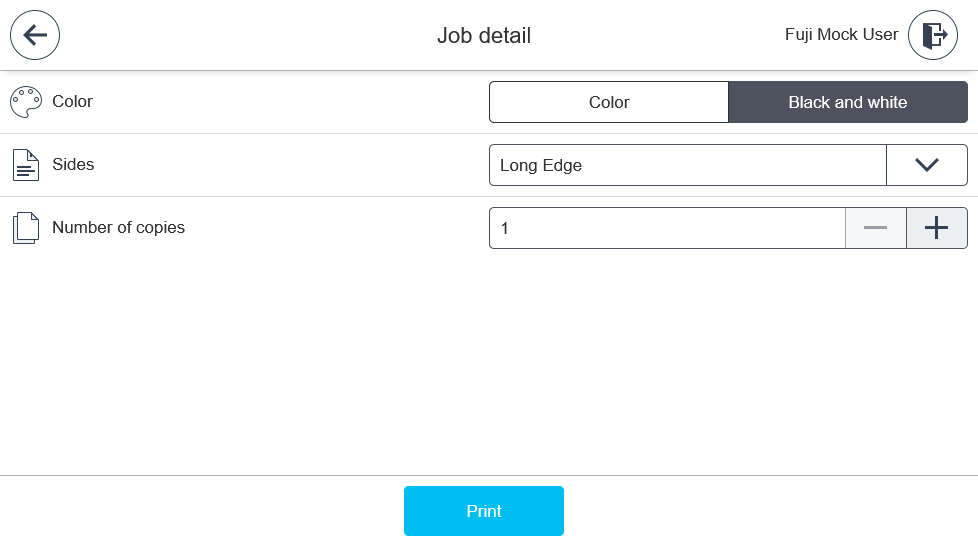
If you wish to modify the finishing options, tap the gear icon next to the job. Modify the Color, Slides, and Number of copies options according to your needs. Note that the Color option is visible only on MFDs that support color printing.
-
Tap Print.
-
If new jobs are sent during your current MFD session, you can load them by tapping Reload jobs on My print jobs screen.
-
If you wish to delete a print job, tap the trash bin icon next to it.
-
After tapping Print, you will see an overlay showing the overall progress and the status of the currently processed job. The status can show one of the following values:
-
Waiting – The job is yet to be processed.
-
Printing - SAFEQ Cloud tries to print the document from any location that has network visibility to the printer. Without network visibility, the print method will change to Downloaded and printing.
-
Downloading - the downloaded print job(s) is being downloaded by the Cloud Terminal.
-
-
If some of the print jobs had to be downloaded for printing or when the Cloud Terminal waits for the finalization of the print job(s) by the MFD, the following message will appear: "All jobs were sent to the printer. Waiting for printing to end."
-
After the last job has been delivered, the following success message will appear: "Your print jobs have been sent to the printer."
-
If any job fails to be printed, a screen with the following error message will appear: "X/Y jobs failed to print. Please try again or contact your administrator."
Scanning
-
You can run scan workflows from My quick actions screen or from My scan workflows screen.
If no scan workflows are available to you or if scanning is disabled on the device, you will see an error message: "No scanning workflows available. If the problem persists contact the administrator."
-
My quick actions screen displays the first three workflows from all scan workflows that your administrator made available to you. Tap the workflow you wish to execute.
-
If it is an instant workflow, it will start immediately.
-
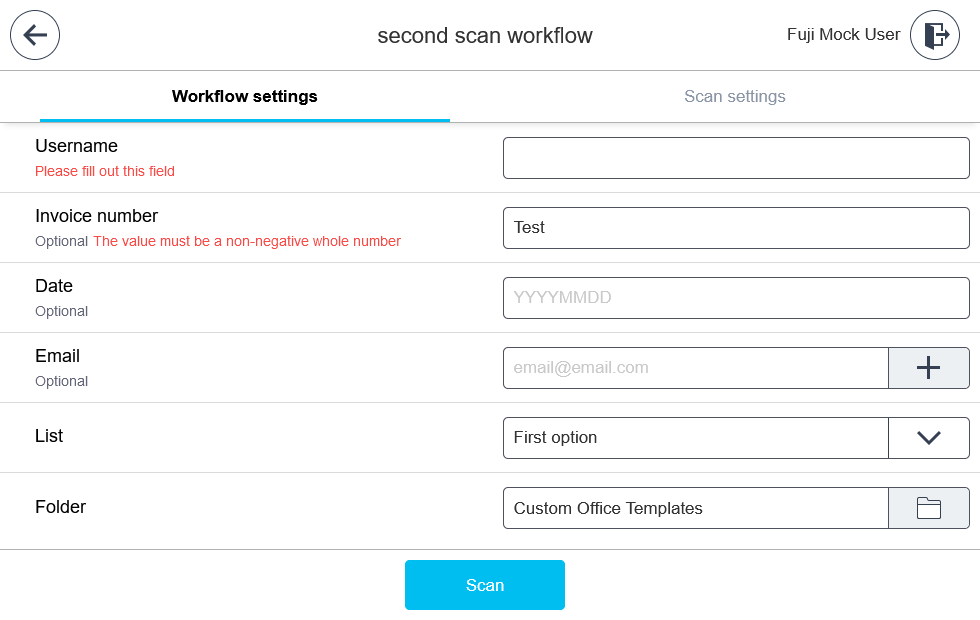
If it requires your input, it will display a settings menu. Fill in the required information.
-
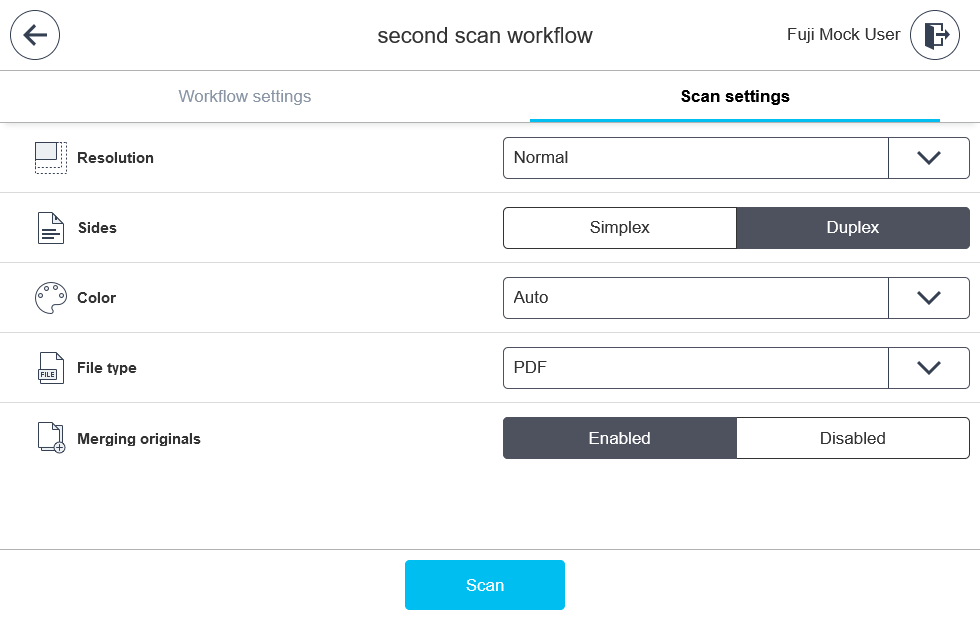
Tap the Scan settings tab to modify the can settings according to your needs. Note that you will only be able to view and modify the settings that your administrator has allowed.
-
-
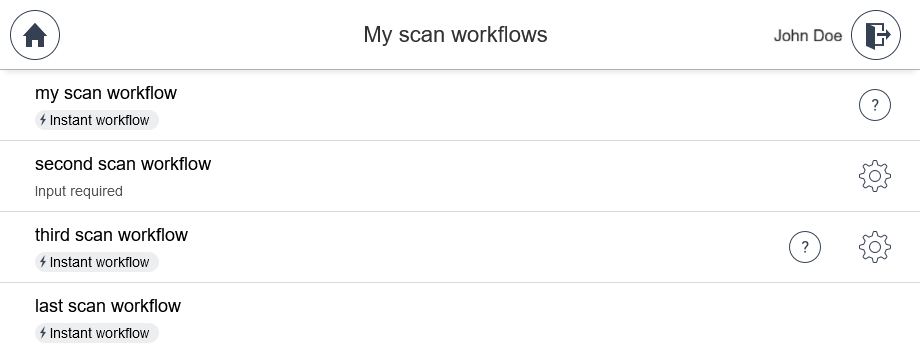
My scan workflows screen displays the list of all scan workflows available to you. If you wish to display more information about the workflow, tap the
-
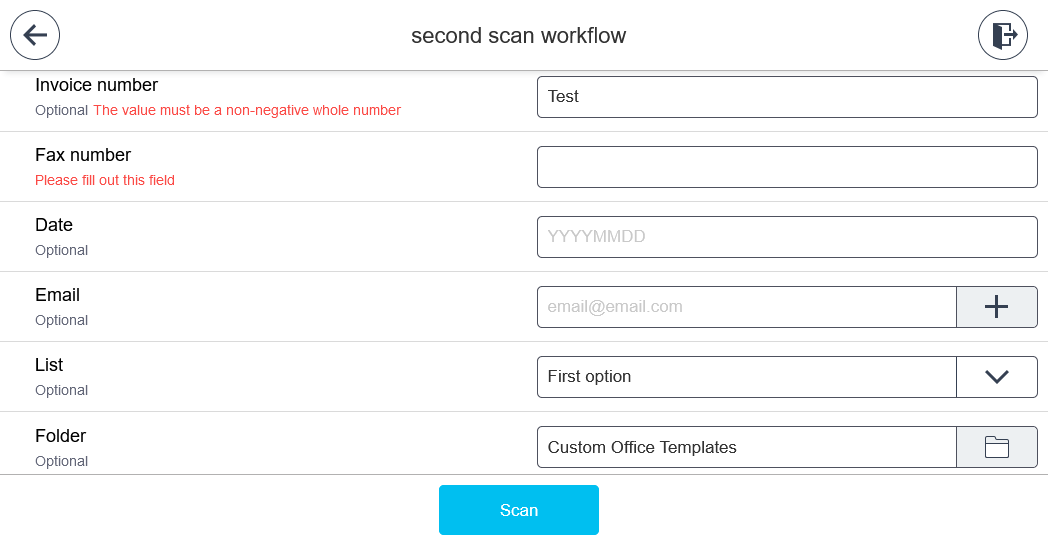
Tapping the workflow marked Input required or tapping the cog icon will open the workflow settings. Fill in the required information. For some of the parameters, a new dialog window will open, allowing you to search emails, browse folders or lists the available options. If the terminal fails to fetch emails or directory structure, you will see an "Unexpected error" error message.
-
Tap Scan.
-
-
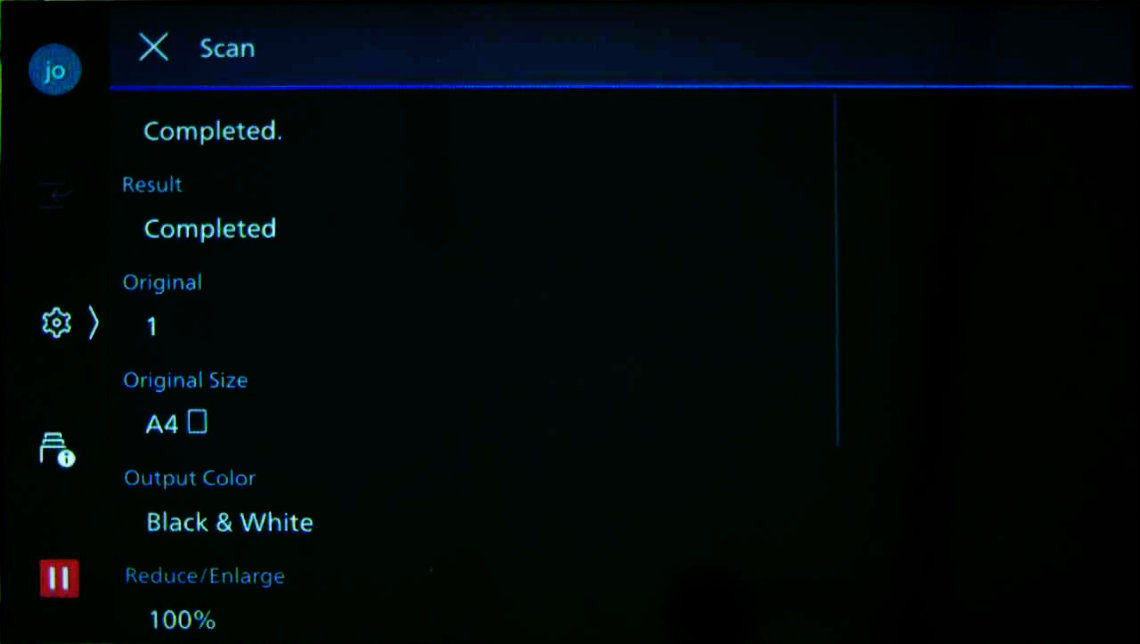
You will see the MFD's native scan application.
-
When the physical scanning finishes, you will see once again the Cloud Terminal application displaying the progress of the document upload.
-
If your document was correctly scanned and uploaded to SAFEQ Cloud, you will see a success message. If there is a problem, you will see an error message "Your scan job failed. Please try again or contact your administrator."