
Relevant Products
Cloud Terminal is available in BREEZE MFD PRO MFD
Registering your card
See Card registration at the MFD.
Logging in and out
Logging in
The authentication method depends on how your administrator configured the terminal. You can log in via card, PIN (Short ID), username/password, or their combinations. Follow the instructions on the login screen.
Logging out
Tap the logout button in the top right-hand corner of the screen.

If the terminal is configured to use authentication by card, you can also log out by placing your card on the card reader.
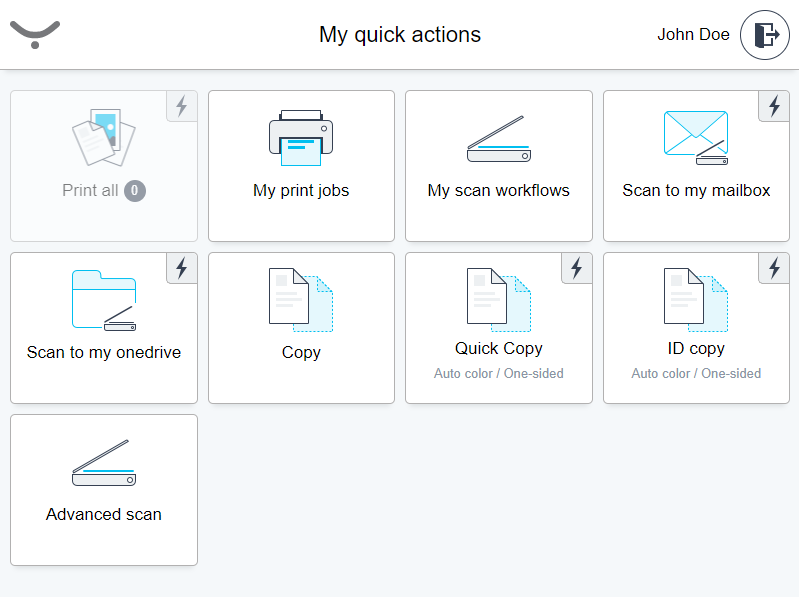
My quick actions application
My quick actions application enables you to access frequently used functions, such as print all jobs or use a scan workflow immediately after logging in. The quick action buttons are displayed according to your rights and scan workflows assigned to you.
If a button has a small flash icon in the top-right corner, it means that the action will be executed immediately after you tap the button. No other screen or confirmation action will be displayed.
Printing and managing jobs
-
Log in to the SAFEQ Cloud Cloud Terminal. You will see My quick actions screen.
-
If you wish to release all of your print jobs, tap Print all.
If you have no jobs to be printed, this button is greyed out.
-
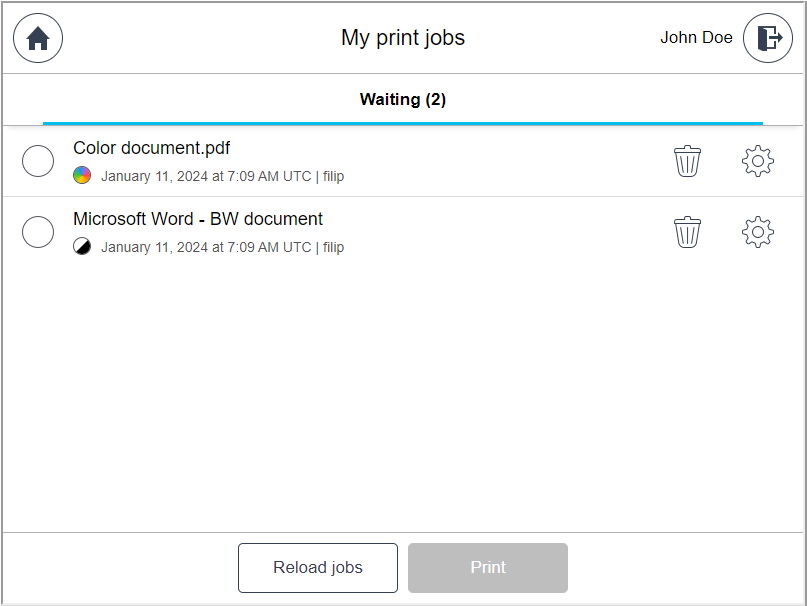
If you wish to release only specific print jobs, tap My print jobs.
-
My print jobs screen will be displayed. Select the print job(s) you wish to print from the list.
-
If you wish to modify the finishing options such as color, sides and the number of copies, tap the gear icon next to your selected print job.
Modifying finishing options on terminal is only possible with jobs sent via one of the SAFEQ Cloud supported methods (e.g., using a PC client / SAFEQ Cloud Universal print driver, Chrome extension, SAFEQ Cloud mobile app, or web upload).
-
Tap Print.
Print jobs that the MFD cannot print or that you do not have rights to print will be marked as Unavailable.
-
If you have sent new print jobs during your current session at the MFD, tap Reload jobs.
-
After tapping Print, you will see a status screen with progress.
-
When the printer downloads the last print job, you will see a message "Job sent for print."
-
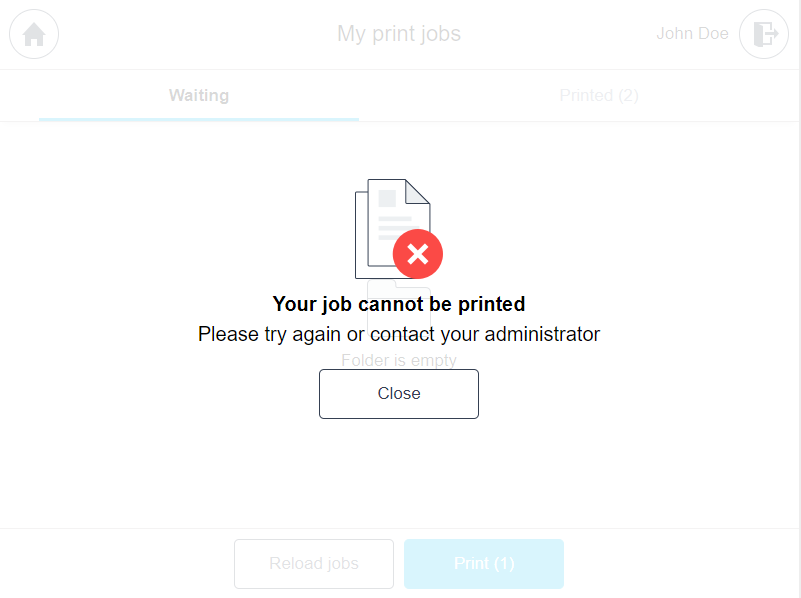
If any jobs fail to be printed, you will see an error message.
Copying
-
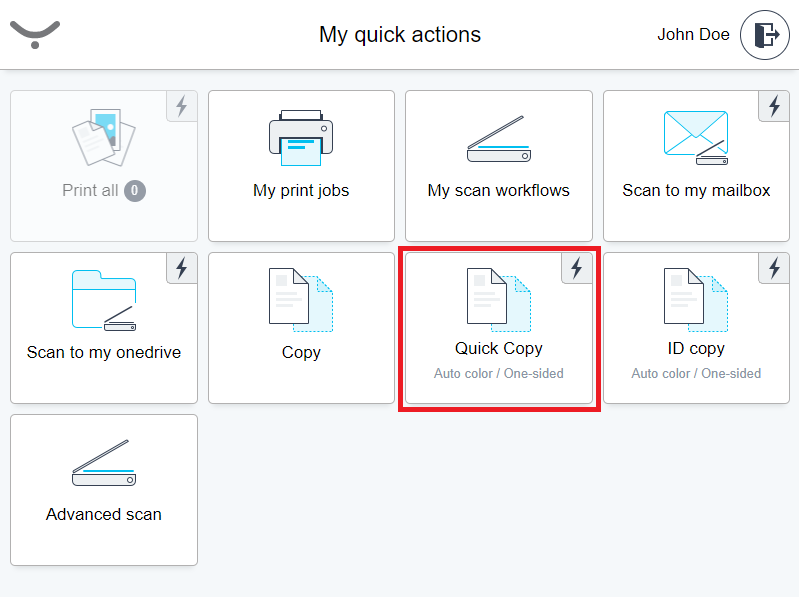
In My quick actions, tap Quick Copy if you wish to make a copy without any settings.
-
If you wish to modify the copy settings, tap Copy.
-
Adjust the Color mode, Sides, and Number of copies as needed.
The default Color mode value is Auto. It automatically detects the color of an original, chooses the proper color, and accounts copied pages accordingly. If the device is not capable of color copying, the BW option is automatically preselected and the user can not see the Color mode option.

-
If you need more settings, tap the Advanced settings tab and adjust Paper tray, Paper size, Density, Original -> Output, Combine, Staple mode, Staple position, Staple angle, Zoom, Hole punch mode, and Hole punch position as needed.
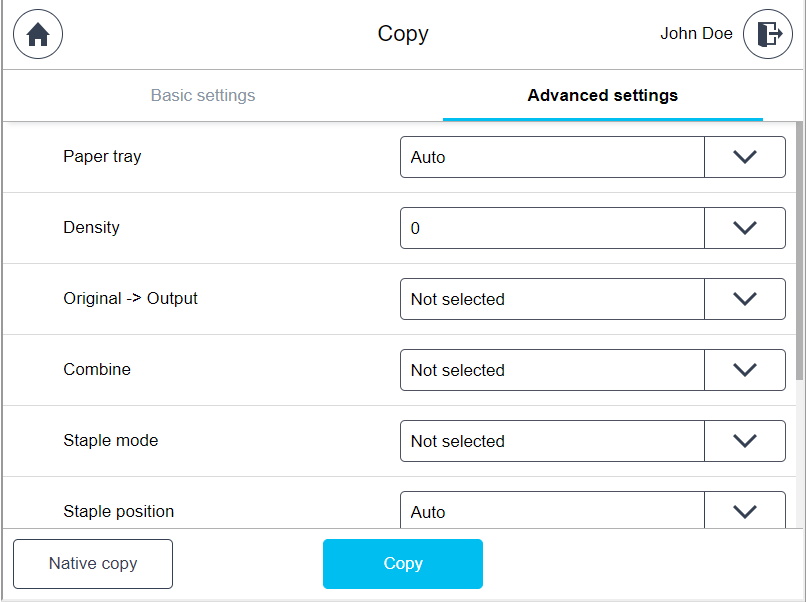
Only settings supported by the MFD will be displayed.
-
Tap Copy.
Your administrator may have also configured the ID Copy quick action. This instant action allows you to copy both sides of your ID/IC card and print them out on one sheet of paper.
Zoom
The Combine and Zoom functions cannot be used at the same time.
The Zoom function employs automatic zooming based on MFD available paper trays and your selected Paper tray. Zoom options are displayed depending on the selected Paper tray options:
-
If Paper tray is set to Auto (the default option) the Zoom options are determined by the paper tray sizes available at the MFD. This means that if the device has paper trays with different size formats, such as A3, A4, and B5, those sizes will be displayed as options for Zoom.

-
If Paper tray is set to a specific tray, then the Zoom option will be limited to the selected tray's paper size.
-
If Paper tray is set to Manual (meaning the manual override paper tray is selected as the input paper tray), then the Zoom behavior will be dependent on the selection of the Paper size option:
-
if Paper size is set to Auto, the Zoom option will also contain the Auto option.
-
If Paper size is set to a specific paper size, the Zoom option will also contain that selected paper size.
-
By selecting any Zoom option, the original document will be auto-rotated (if the MFD supports that), and the copy will be printed on the selected paper size and zoomed to match its dimensions.
The Zoom function supports the following paper sizes: A0, A1, A2, A3, A4, A5, A6, B0, B1, B2, B3, B4, B5, B6, LETTER, LEGAL, EXECTIVE, LEDGER.
Example:
-
If the detected original document size is A4, the selected Paper tray is Auto, and the selected Zoom is A3, the copy will be zoomed to A3.
-
if the detected original document size is A3, the selected Paper tray is Auto, and the selected Zoom is B6, the copy will be scaled down to B6.
-
if the detected original document size is A4, the selected Paper tray is Manual, the selected Paper size is Auto, the user loaded A5 into the manual feeder/tray override, and the selected Zoom is Auto, the copy will be scaled down to A5.
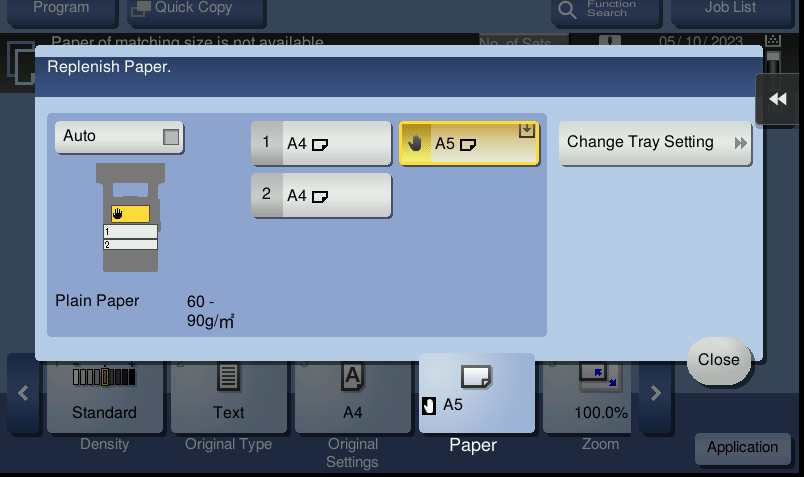
Note that for some MFDs, you must set the paper tray sizes manually in the Native copy application before you can use them in the Cloud Terminal.
Navigate to Copy > Paper > Change Tray Setting, and configure the paper sizes before first use.
For the Zoom function to work correctly, the auto-rotate feature must be supported by the MFD and should not be restricted for use by users. Administrators can check this at the MFD in Utility > Administrator Settings > System Settings > Restrict User Access > Restrict Operation.
Scanning
Using quick scan workflows
Log in to the terminal and tap any of the available quick scan workflows (tiles between My scan workflows and Copy).
Using all available scan workflows
-
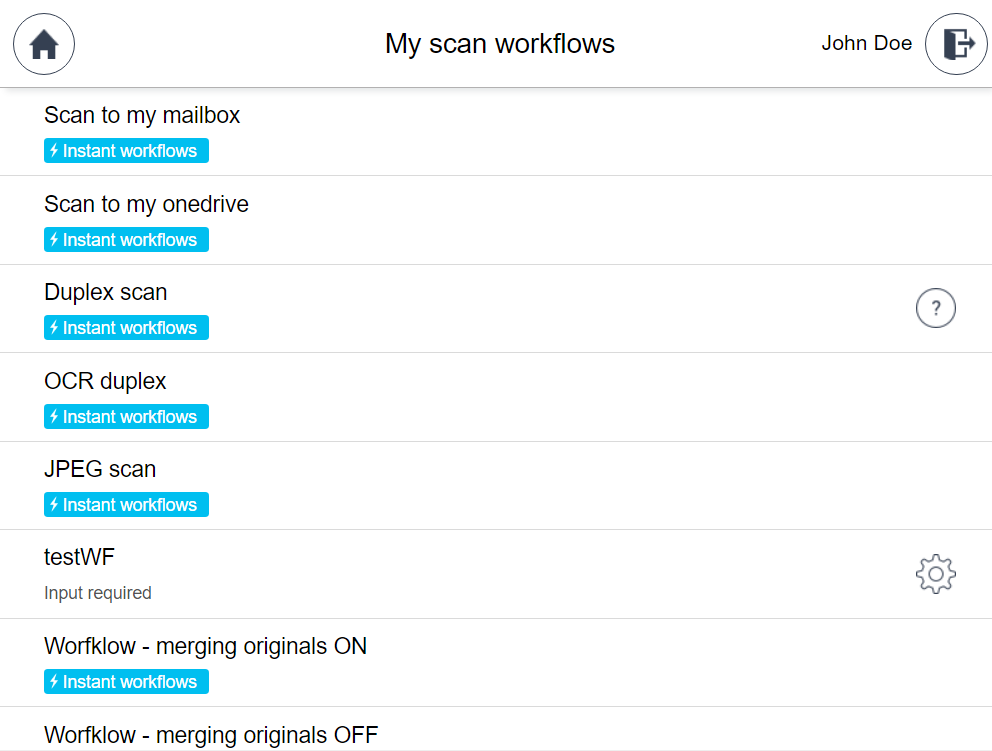
Log in to the terminal and tap My scan workflows. The list of all available scan workflows will be displayed. Note that some workflows may have only Workflow settings available, some may have only the Scan settings available, and some may have both. This depends on how your administrator configured them.
-
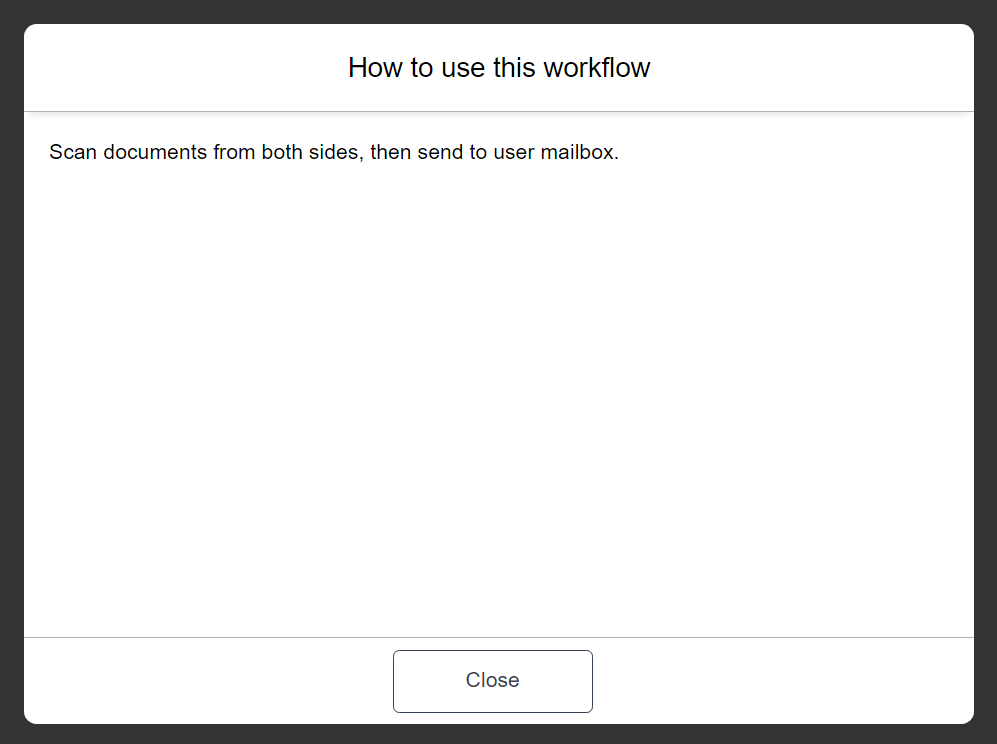
The question mark icon on the right side of a scan workflow shows there is more information about the workflow. Tap the icon to display the information. To get back to the list of scan workflows, tap the Close button.
-
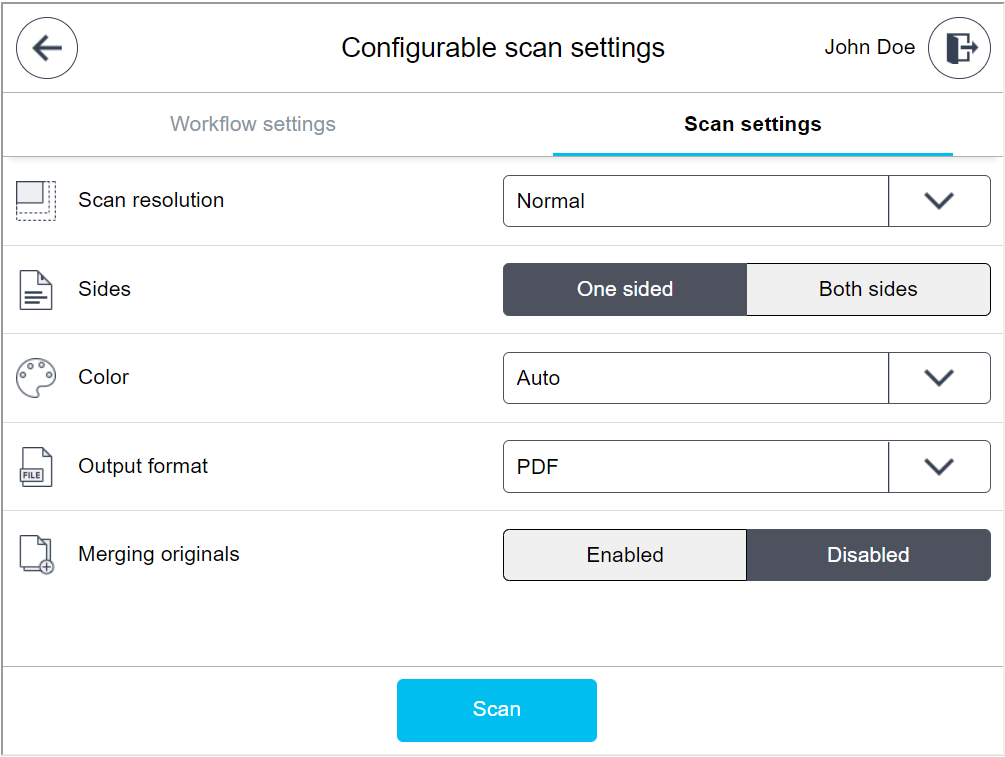
To use a specific workflow, tap anywhere in the row with the desired scan workflow. If some input is required for a specific scan workflow, you will see a screen with Workflow settings. Example:

-
If your administrator configured the workflow to allow you to change the scan settings, you will see the Scan settings tab. Tap it to modify the settings.
If you tap Scan settings before filling in the workflow settings, you will see a warning message that the workflow settings must be configured.
-
Tap Scan.
Advanced (native) scan functionality
If you wish to use the MFD's native scan functionality, tap Advanced scan on My quick actions screen.
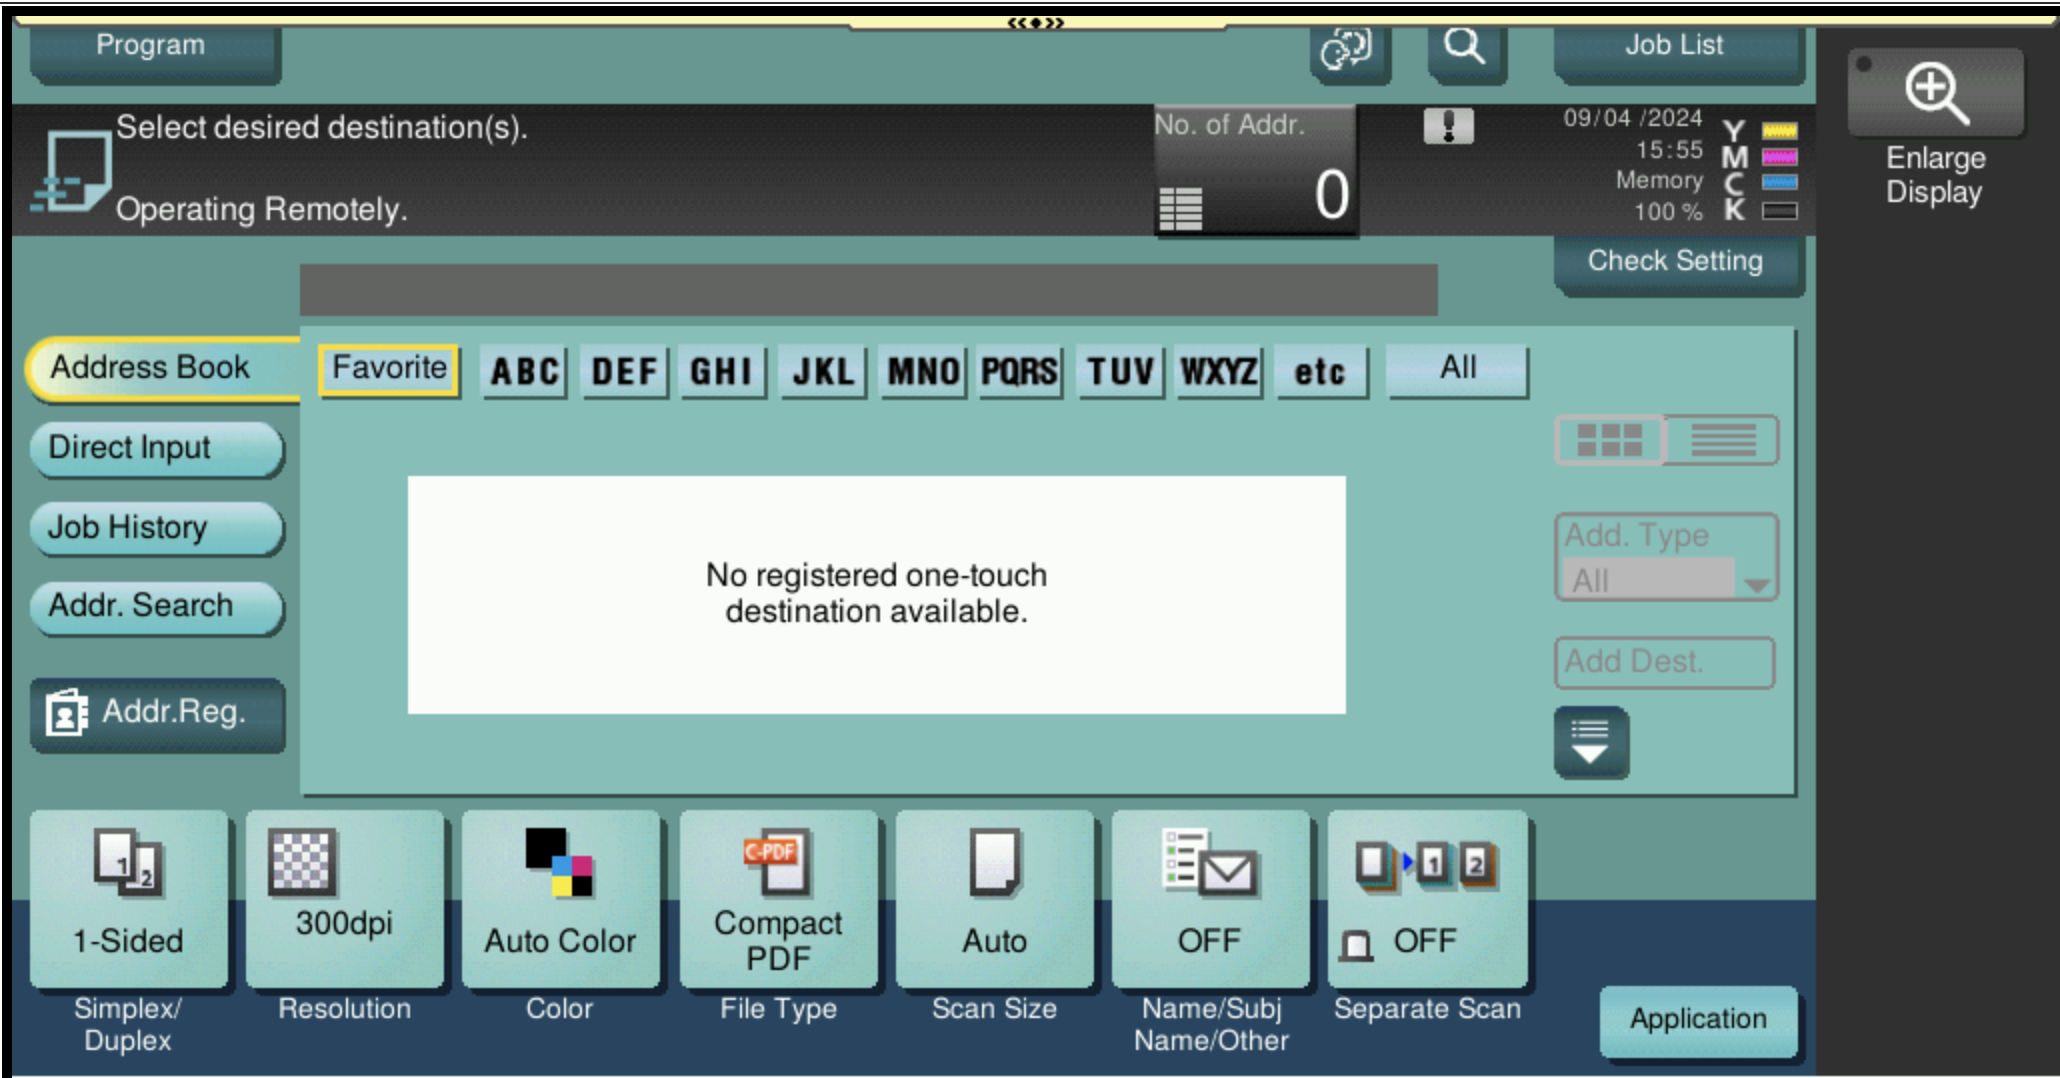
Note that if you want to return to the Cloud Terminal after using this functionality, you must open it and log in again.