
Relevant Products
Cloud Terminal is available in BREEZE MFD PRO MFD
Registering your card
See Card registration at the MFD.
Logging in and out
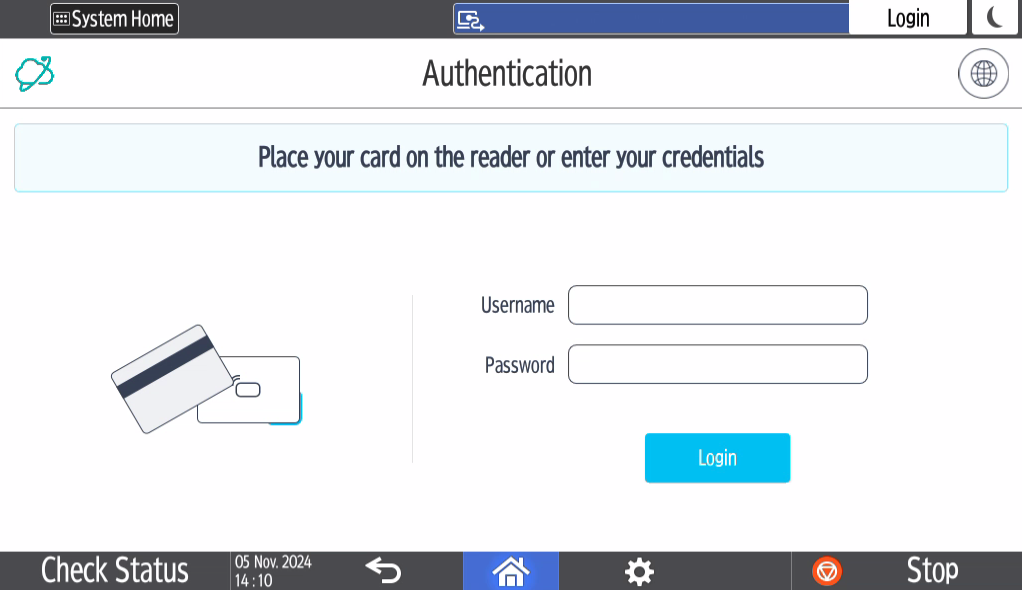
Logging in
The authentication method depends on how your administrator configured the terminal. You can log in via card, PIN (Short ID), username/password, or their combinations. Follow the instructions on the screen.
Logging out
Tap the logout button in the right-hand top corner of the screen.
If the terminal is configured to use authentication by card, you can also log out by placing your card on the card reader.
My quick actions application
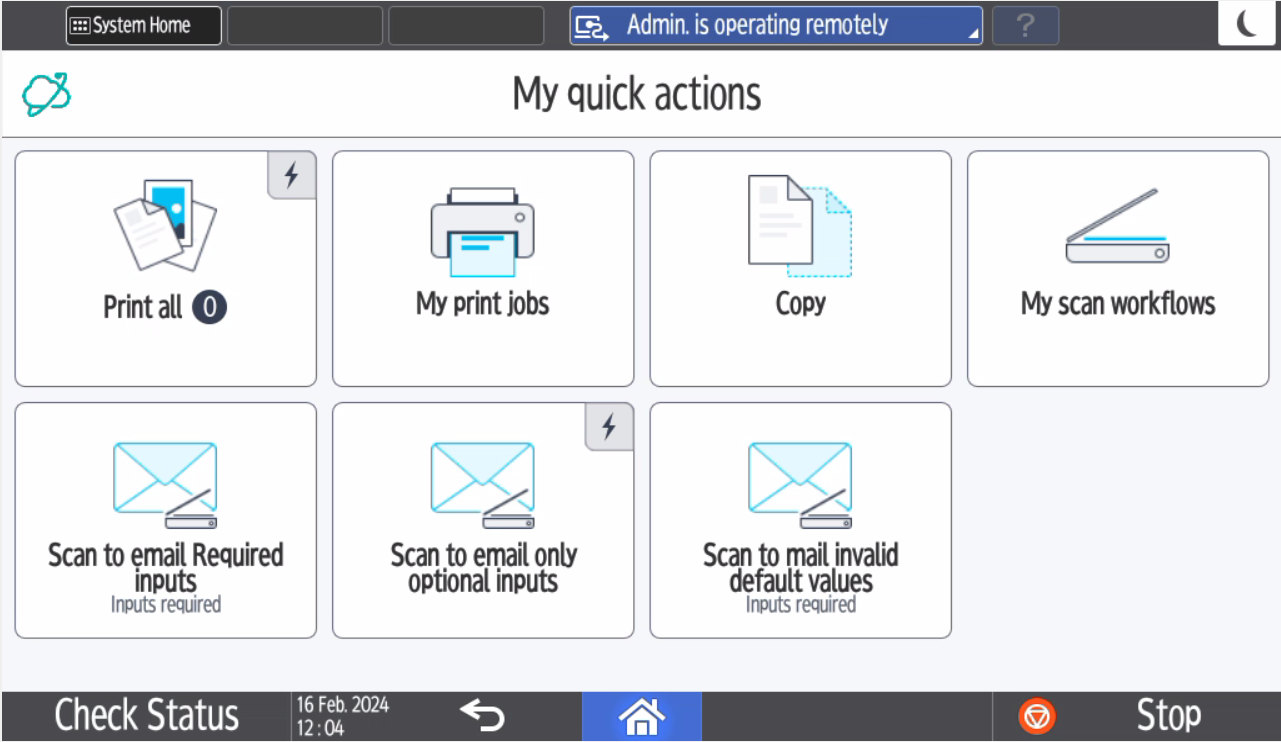
My quick actions application enables you to access frequently used functions, such as print all jobs or use a scan workflow immediately after login. The quick action buttons are displayed according to your rights and scan workflows assigned to you.
Printing and managing jobs
-
Log in to the Cloud Terminal. You will see My quick actions screen.
-
If you wish to release all of your print jobs, tap Print all.
-
If you wish to release only a specific print job or jobs, tap My print jobs.
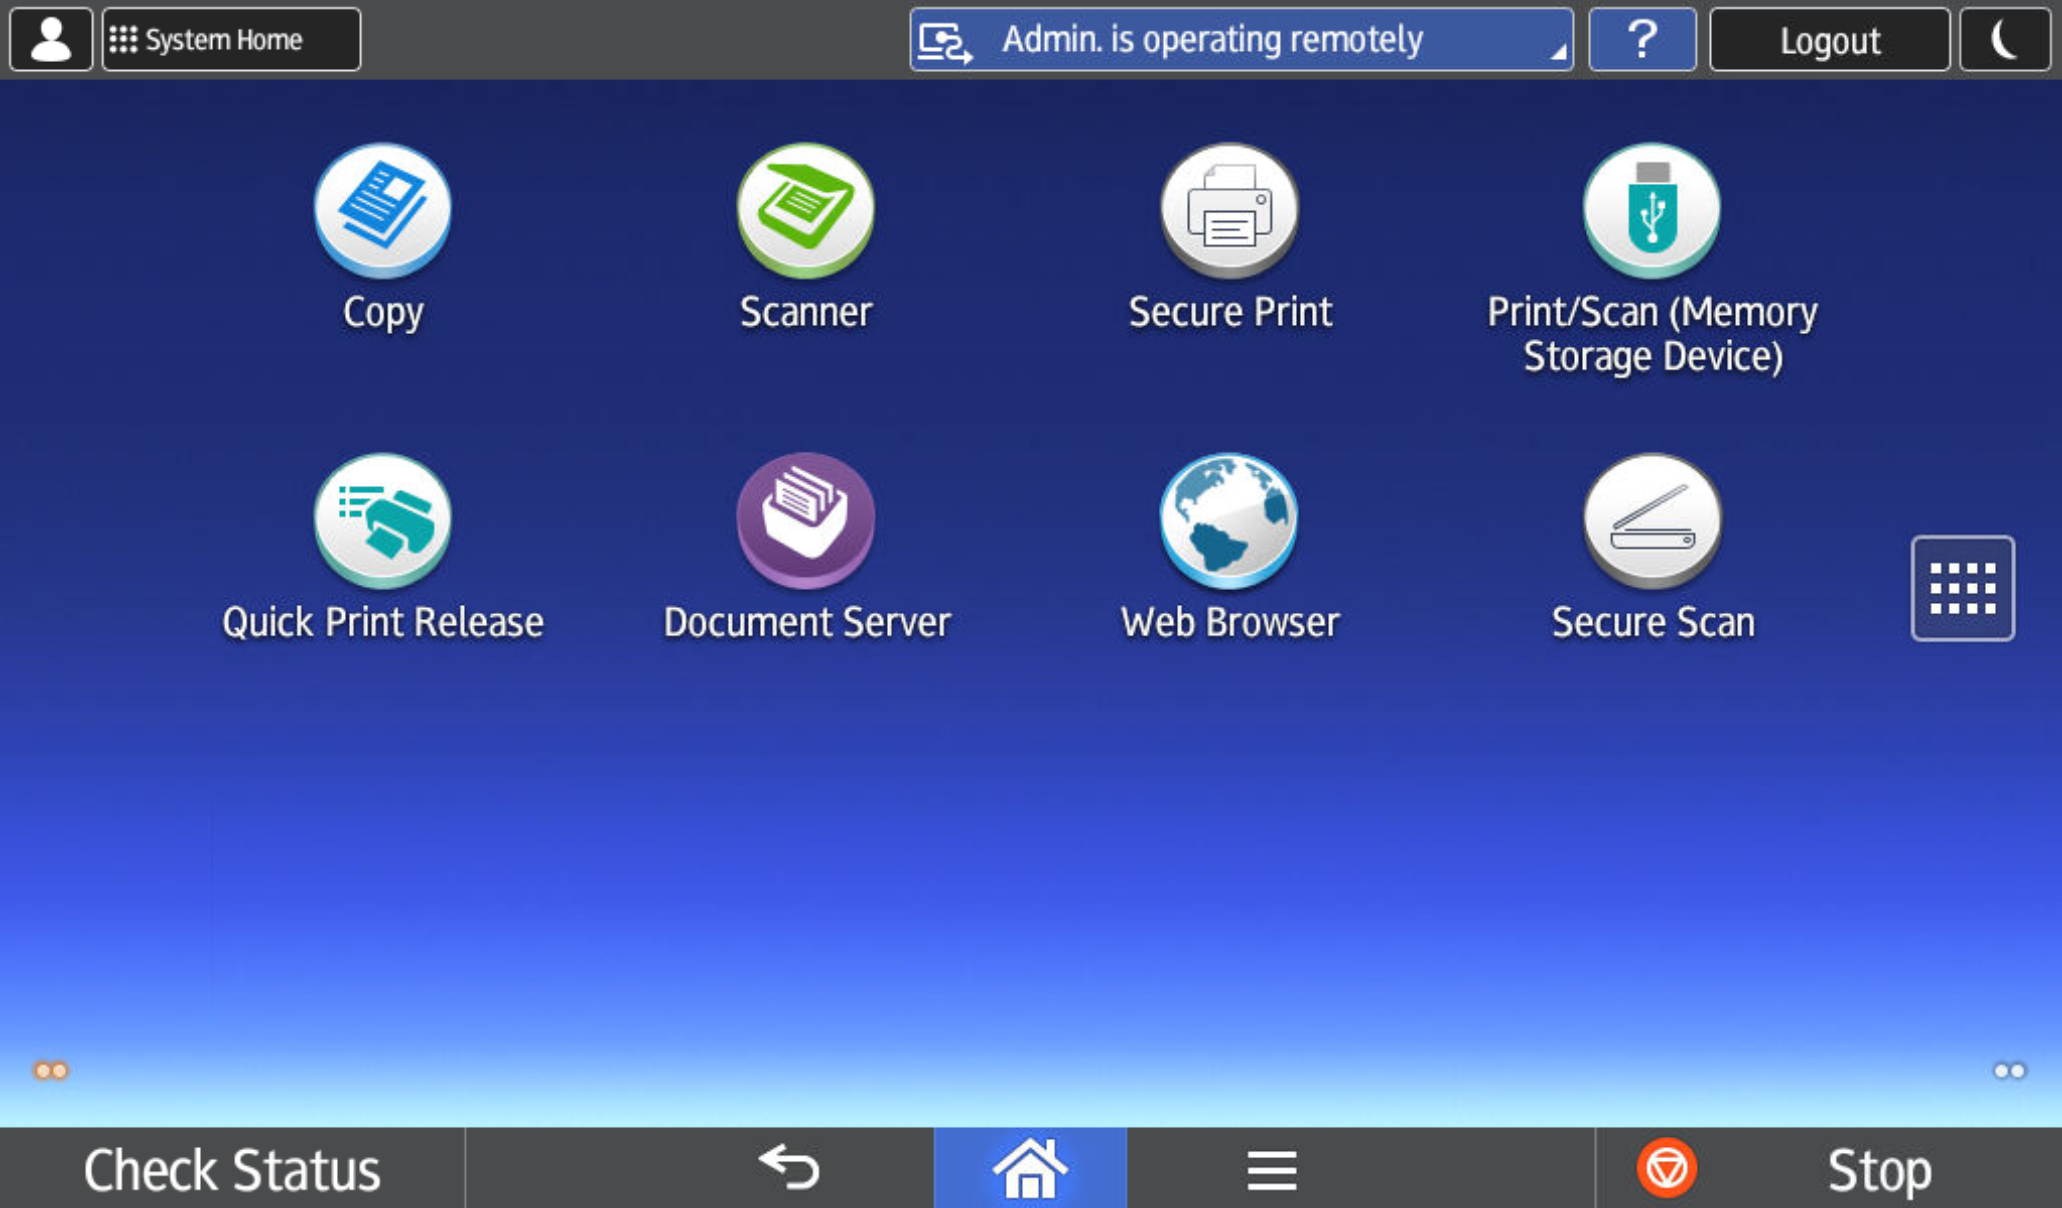
If you are in another application than My print jobs, tap the Home button to access the home screen and then tap Secure Print.
-
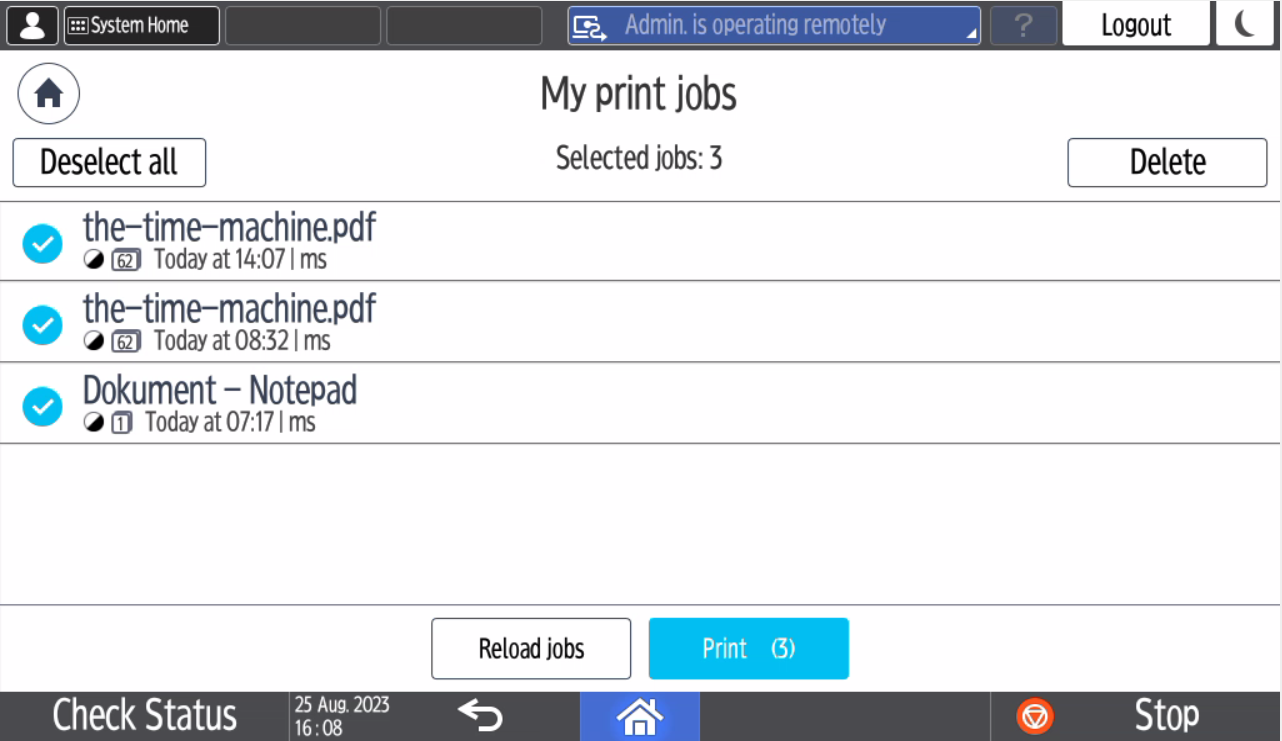
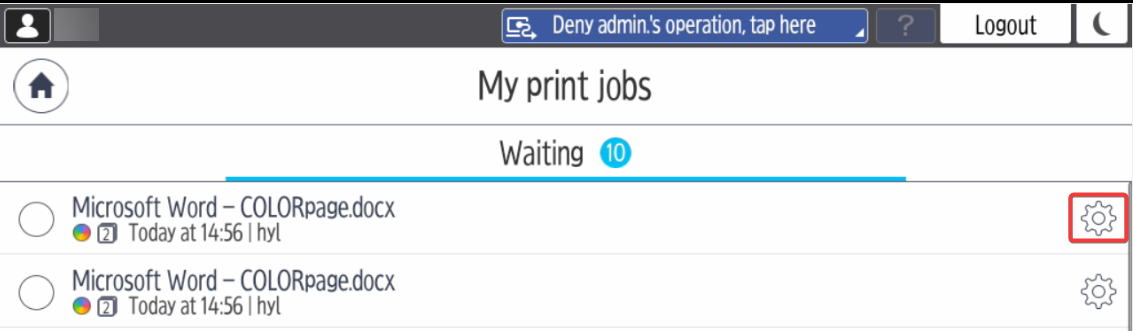
My print jobs screen will be displayed. Select the print job(s) you wish to print from the list and tap Print. You may also delete selected print jobs by tapping Delete.
-
To modify the finishing options (Color, Sides, and Number of copies) before printing, tap the cogwheel icon next to the job.
-
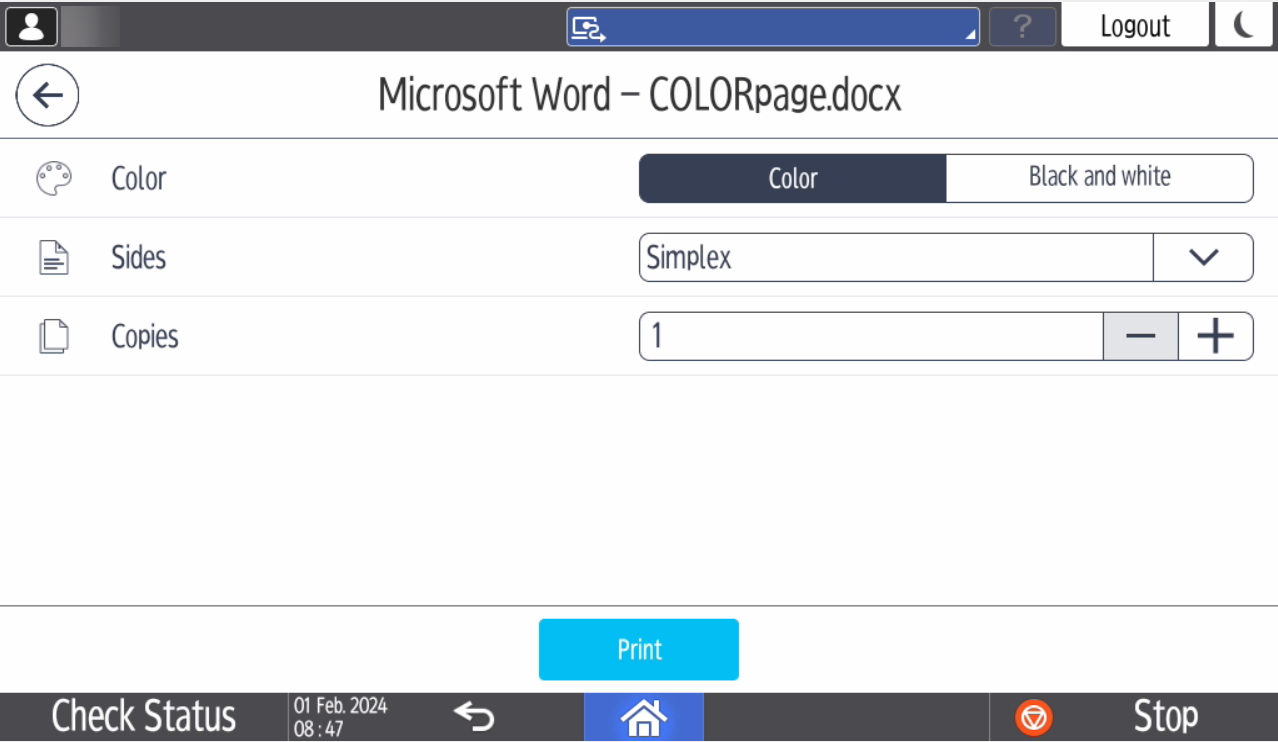
Change the settings according to your needs and tap Print.
-
The Color option is greyed out on MFDs that don't support color printing.
-
In Sides, you can select between Simplex, Duplex (Flip on Long Edge), and Duplex (Flip on Short Edge).
-
The range for the number of copies is between 1 and 1000. You can modify the number by tapping the plus and minus buttons or by entering it directly into the text field.
-
-
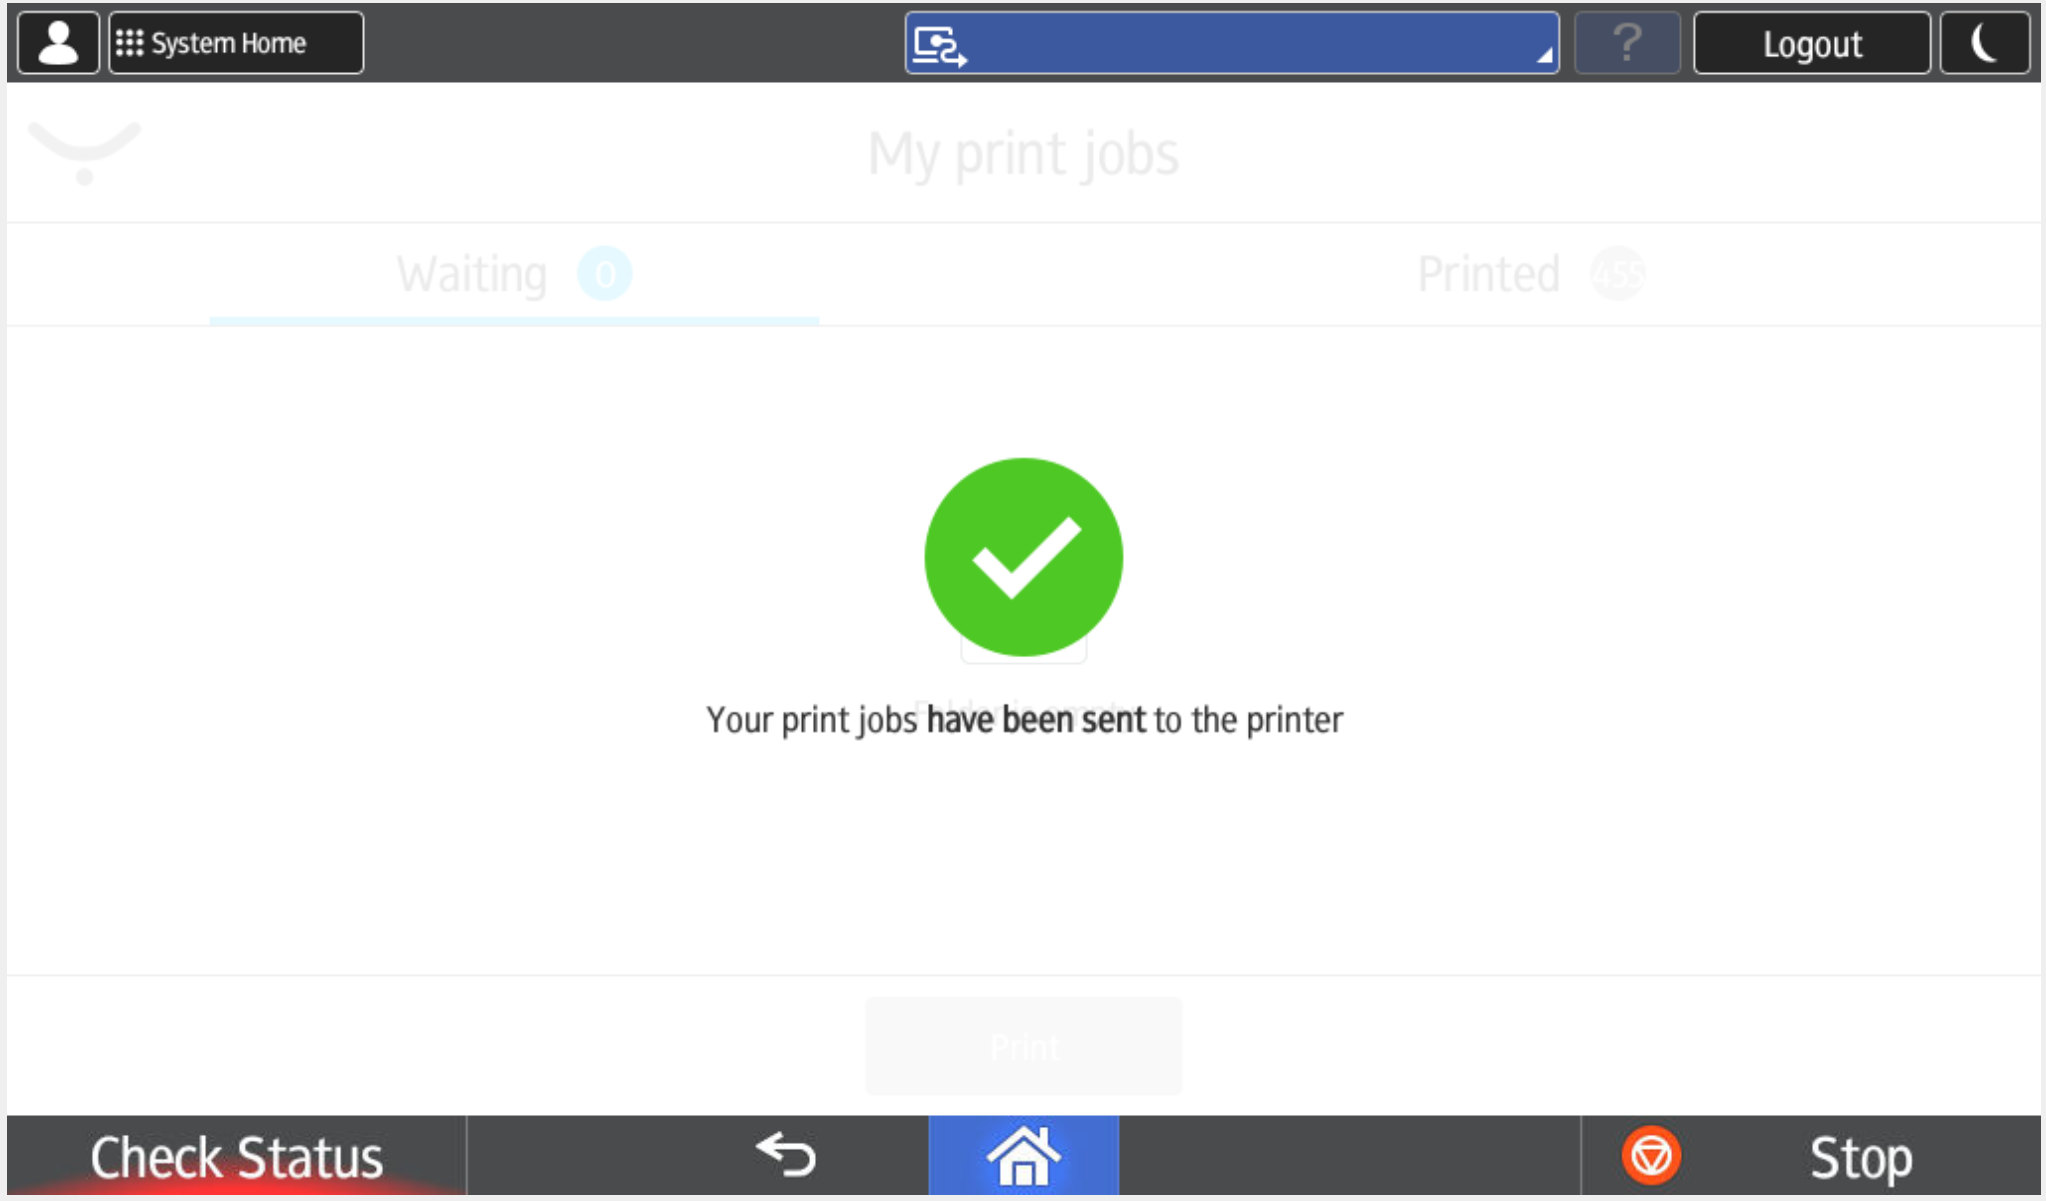
After tapping Print, you will see a status screen with progress.
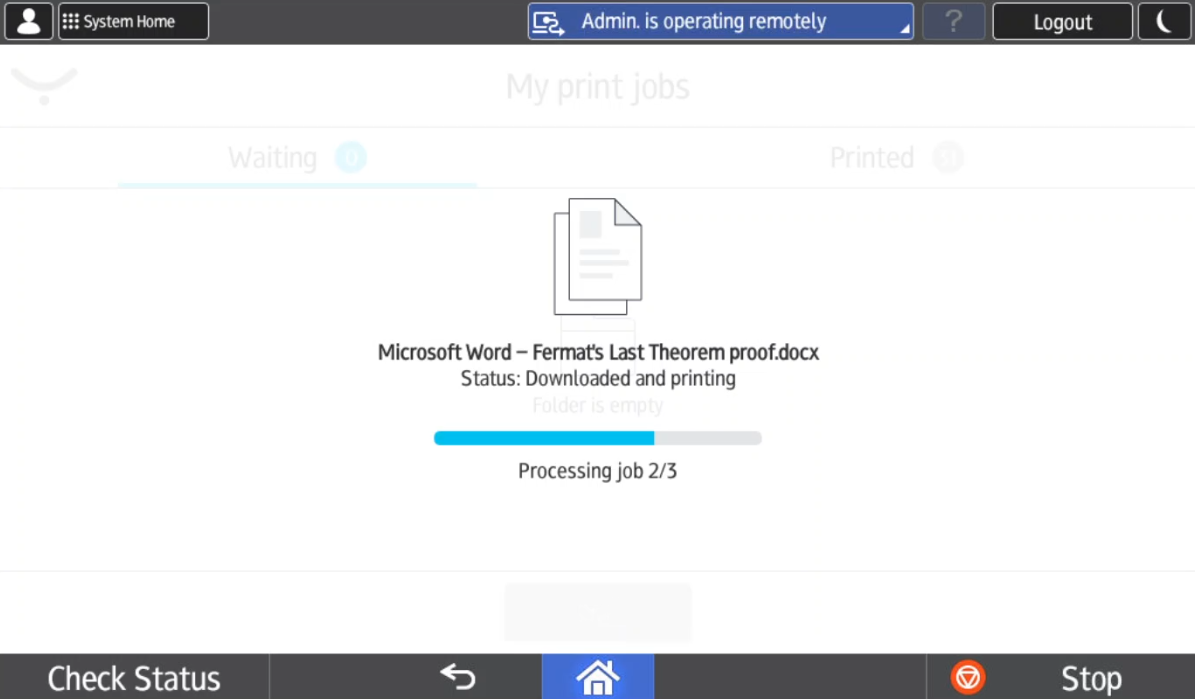
Above the overall progress, the status of the currently processed job is displayed with one of the following values:
-
Waiting – The job is yet to be processed.
-
Printing – The server tries to print the document from any location with network visibility to the printer (called "optimized print."). Without network visibility, the print method will change to Downloaded and printing.
-
Downloading – The job is being downloaded for print by the Cloud Terminal.
-
Downloaded and printing – The downloaded job is being printed by Cloud Terminal.
-
-
After the last job has been delivered, a success message will appear.
-
If any job fails to be printed, the following error message with the number of failed jobs will appear: "X/Y jobs failed to print. Please try again or contact your administrator."
Copying
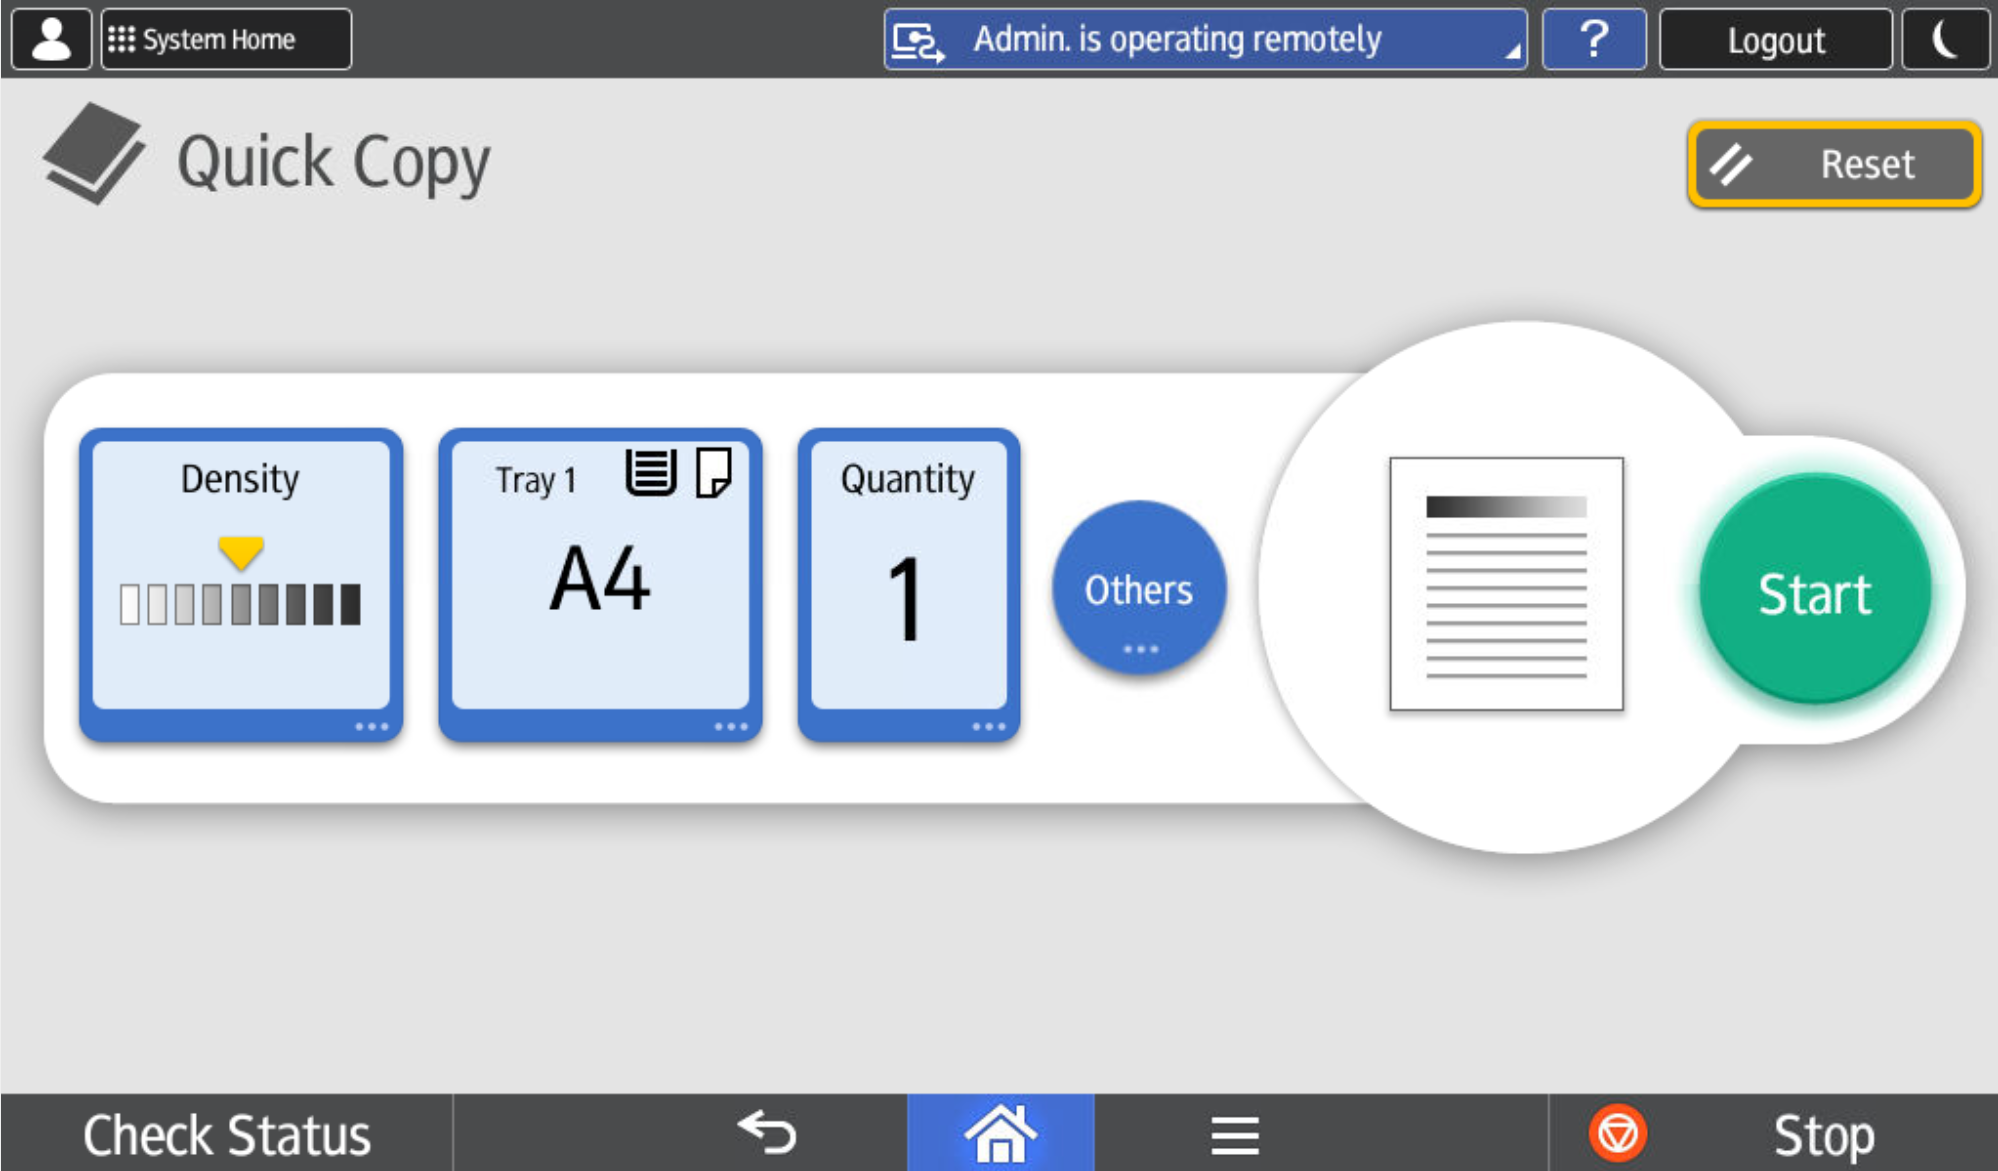
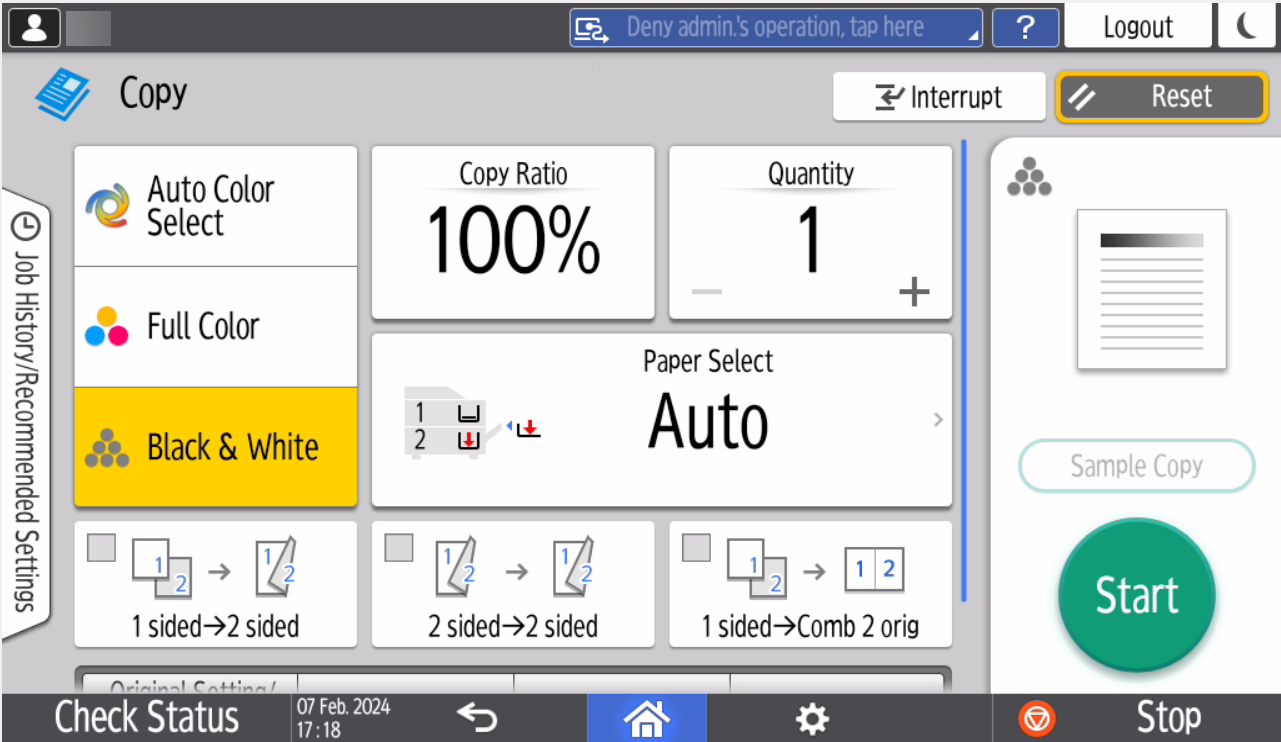
If you have copy permissions in SAFEQ Cloud and your MFD has the native Copy and/or Quick Copy applications installed, you will see a Copy button in My quick actions. Tapping it will take you to Quick Copy or Copy application, depending on which of them is installed. If both of them are installed, the Copy button will take you to Quick Copy application.
In Quick Copy, you can modify basic copy options. Tap Start to start copying.
The Copy application offers you more options, depending on the capabilities of your MFD. Tap Start to start copying.
Scanning
-
Log in to the terminal. You will see My quick actions screen.
-
You can run scan workflows from My quick actions screen or from My scan workflows screen.
-
My quick actions screen displays the first three workflows from all scan workflows that your administrator made available to you. Tap the workflow you wish to execute. The workflow will start immediately.
-
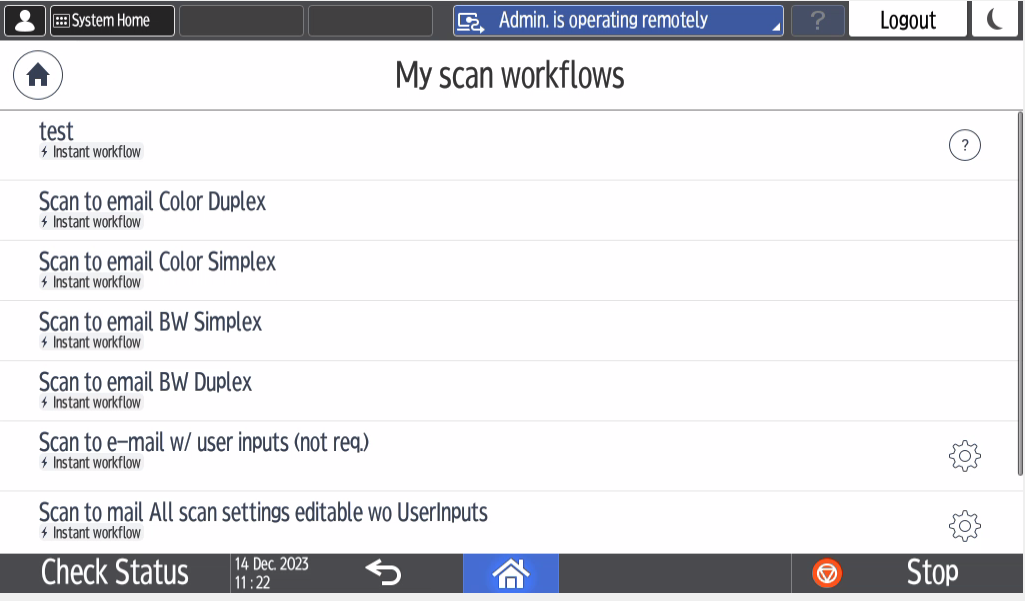
My scan workflows screen displays the list of all scan workflows available to you.
If you are in another application than My scan workflows, tap the home button and then tap Secure Scan.
-
Tap the workflow you wish to execute. The workflows that do not require any user input are called instant workflow and are marked with a flash icon. If you need more information on a particular worklow and how to use it, tap the
-
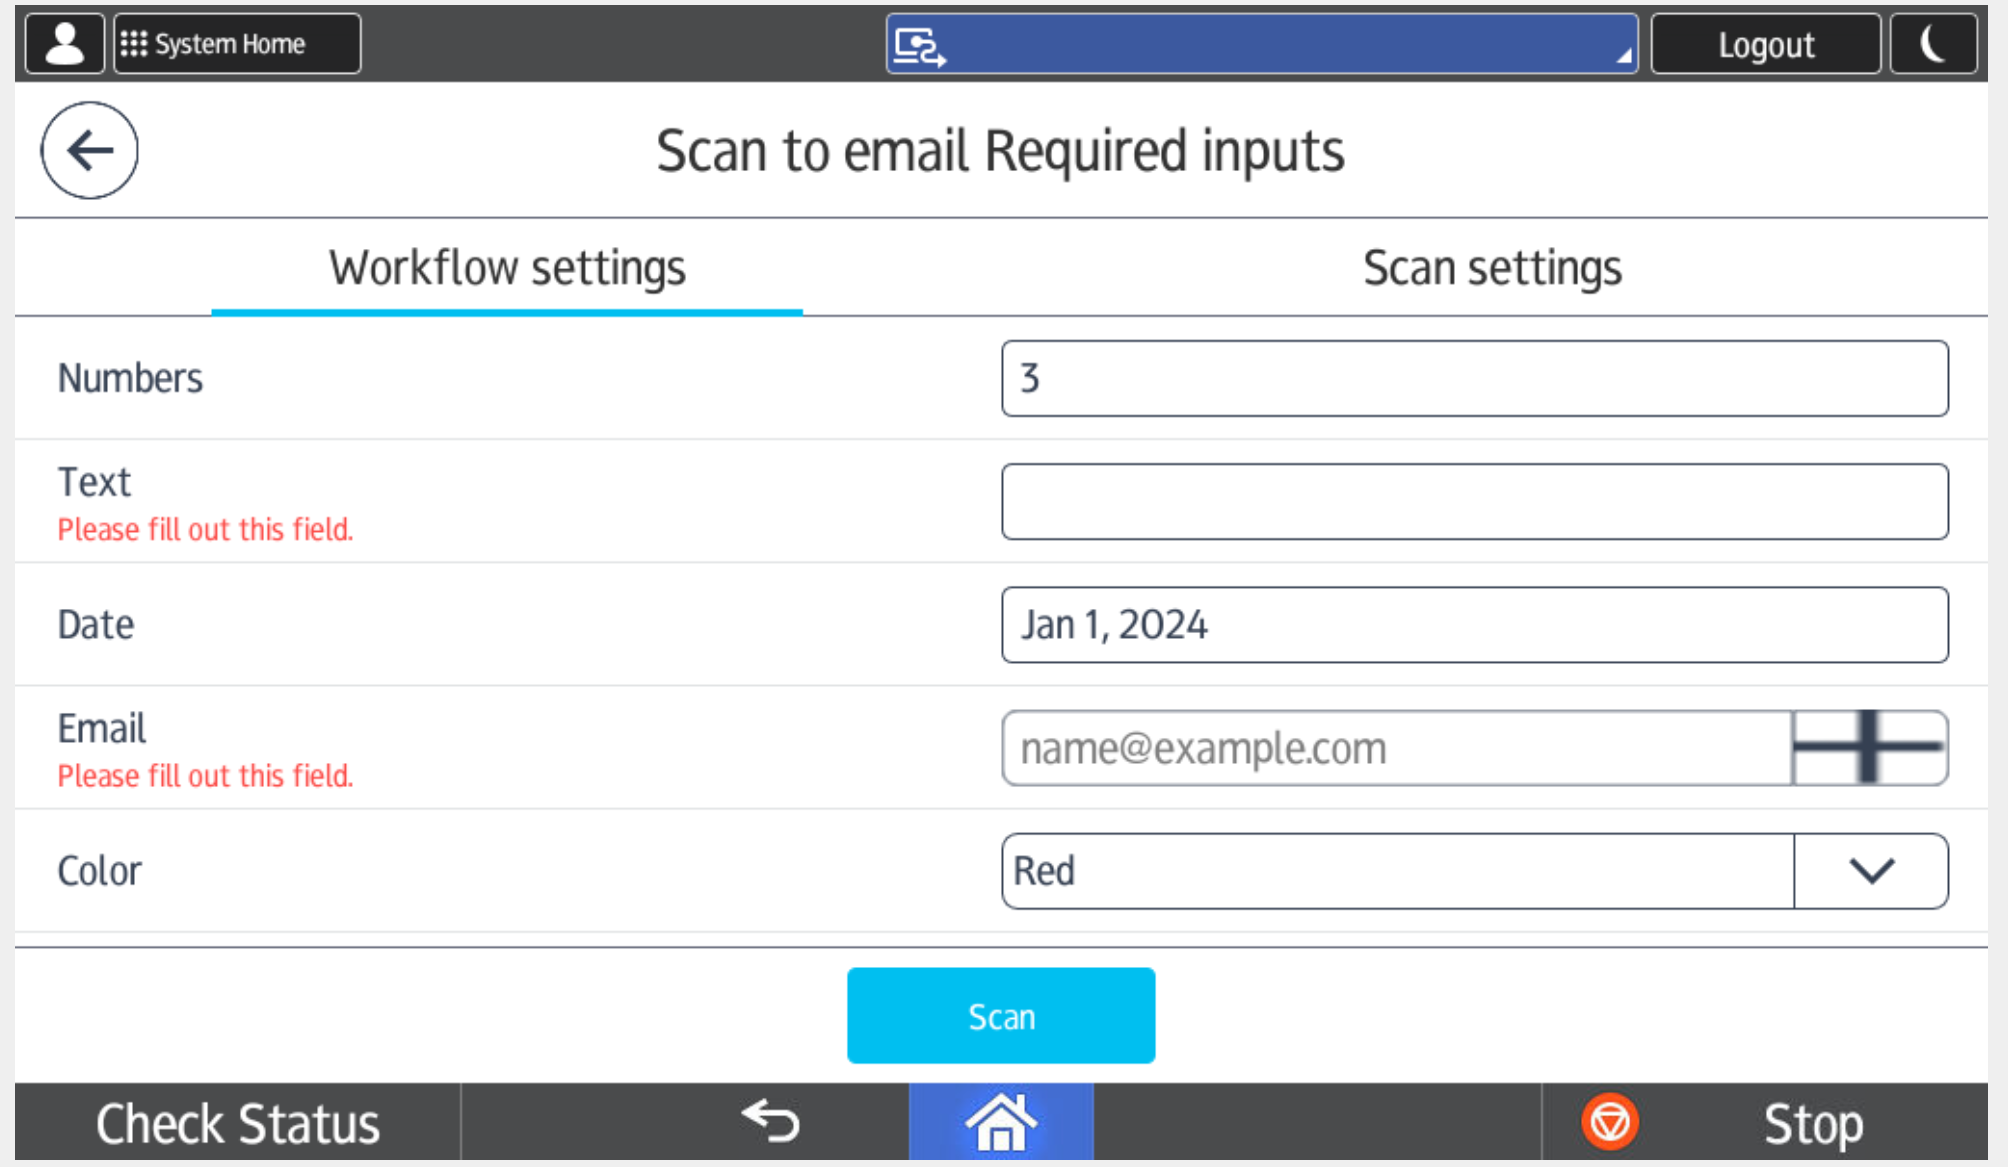
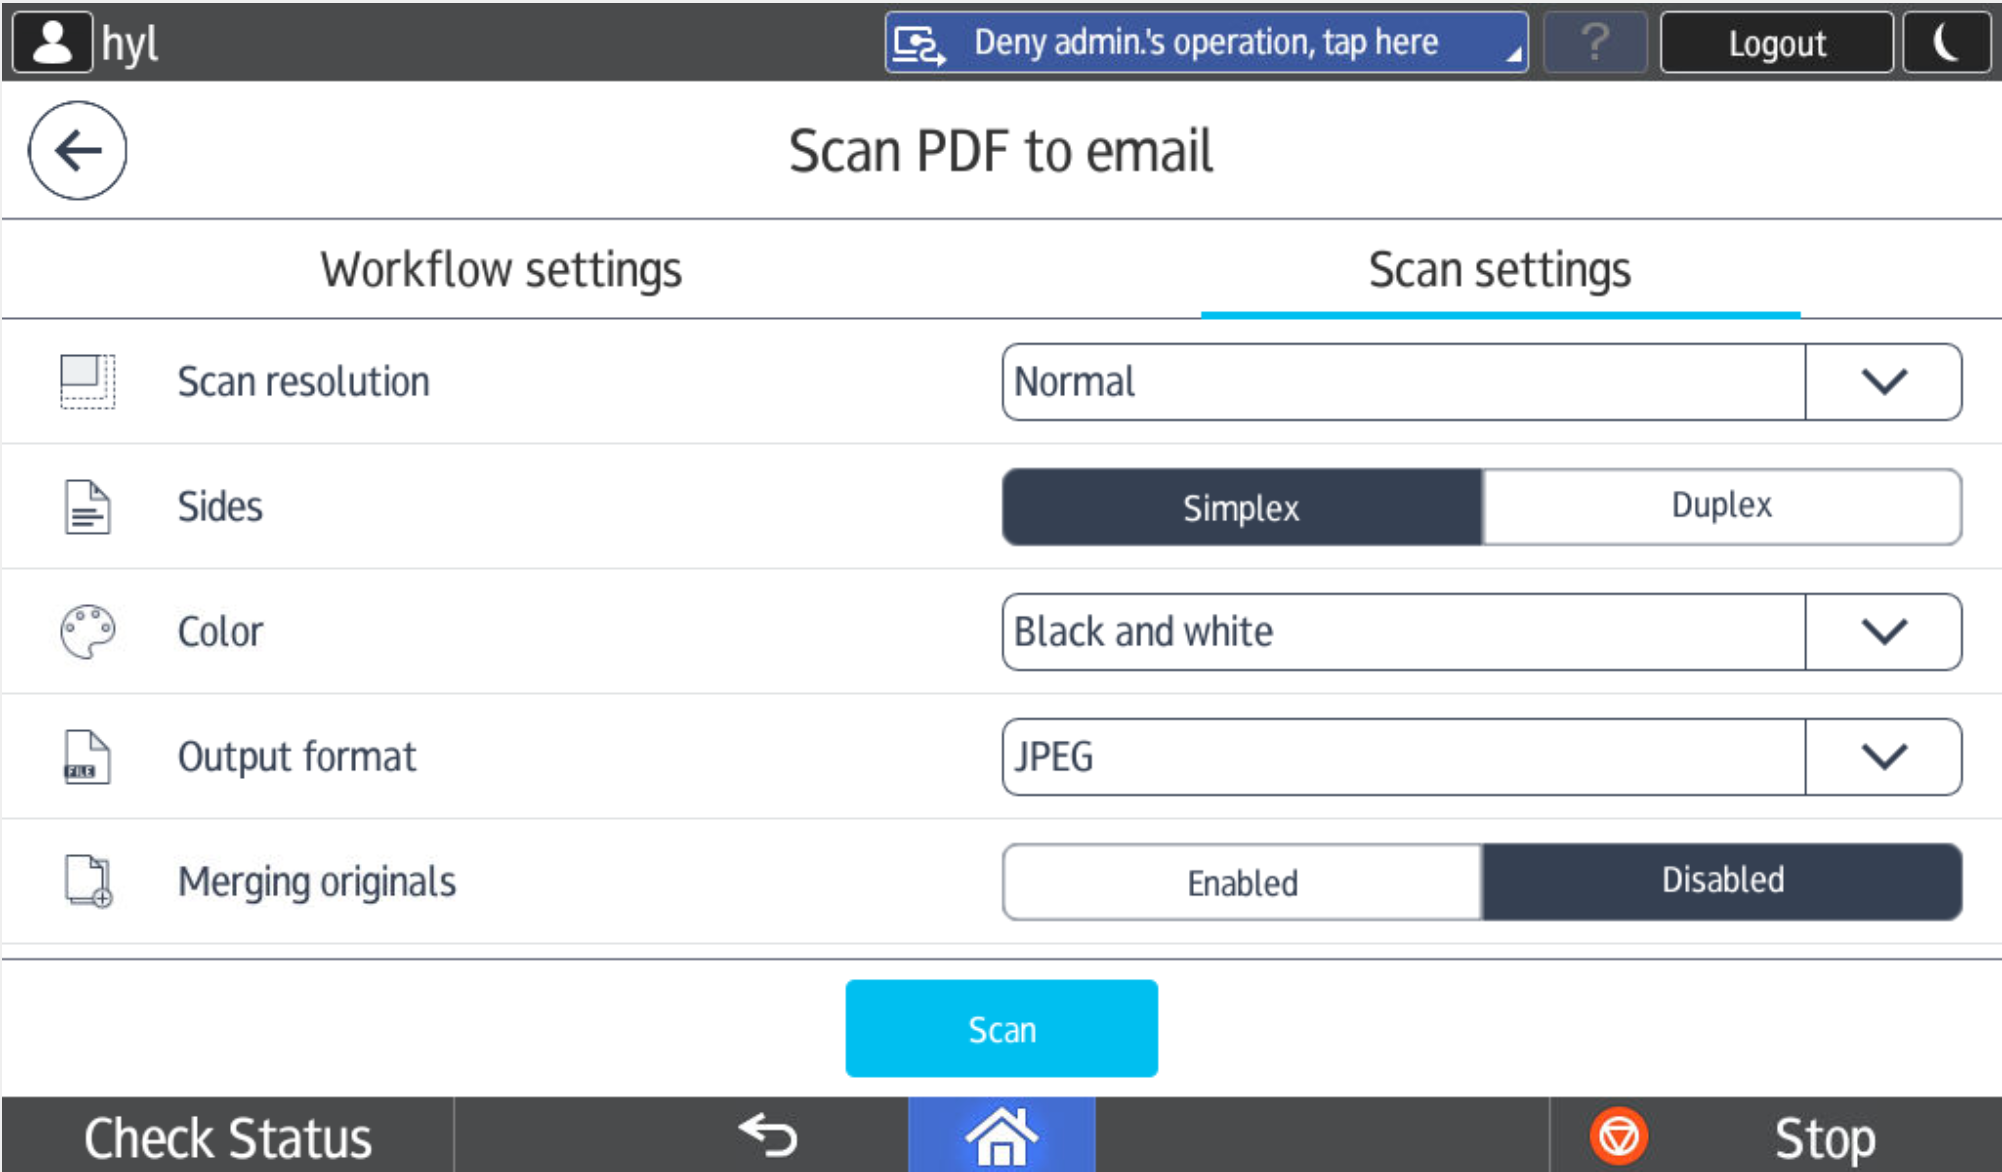
If a workflow is marked with Input required, tapping it will take you to Workflow settings and/or Scan settings. Note that the available settings depend on how your administrator configured the workflow. Alternatively, you can access these settings by tapping the gear icon.
-
The Workflow settings tab is displayed only if the workflow has at least one user input. Fill in the required information (marked in red). You can leave the other fields empty if you do not wish to modify them.
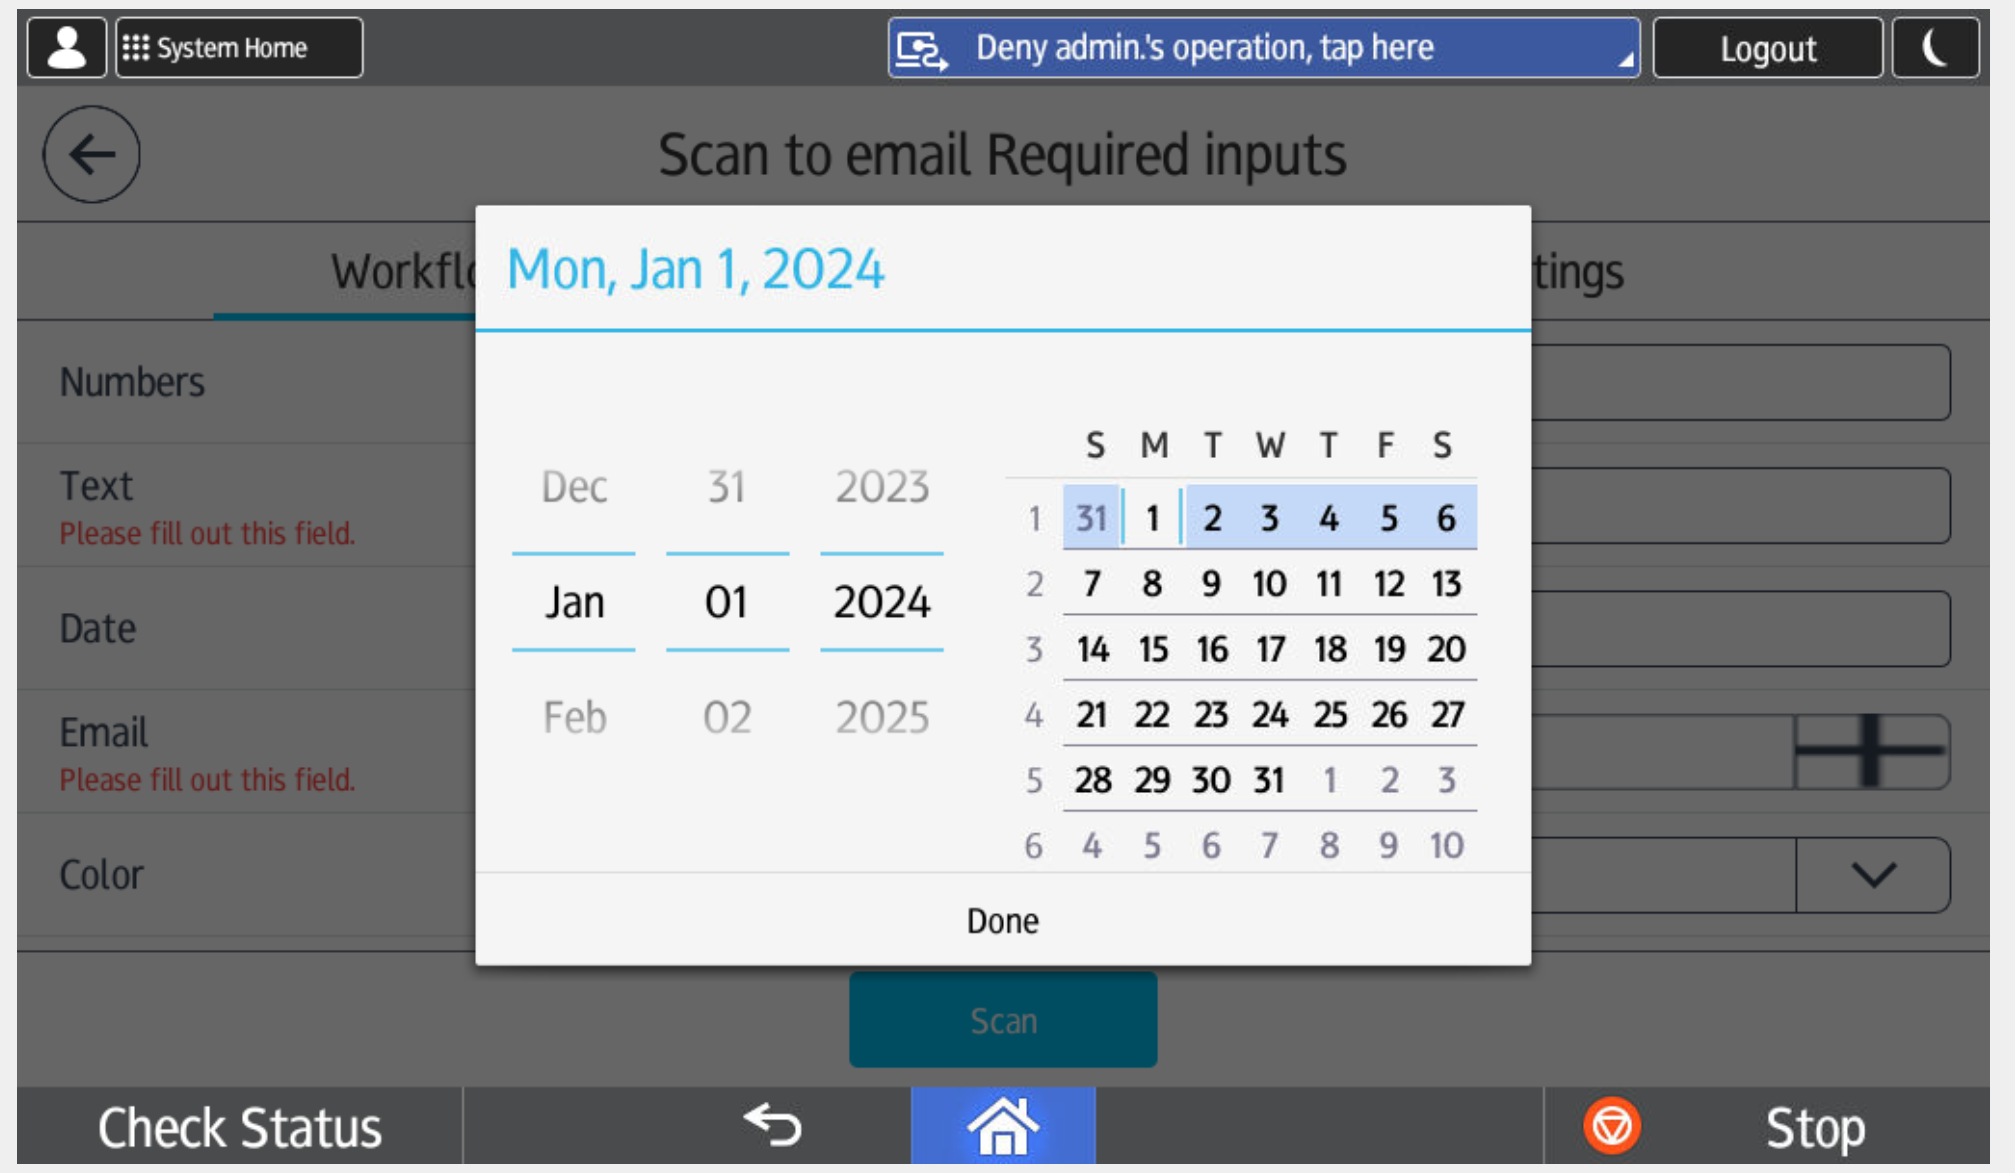
If the format of your input does not pass validation, you will see an error message. If the date field value is incorrect, the date picker will try to adjust it automatically, but the error will still be displayed.
-
To enter the date, tap the date field and scroll through the dates on the left side, or select the day in the month using the calendar view on the right.
-
You can input an email address manually, or tap the + icon next to the email field to open the search dialogue and select an existing email address. You can input multiple email addresses.
-
-
The Scan settings tab is displayed only if the workflow has at least one scan setting. Select the options according to your needs.
-
Tap Scan.
-
-
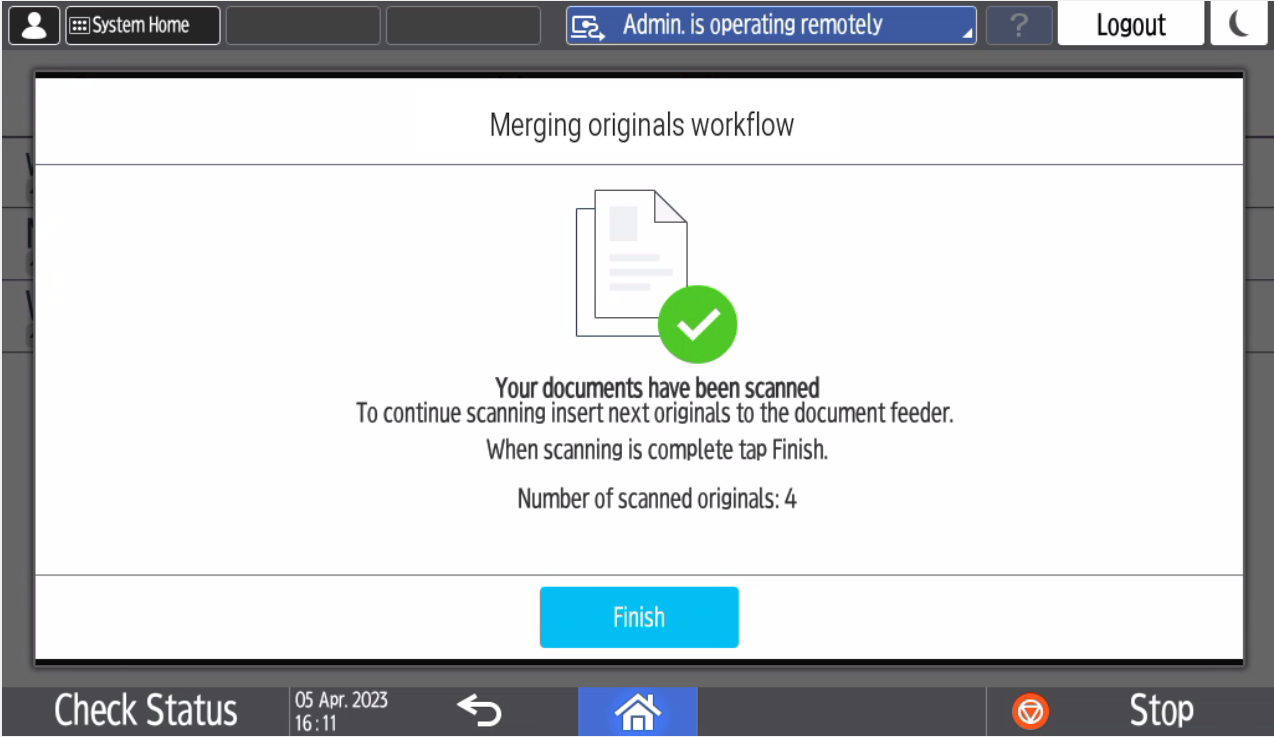
While scanning, you will see the Scanning workflow in progress screen. When scanning from glass or having Merging originals enabled, the following screen will be displayed when the scanning is finished.
-
If you want to continue scanning, insert more documents into the document feeder. Otherwise, tap Finish.
-
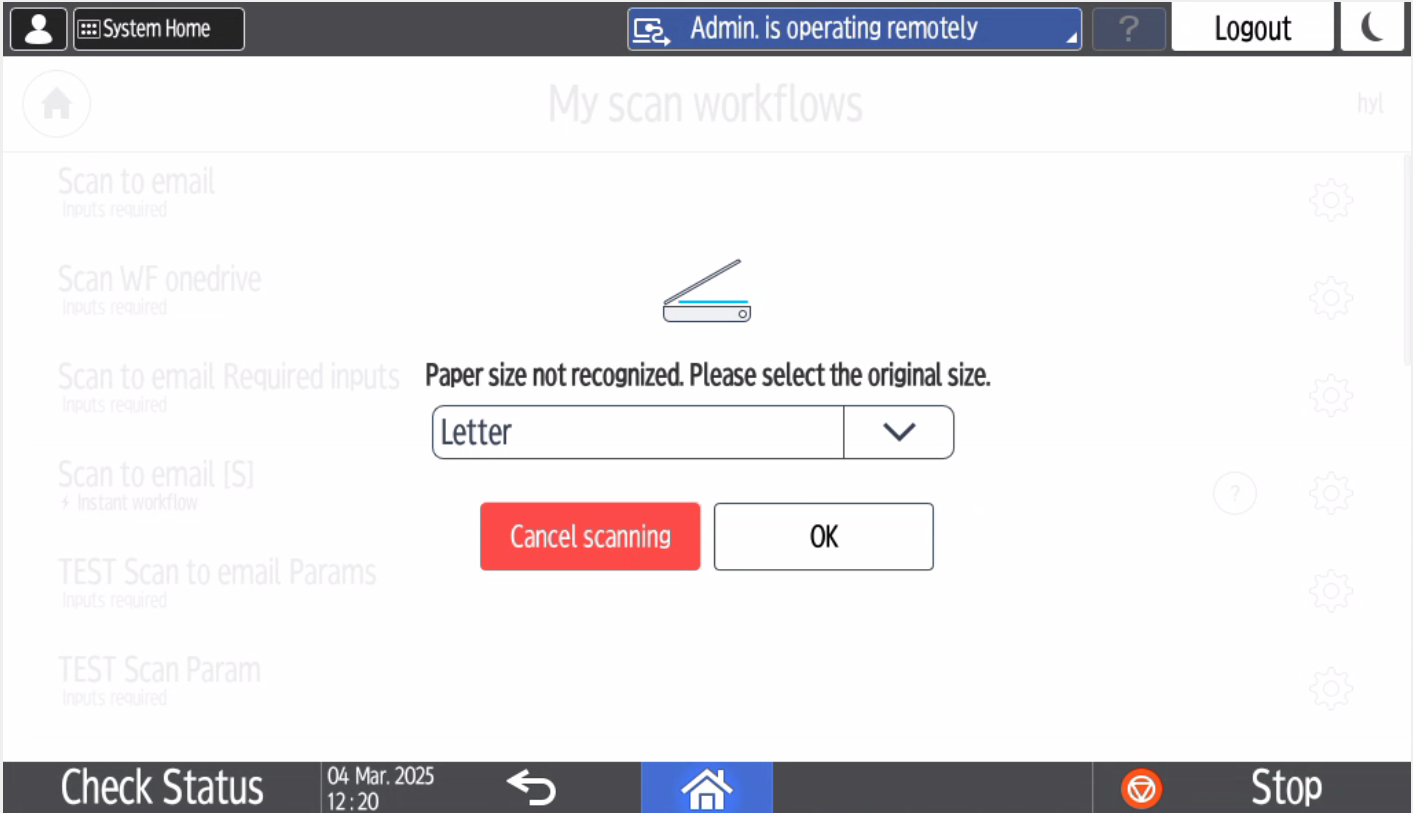
If the size of the paper on the glass is not recognized, you will see the option to select it manually. Tap OK to continue scanning. There is also possibility to cancel the scan job by Cancel scanning button.
Troubleshooting
Printer issues during printing
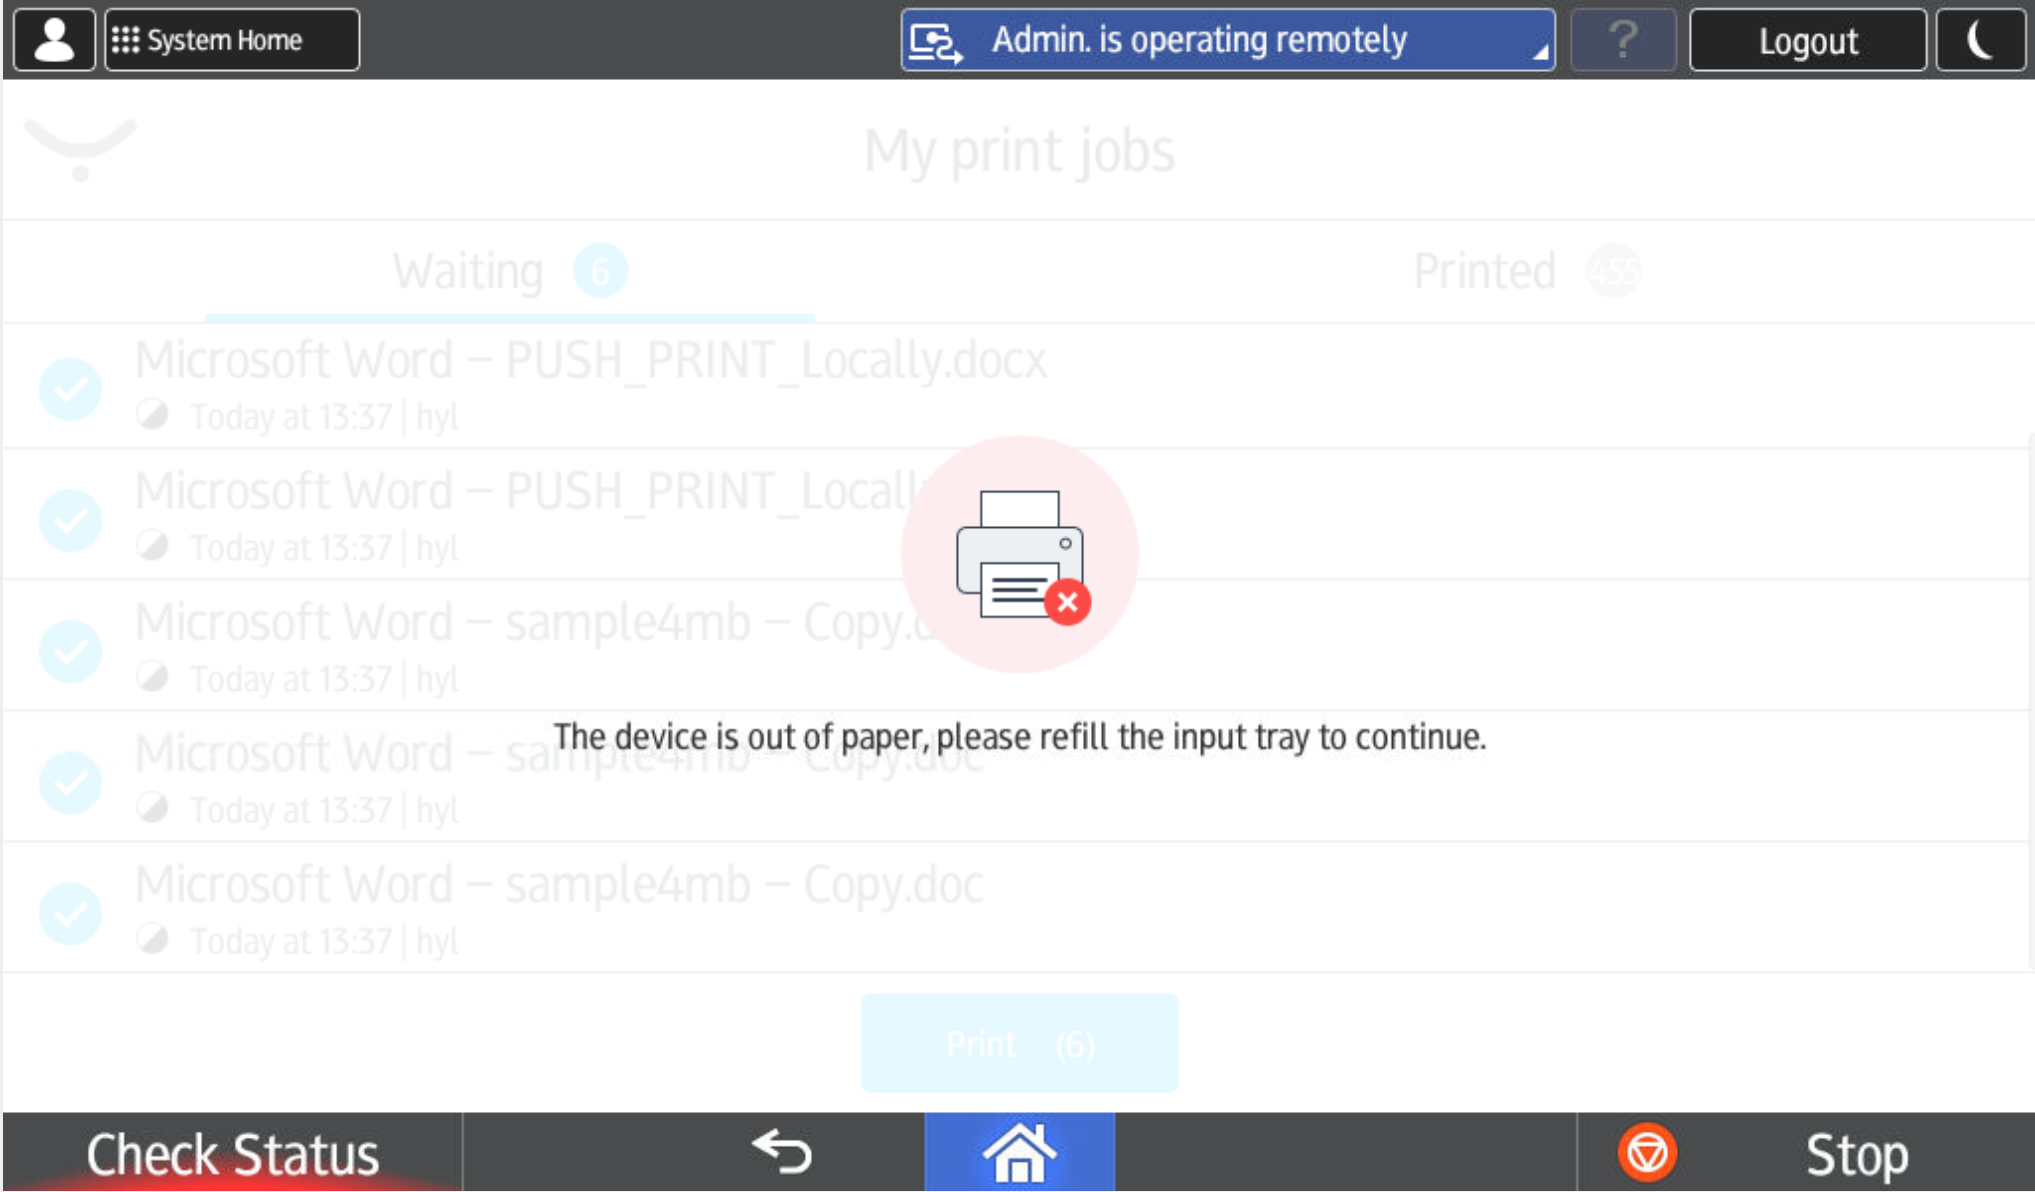
If there is an issue with the printer during the Printing phase, the Check Status button at the bottom will have a red illumination.
If there is an issue with the printer during the Downloading or Downloaded and printing phase, the Check Status button on the bottom will have a red illumination and the following message will appear:
Paper jam during scanning
If a paper jam occurs during scanning, you will see the Scanning error screen.
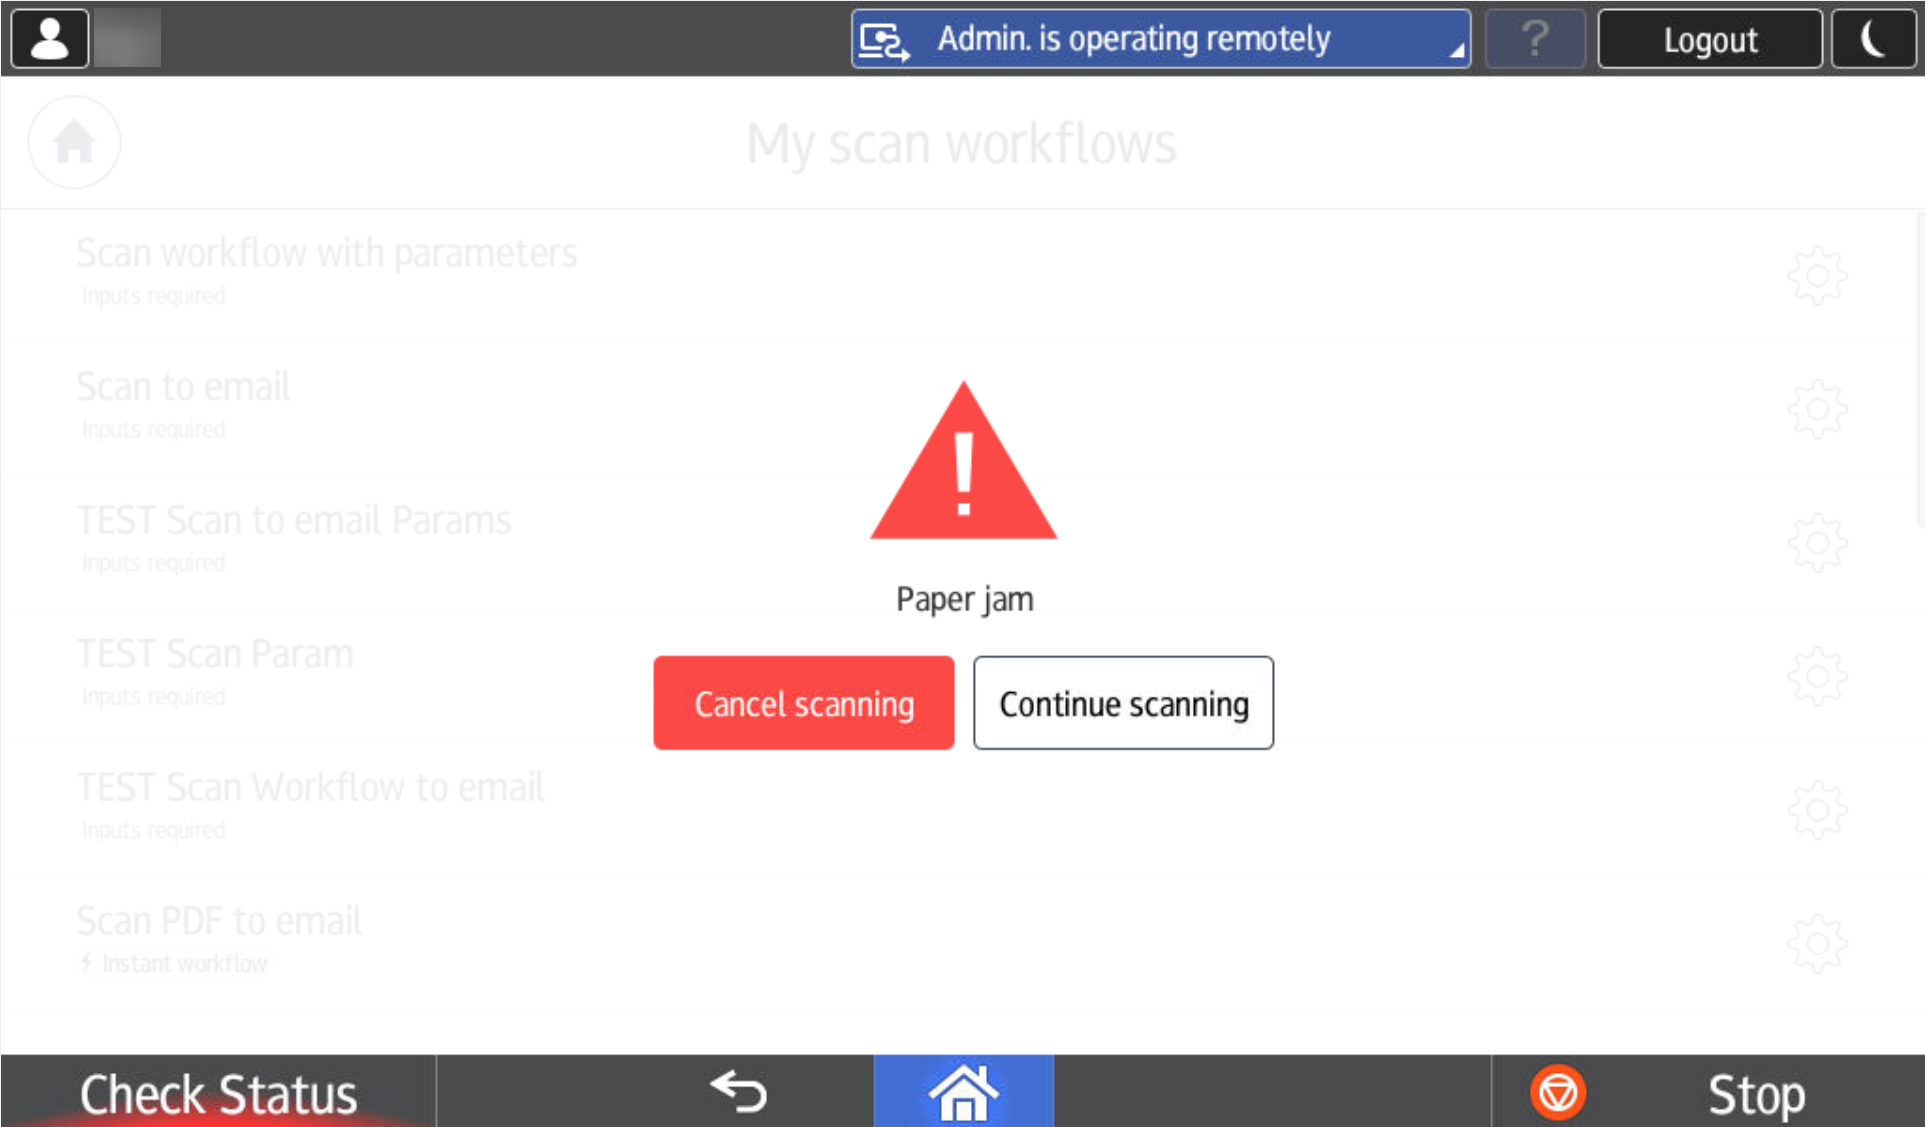
After removing the jammed paper, you can cancel the scan job by tapping Cancel scanning or continue the scanning by tapping Continue scanning.
Empty screen in My scan workflows
If your screen with workflows is empty, it means that no scan workflows have been assigned to you by your administrator. Contact your administrator.