
Relevant Products
Chrome Extension is available in BREEZE MFD PRO PRINT PRO MFD
Prerequisites
-
Your administrator has installed and configured the extension for you.
-
To use SAFEQ Cloud Chrome extension with autologin, you must enable account synchronization in Chrome (see section Enabling account synchronization in Chrome of this page).
Logging in
a) Login with SAFEQ Cloud login page (recommended)
-
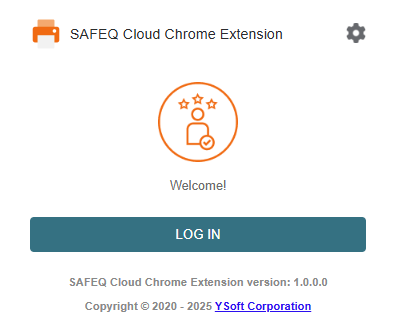
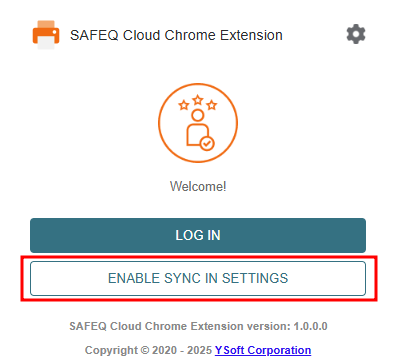
Click the extension icon in your browser.
-
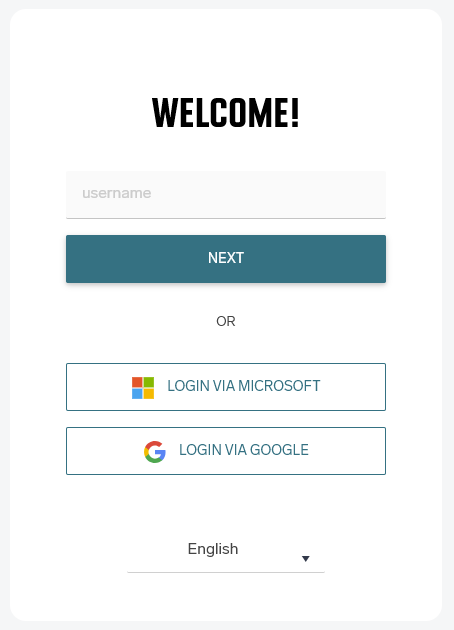
Click Log in. A SAFEQ Cloud login pop-up window will open. The login window is distributed by the server. Here you can log in using your username and password or another server login method such as Entra or Google if enabled (OIDC login).
-
Select your preferred login method and complete the login in the pop-up window.
You cannot use your Google account username and password to log in with a Google account. You can only log in to Google via the Google button on the login pop-up.
b) Back compatibility with previous google providers
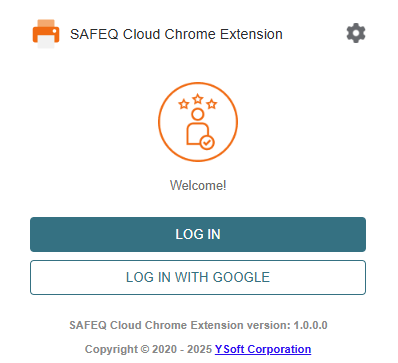
"LOG IN WITH GOOGLE" will be displayed for backward compatibility.
-
Click the extension icon in your browser.
-
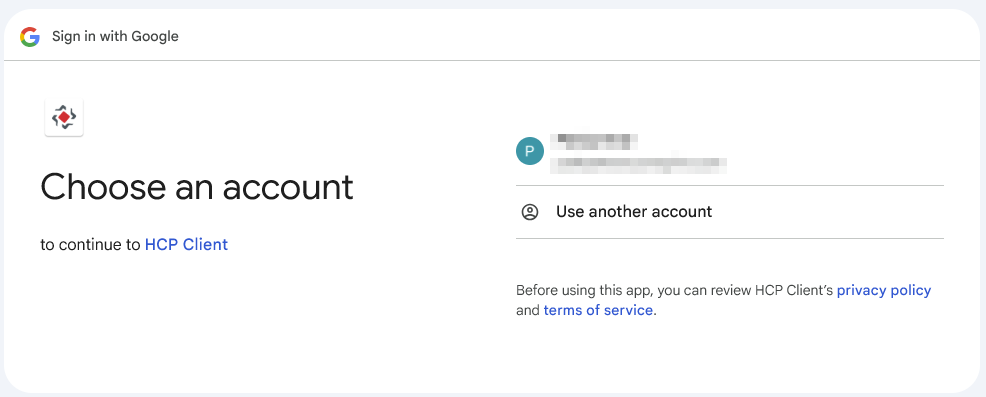
Click Log in with google. A google login pop-up window will open.
-
Select your preferred google accnount and complete the login in the pop-up window.
c) Automatic login in corporate mode
The original Google provider includes zero click login. So if this mode is active, the old provider is also active and synchronization is turned on, the extension will log in to the server itself using the email from the synchronization.
This mode is no longer available for the new Google provider and after opening the extension, a login pop-up will automatically open (login a and step 3.) if the extension is not logged in.
Synchronizing printers
-
Open the extension icon in your browser. A dialog window will appear.
-
Printers are automatically synchronized by opening the extension popup window. To trigger the synchronization manually, click Synchronize printers.
-
You will see the "Successfully synced printers" message.

Enabling account synchronization in Chrome
Synchronization is required for the original Google provider. It is no longer required for new connections via the SAFEQ Cloud login pop-up.
-
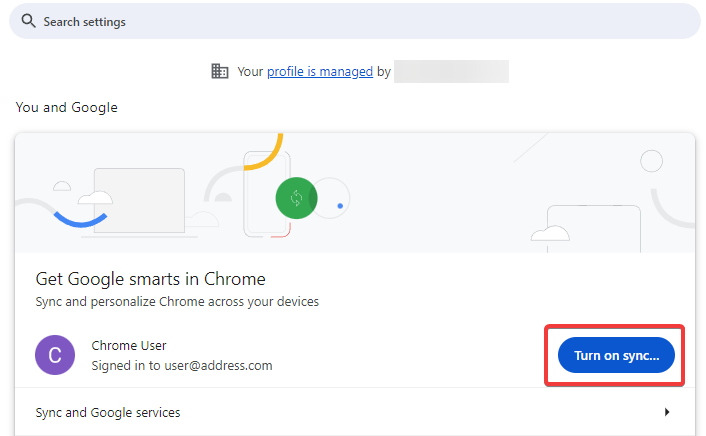
In your Chrome browser, go to chrome://settings/people or click the SAFEQ Cloud extension icon and then click Enable sync in settings.
-
In the next dialog window, click Turn on sync...
-
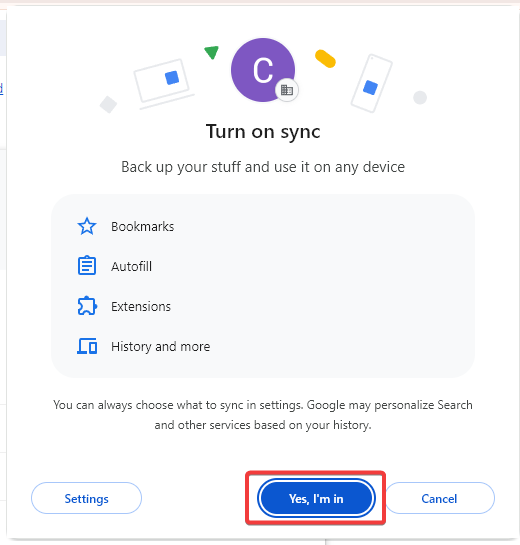
Click Yes, I'm in.
-
After successful login, verify your configuration by clicking the extension icon. You should see the "Successfully synced printers" message.
Submitting a print job
-
Select a document for print.
-
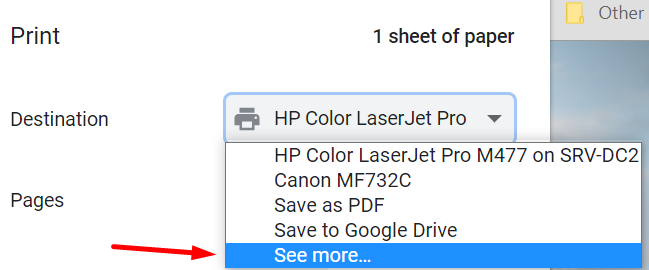
Open the Print dialogue in your Chrome browser.
-
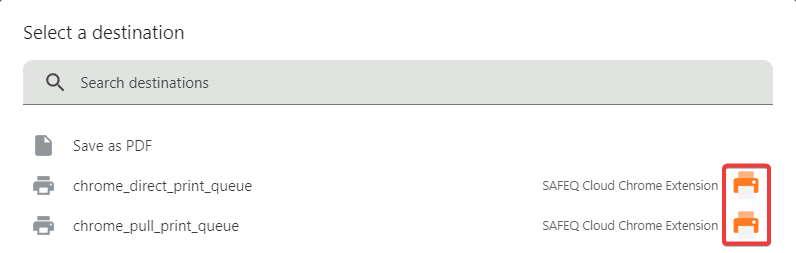
In Destination, click See more.
-
Select a printer with the SAFEQ Cloud Chrome extension icon.
-
Click Print.