Relevant Products
SAFEQ Cloud Client is available in BREEZE PRINT BREEZE MFD PRO PRINT PRO MFD
Overview
SAFEQ Cloud Client is a desktop application that can be installed on end-user workstations to automatically create print queues and install drivers based on the SAFEQ Cloud server configuration for your company.
The installation can be done remotely by your administrator. When the Client is installed on your PC, you will see its icon in your system tray. The icon indicates its current operational state:
-

-

-

-

-

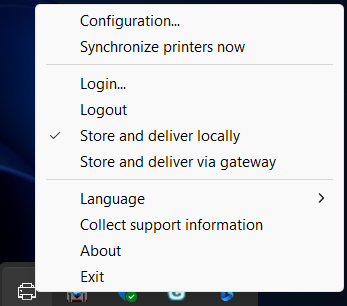
SAFEQ Cloud Client will perform printer synchronization automatically based on its synchronization settings. You can also trigger manual synchronization by right-clicking the taskbar icon and choosing Synchronize printers now menu item.
Logging in
-
To log in, right-click the icon, and select Login.

-
Depending on how your administrator has set up the Client, you will either be prompted to enter your credentials in the Client itself, or you will be directed to a login page in your browser where you will be asked to log in with your external identity provider account, such Microsoft, Google, or Ping.
-
You will see a pop-up window with a login success message.
-
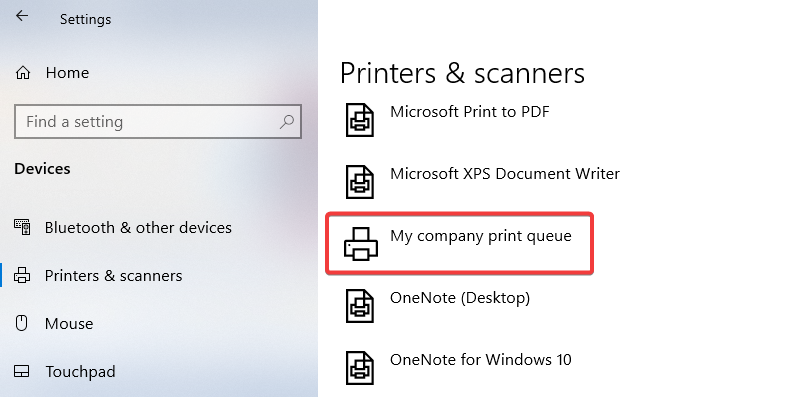
You will see new printers (print queues) in your Windows or Mac OS.

Submitting print jobs
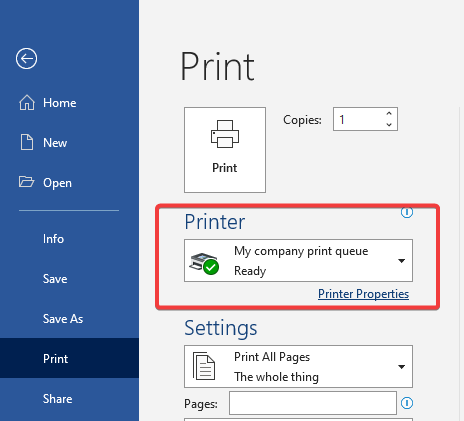
You will see all print queues (printers) that your administrator made available to you in your operating system. Select one of the queues in the print dialogue when printing a document from your chosen application.
Example: printing from MS Word:

If you choose a finishing option, e.g. stapling, that is not supported on the MFD where you will release the print job, the print job will be printed without that option.
