Some devices might not have the Network Accounting software/kit install. This can be ordered from Xerox.
Enable certificate on the printer
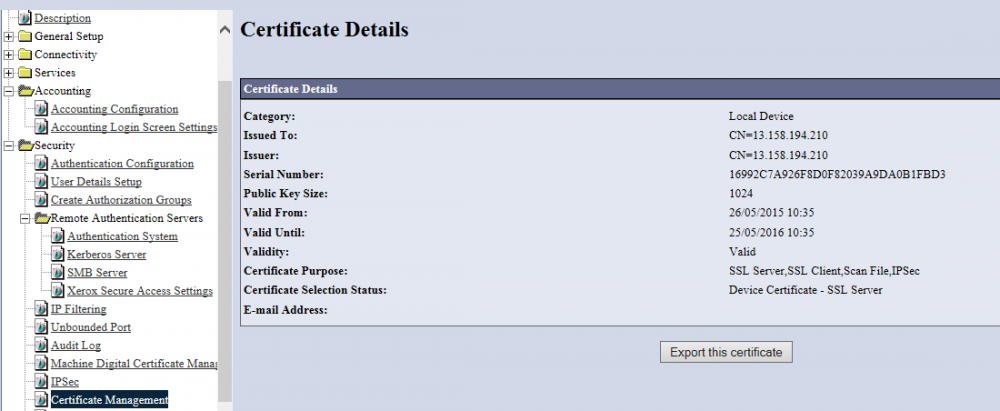
When you create a certificate on the printer, it might take a few hours before the certificate becomes valid.
After creating the certificate, check the date and time for when the certificate becomes valid on the device web page by clicking the certificate in the address field.
Click View certificates, then the Details tab and make a note of the Valid from and Valid to dates and times.
Create a certificate
-
Open the printer’s web page and click on the Properties tab.
-
Click Security and then Machine Digital Certificate Management. View the Machine Digital Certificate area and confirm that the Current Status of the Machine Digital Certificate indicates that the printer does not have a Certificate established on the printer. If a certificate is established, proceed to the next section
-
Click Create new certificate.
-
Select the Select Self Signed Certificate option if not already selected.
-
Complete the details required for the Self Signed Certificate. Note that the Letter Country Code is a required field. Please note that the maximum number of days allowed is 997 (for models where you can enter 3 digits) and 1800 (for models where you can enter 4 digits) even though higher numbers can be entered!
-
Click Apply.
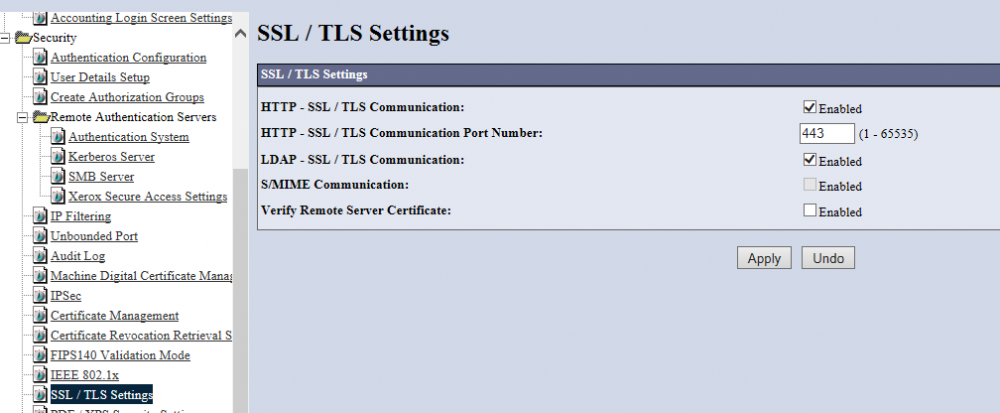
Enable HTTPS
1. Click Security and then SSL / TLS Settings in the menu and confirm that HTTP – SSL / TLS Communication is enabled.
2. Click Connectivity, Protocols and then HTTP and check that Secure HTTP (SSL) is enabled on port 443.
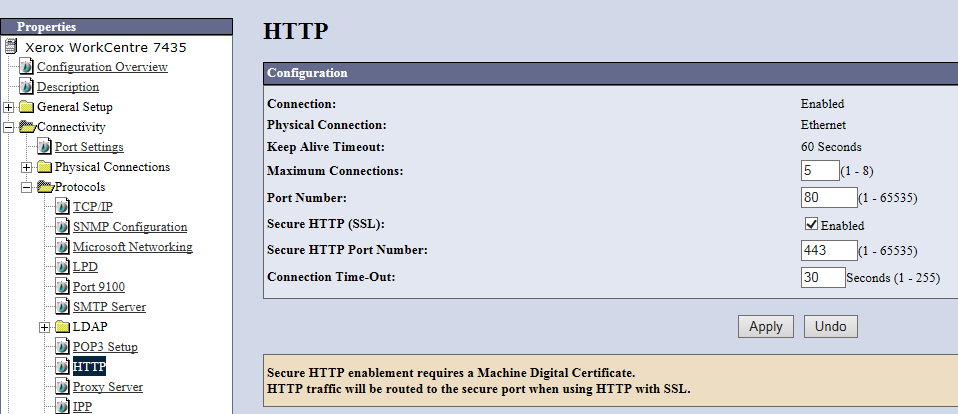
3. Click OK.
4. Reboot the device.
Enable Custom Services
-
Open the printer’s web page and select the Properties tab.
-
Click Services, Custom Services and then Custom Services on the menu.
-
Select Enabled in the Enabled area and then click Apply.
-
The Custom Services button should now be present on the touch screen of the printer when All Services are selected. If not, you may have to power cycle the printer.
Enable ports
-
Open the printer’s web page and click on the Properties tab.
-
Click the Connectivity and then Port Settings.
-
Check SNMP, SMB, FTP Client and SOAP.
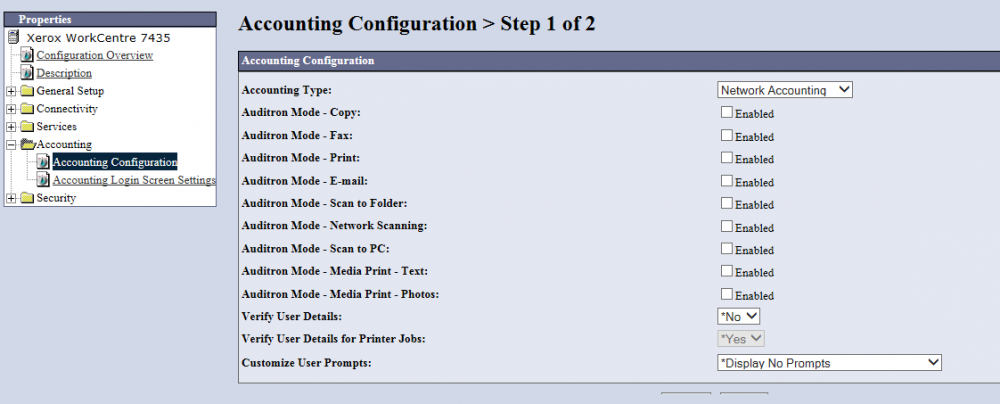
Configure authentication and access control on the printer
1. Open the printer’s web page and select the Properties tab.
2. Click Security and then click Authentication Configuration in the menu
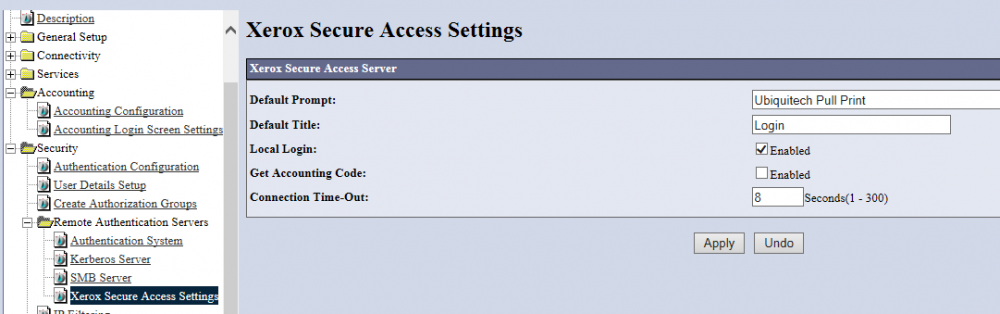
3. Ensure that Xerox Secure Access is selected in the Login Type box
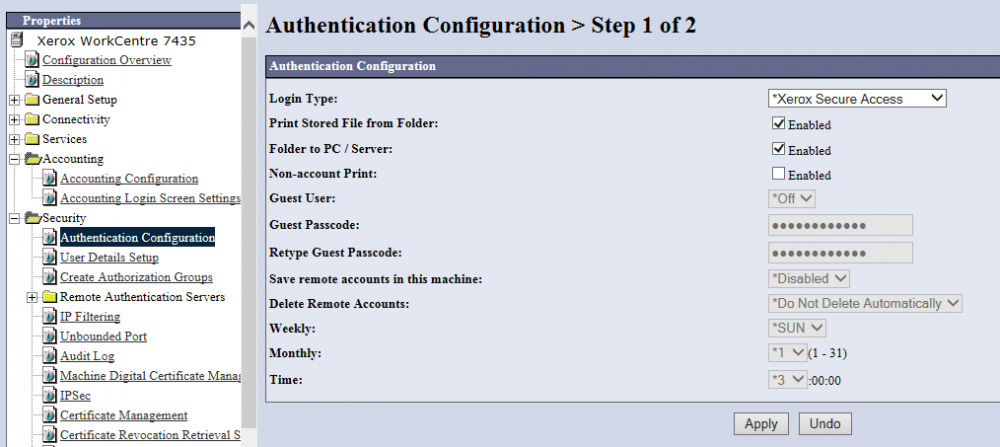
4. Click Apply.
5. Click Reboot Machine. Click OK to reboot. This reboot MUST occur otherwise the subsequent steps cannot be performed. After the reboot, continue with the remaining steps.
6. Open the printer’s web page and click on the Properties tab.
7. Click Security and then click Authentication Configuration in the menu.
8. Click Next.
9. From the Device Default State Configuration area, you can configure either:
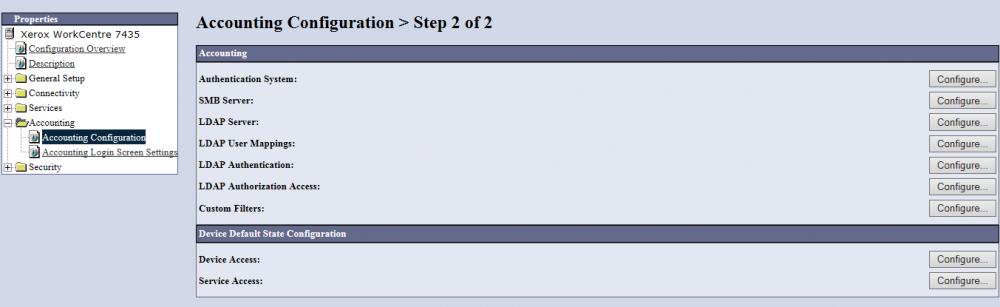
-
Device Access By locking the Service Pathway (recommended) the users would be requested to authenticate to access all available services: Copy, E-mail, Custom Services, etc.
A. Under Device Default State Configuration, next to Device Access, click Configure.
B. Select Locked for Services Pathway to require authentication for all services at the control panel. If is recommended to leave the Job Status Pathway and Machine Status Pathway unlocked. They control the access to the Job status and the Machine Status button.
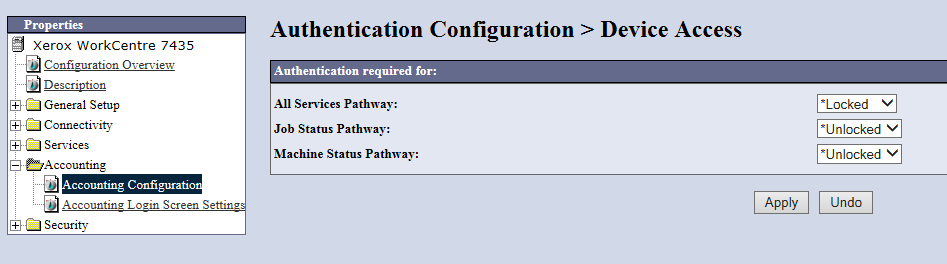
C. Click Apply to accept the changes or Undo to retain the previous settings.
-
Service Access Instead of device access, it is possible to control access on a per-service basis. However, Custom Services must always be locked, because otherwise the One Q solution does not know who the user is.
A. Under Device Default State Configuration, next to Service Access, click Configure.
B. Select Locked (Show Icon) for Custom Services so users must authenticate to access the Pull Print icon on the control panel. Select Locked to require authentication for any additional services.
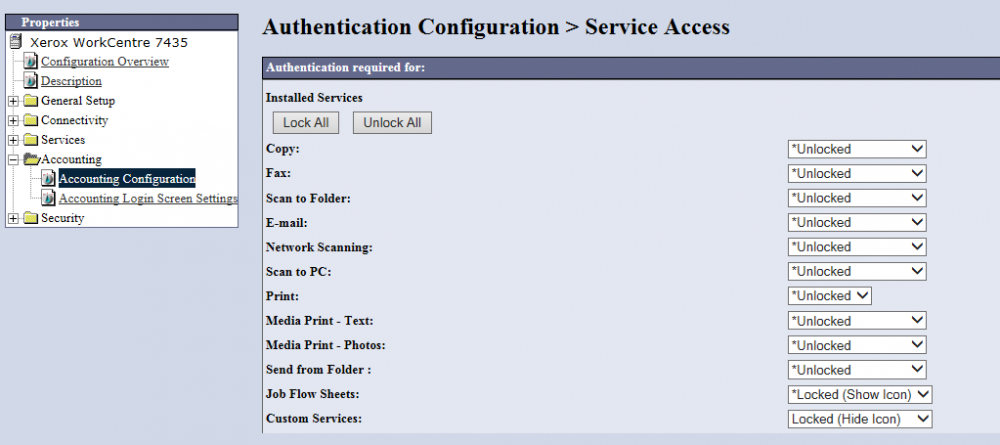
C. Click Apply to accept the changes or Undo to retain the previous settings.