
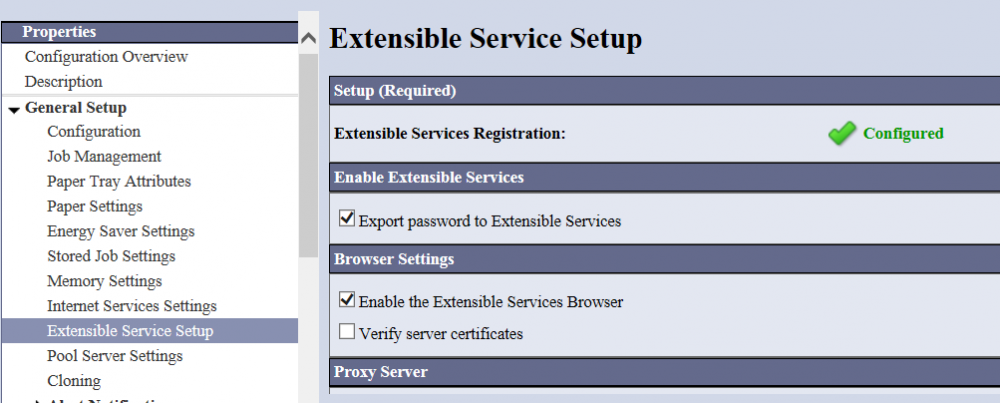
Enable extensible services browser
Enable the Extensible Services Browser; otherwise, it is not possible to choose pull print at the printer.
-
Open the printer’s web page and click on the Properties tab.
-
Click General Setup and then Extensible Service Setup.
-
Under Browser Settings check the Enable the Extensible Services Browser, and click Apply.
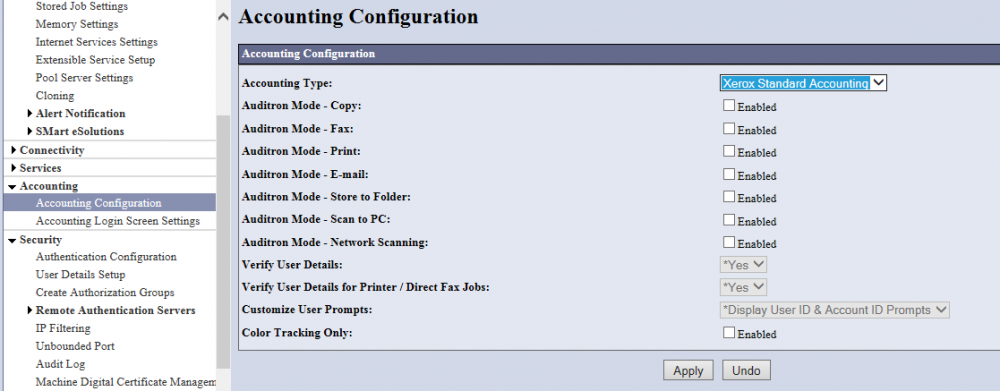
Enable Accounting on the printer
-
Open the printer’s web page and click on the Properties tab.
-
Select Accounting
-
Click Accounting Configuration
-
On the Accounting Configuration select the Xerox Standard Accounting
-
Click Apply. Click OK.
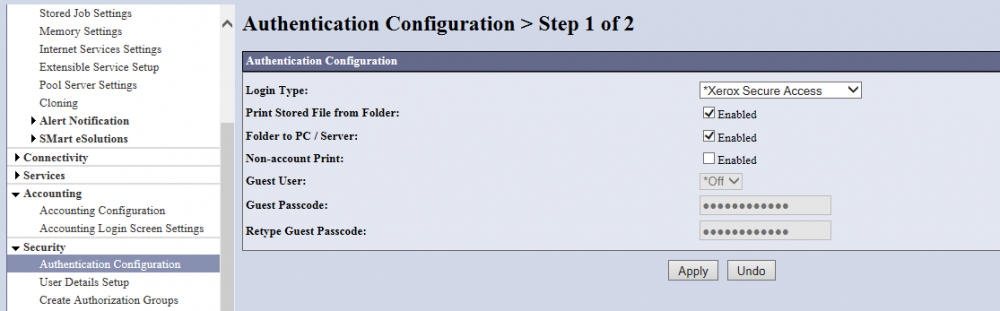
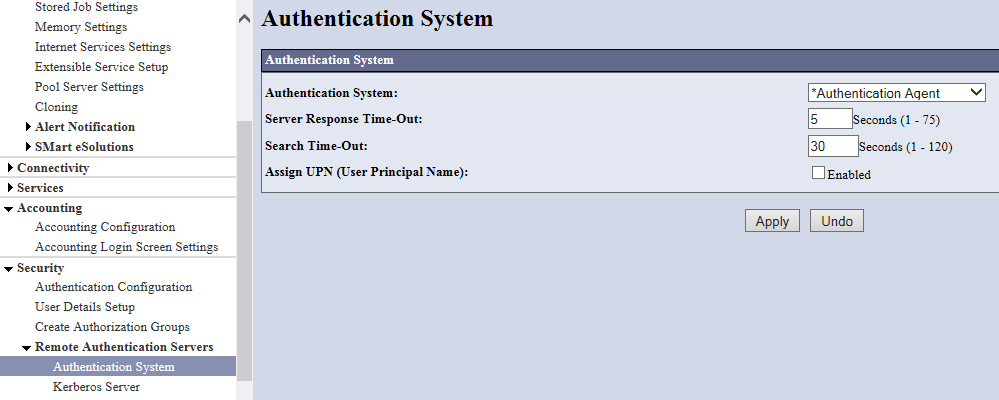
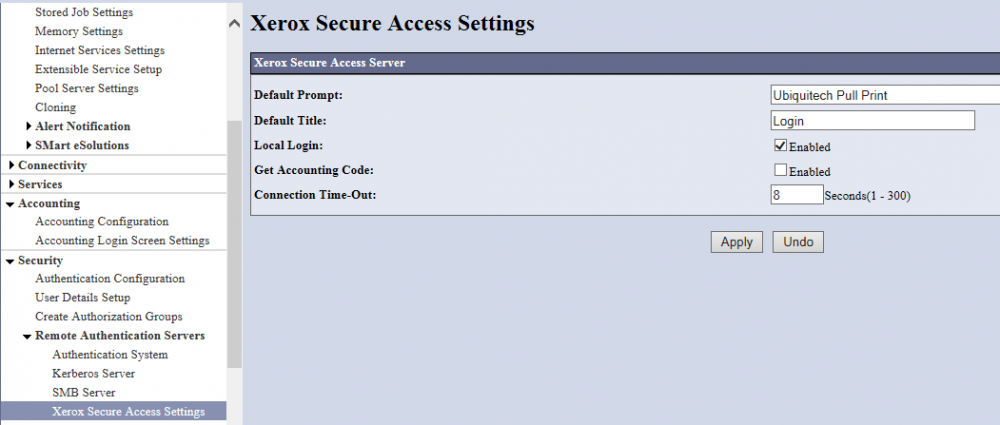
Enable Authentication on the printer
-
Open the printer’s web page and click on the Properties tab.
-
Select Security.
-
Click Authentication Configuration.
-
On the Accounting Configuration select the Xerox Secure Access.
-
Click Apply. Click OK.
-
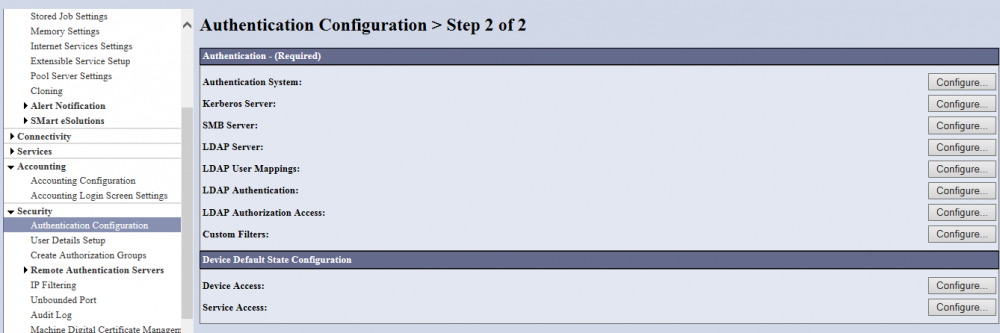
Configure the Device and/or the Service access according to the customer setup for blocking access to device.


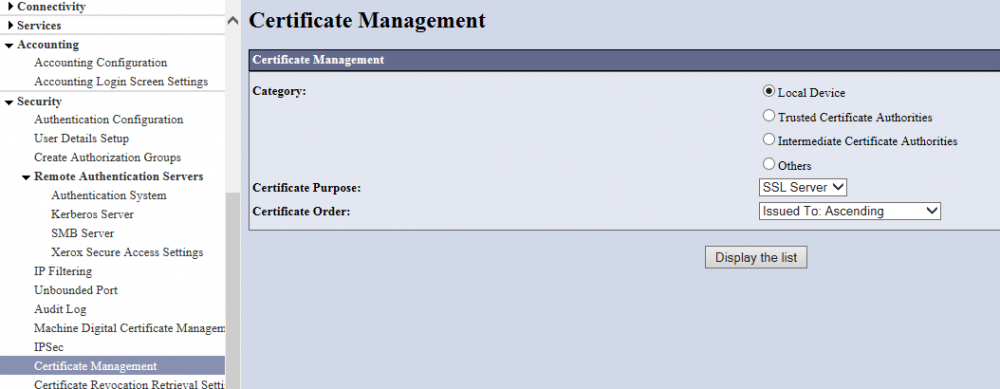
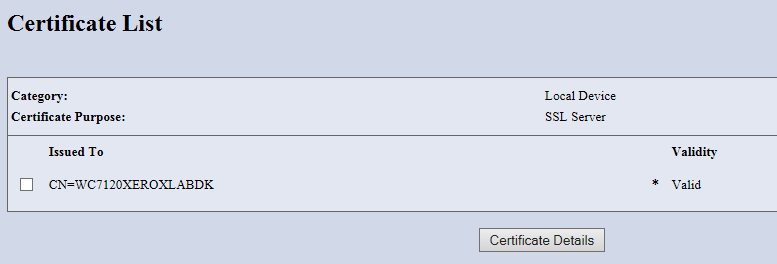
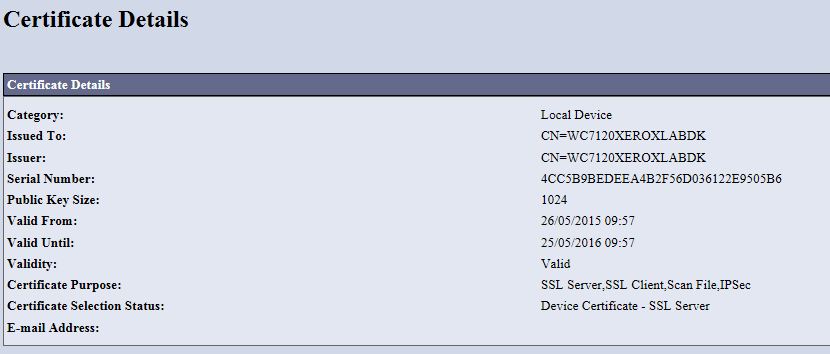
Create certificate on the printer
-
Open the printer’s web page and click on the Properties tab.
-
Click Security and then Certificate Management.
-
Click Add.
-
Select Create Xerox Device Certificate.
-
Click Continue.
-
Complete the form with the requested information (Use Printers hostname for CN).
-
Click Finish.
Embedded Plug-ins
-
Open the printer’s web page and click on the Properties tab.
-
Click Security and then select Plug-in settings.
-
Click Plug-in Settings.
-
Upload the plugin needed for the reader.
-
Click Finish.