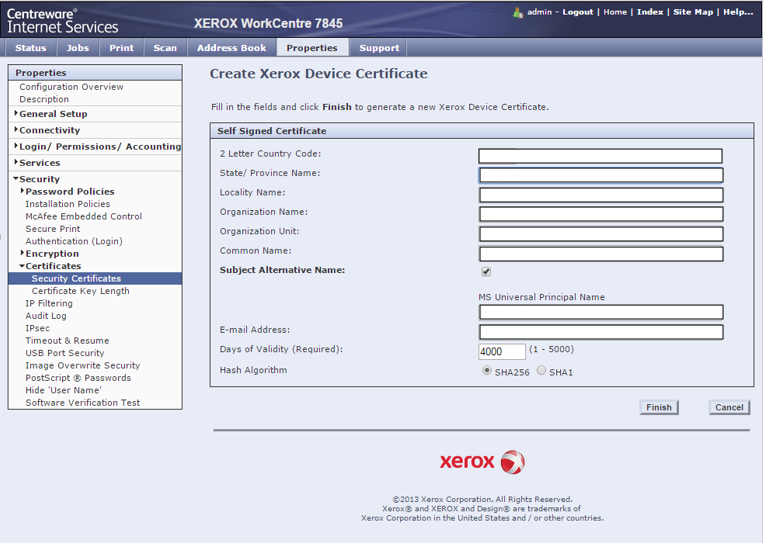
Create a certificate
-
Open the printer’s web page and click on the Properties tab.
-
Click Security and then Security Certificates.
-
Click Add.
-
Select Create Xerox Device Certificate.
-
Click Continue.
-
Complete the form with the requested information.
-
Click Finish.
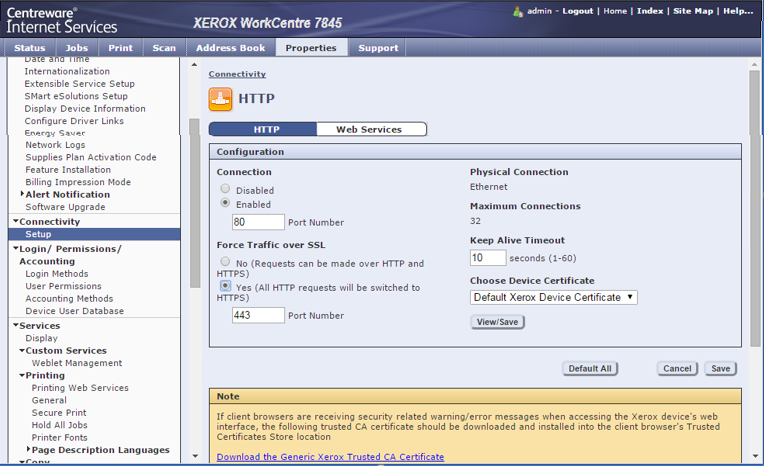
Enable HTTPS on the printer
-
Open the printer’s web page and select the Properties tab.
-
Click Connectivity, Setup.
-
On the Connectivity page click Edit next to HTTP.
-
In Force Traffic over SSL select Yes (All HTTP requests will be switched to HTTPS) radio button and set Port Number to 443. Save and OK to restart the device’s web server.
-
Reboot MFD.
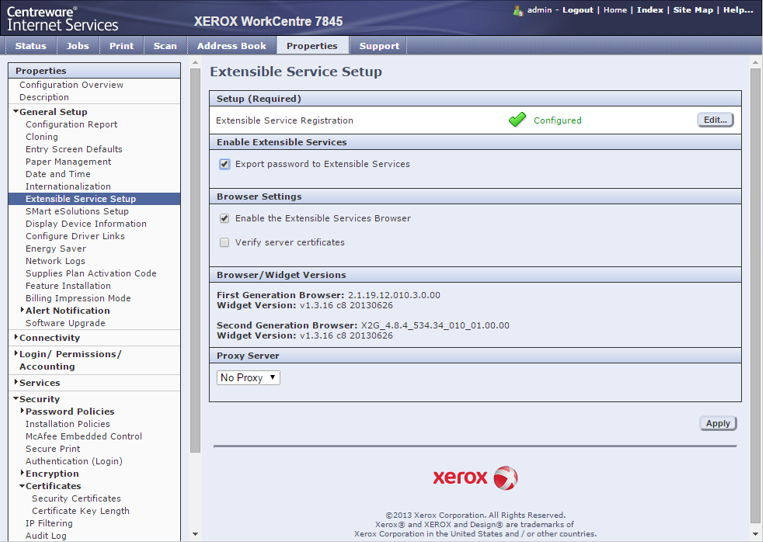
Enable Extensible Service Registration on the printer
-
Open the printer’s web page and select the Properties tab.
-
Click General Setup, Extensible Service Setup.
-
Select Enable next to Extensible Service Registration. Click Apply and OK.
Configure authentication and access control on the printer
1. Open the printer’s web page and select the Properties tab.
2. Expand Login / Permissions / Accounting and click Login Methods.
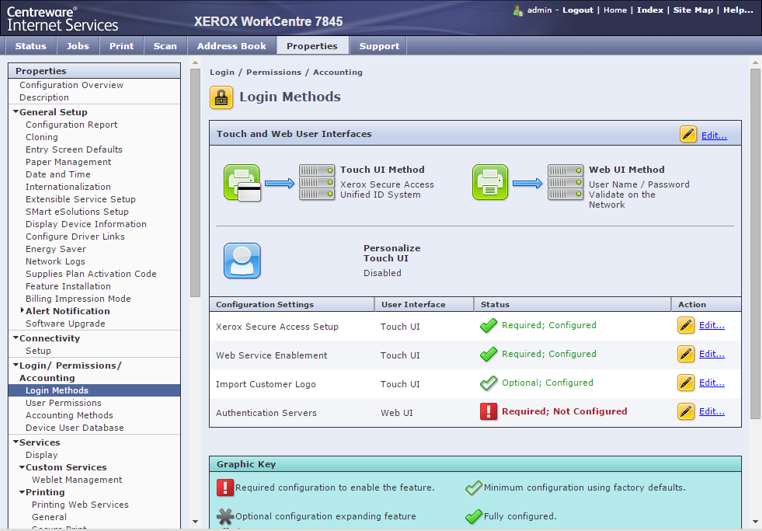
3. On the Manual Override page, in the Device Login Methods section select the Xerox Secure Access Device + alternate on-screen authentication method button.
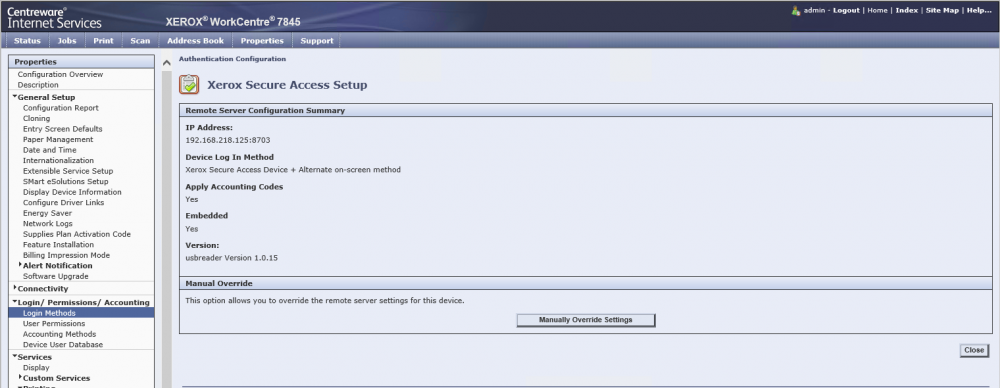
Important! On some Xerox WorkCentre 78xx if ‘Embedded’ option is checked card readers will NOT work properly. Uncheck ‘Embeded’ option if is the case.
4. Click Save.
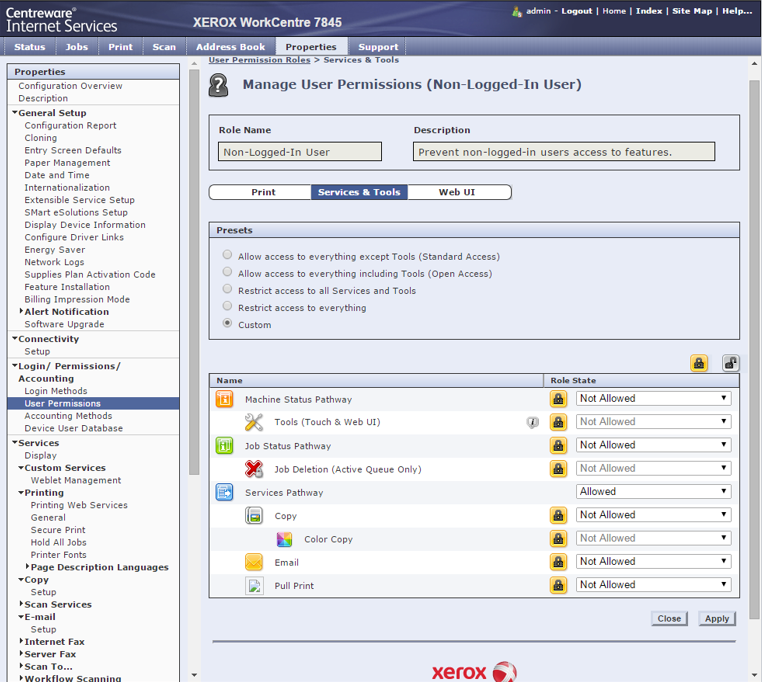
5. In the Properties menu to the left click User Permissions and User Permissions Roles.
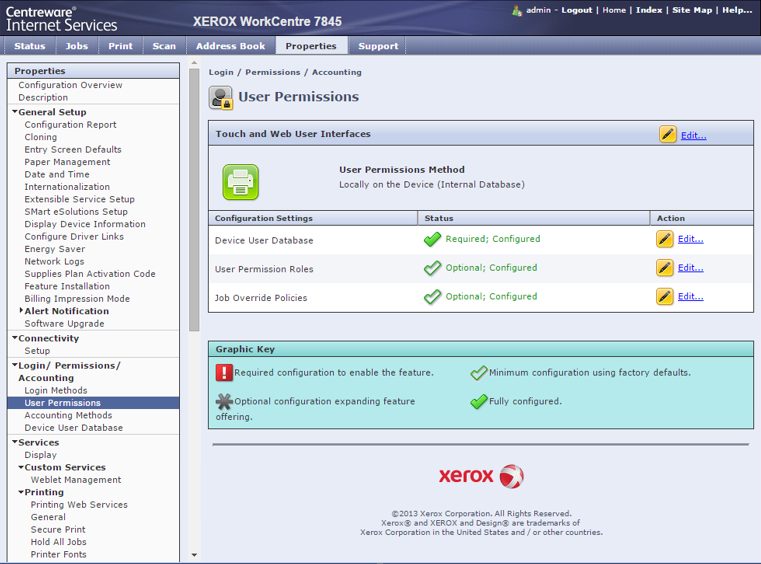
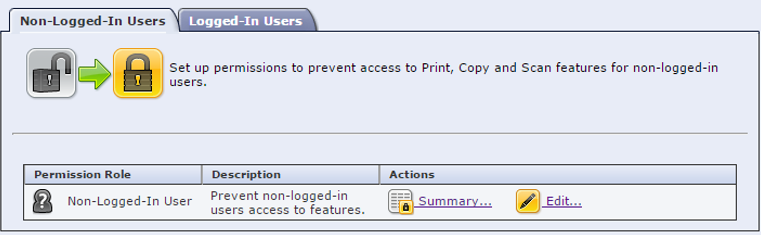
6. On the Manage User Permissions (Non-Logged-in User) page, in the Presets section select the Restrict access to all Services and Tools radio button. Alternatively, select Custom to set individual permissions. Click Apply
Enable Network accounting
1. Open the printer’s web page and select the Properties tab.
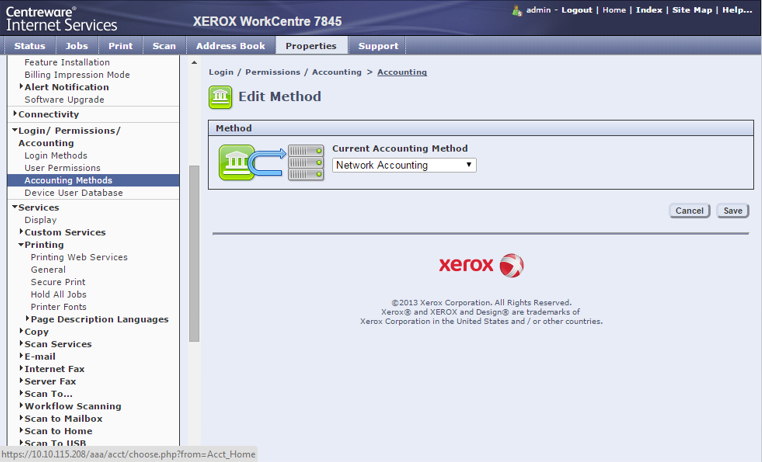
2. Go to Login / Permissions / Accounting, Accounting Methods
3. Select Network Accounting and Save
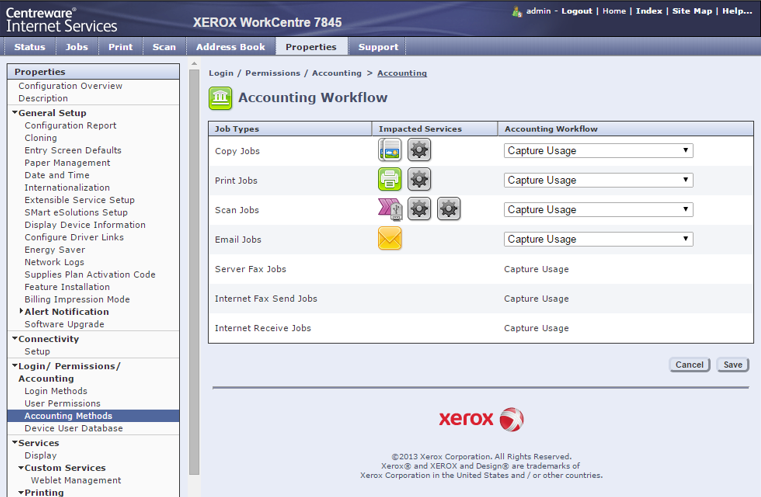
4. From Accounting Workflow press Edit and make sure all options are set to Capture Usage
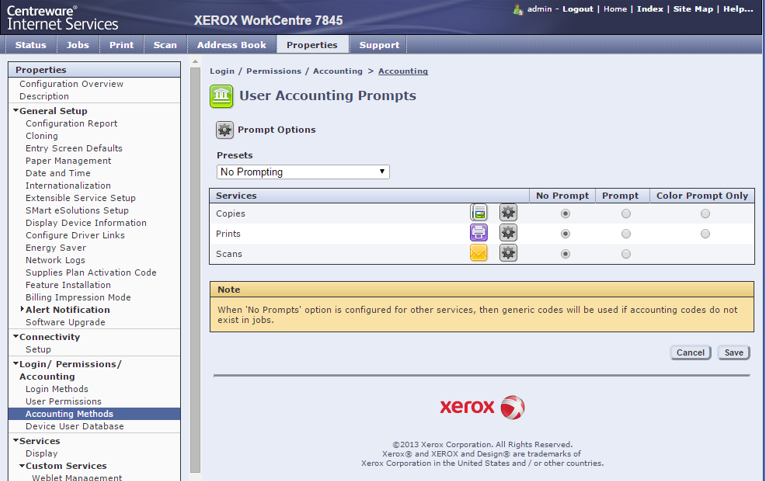
5. From User Accounting Prompts select the radio button No Prompt for all options and press Save
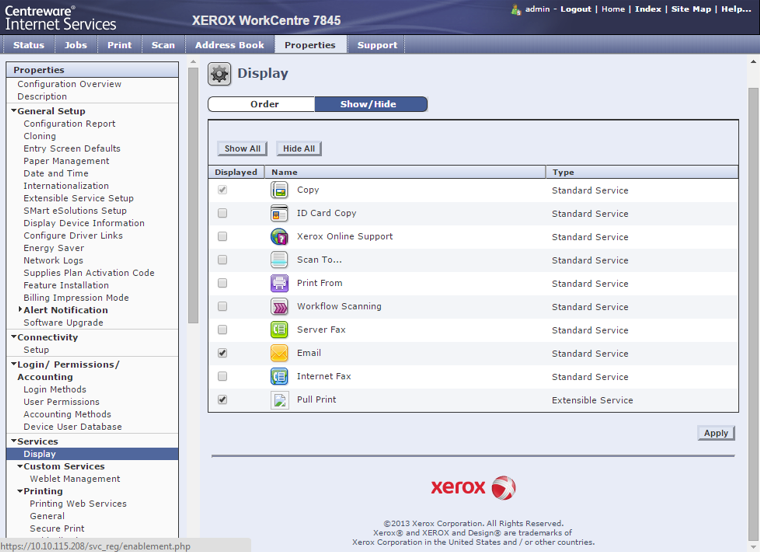
Display – Service
-
Open the printer’s web page and select the Properties tab.
-
Go to Services, Display
-
Select Copy, Email and Pull Print