Printing at an Epson Device
This document describes YSoft SafeQ Terminal Application - 2nd Gen. for the print application. It is an alternative to YSoft SafeQ Terminal Application - 1st Gen.
Printing and Managing Jobs
Log into the embedded terminal.
The print application is displayed.
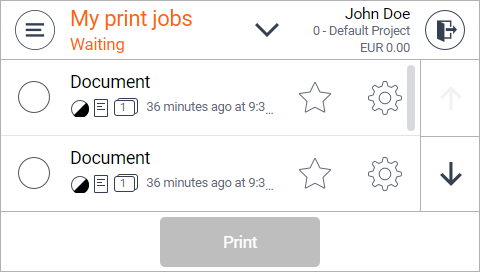
Note that when no job is selected, you can tap the arrow to select from Waiting, Printed or Favorite folder. Folder name is not available when a job is selected.

List of folders depends on printer installation. In case that device is installed only with Waiting folder, no arrow for selection is displayed.
If you have selected at least one job, then print button is enabled in the footer.
Empty Job List
When there are no jobs in the folder, you will see the message "The folder is empty." instead of a job list.
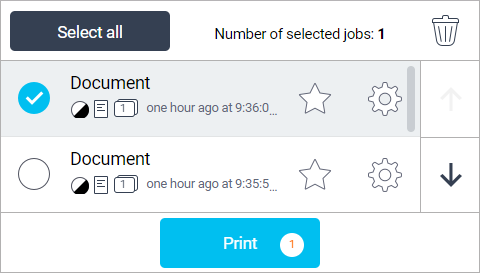
Action Bar
The buttons in the action bar allow you to manipulate the selected jobs. In the middle, you can see text indicating the number of selected jobs.

Header Buttons


User Info
User info is on the right side next to the exit button.
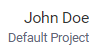
There are two text lines on the left side next to the exit button. The upper line is the username, and the lower line is the billing code.
If a billing code is not used, only the username is displayed. Alternatively, there is only the username and credit.

If the payment feature is enabled, there might be three text lines. The first line is the username, the second line is the billing code, and the third line is for user credit.
Printing and Managing Button Descriptions


![]()
When there are more jobs in a given folder, a browsing arrows button is displayed on the right side to move one page up or down.
Job Detail Screen
When the finishing options feature is not enabled, you will see the job detail without the possibility to modify it. You can use the pagination buttons to see all job details.
When a job preview is not available, it is not present on the job detail or finishing option screen. A user will see only the job details without a preview.
You can use the Print button to print a job directly from the job detail screen.
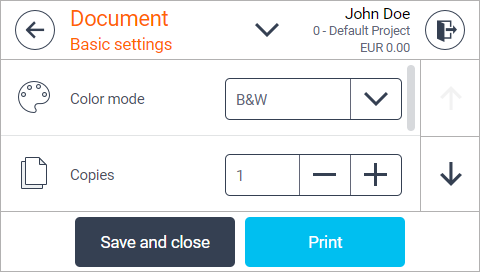
Job Detail Screen with Enabled Finishing Options
When the finishing options feature is enabled, the can select from basic and advance finishing options and can modify the job.

You can use the following actions when in the finishing options screen.

Using Save and close button always save finishing option settings even when there is no change from the original document. Then modified settings button is shown.
You can modify the finishing options settings as described below.
Basic settings description


You can switch to advanced finishing option settings by selecting the Advanced settings.
The Buttons in the Finishing Options

The current value is the selected one. You can change it and use the pagination buttons to get all options.

For all following advanced finishing options, the modal dialog is similar to the Stapling dialog.


Incompatible Job
When the show incompatible jobs feature is enabled, you can see incompatible jobs in the job list.
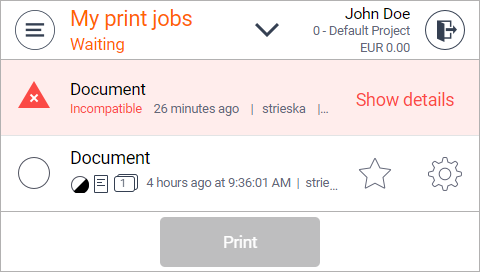


Note, you cannot mark a job as favorite or see the job detail when a job is incompatible.
An incompatible job cannot be selected and printed.
The reasons for incompatibility and suggested fixes are displayed in the incompatibility dialog.
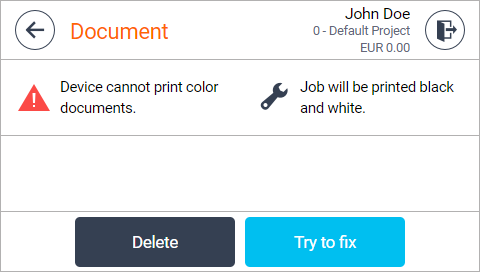


The Apply fixes button is available only if the finishing options feature is enabled. If not, only the Delete button is available. You can navigate to the job list via the back button in the header.
Note that a fix might not always work. The job's finishing options are switched to default values, which can help in most cases.
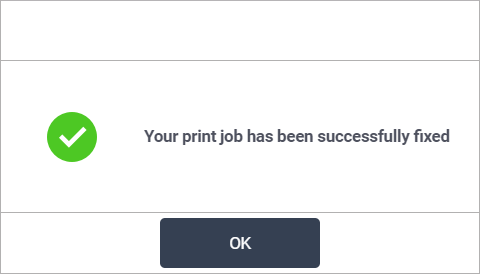
After the Apply fixes button has been tapped, the user is informed about the result through the modal dialog.