EveryonePrint HCP Extension overview
EveryonePrint HCP Extension has three main components:
The extension component on the Extension Management page
Navigate to the chrome://extension and indentify the EveryonePrint HCP Extension component:
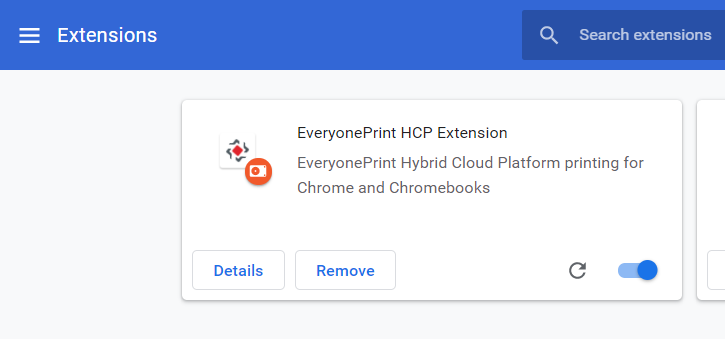
- “Remove” button will remove the extension from Chrome browser
- the switch button will enable/disable the extension
- the refresh button will update the extension to a new version if exist
- “Details” button will open a page with information about the extension
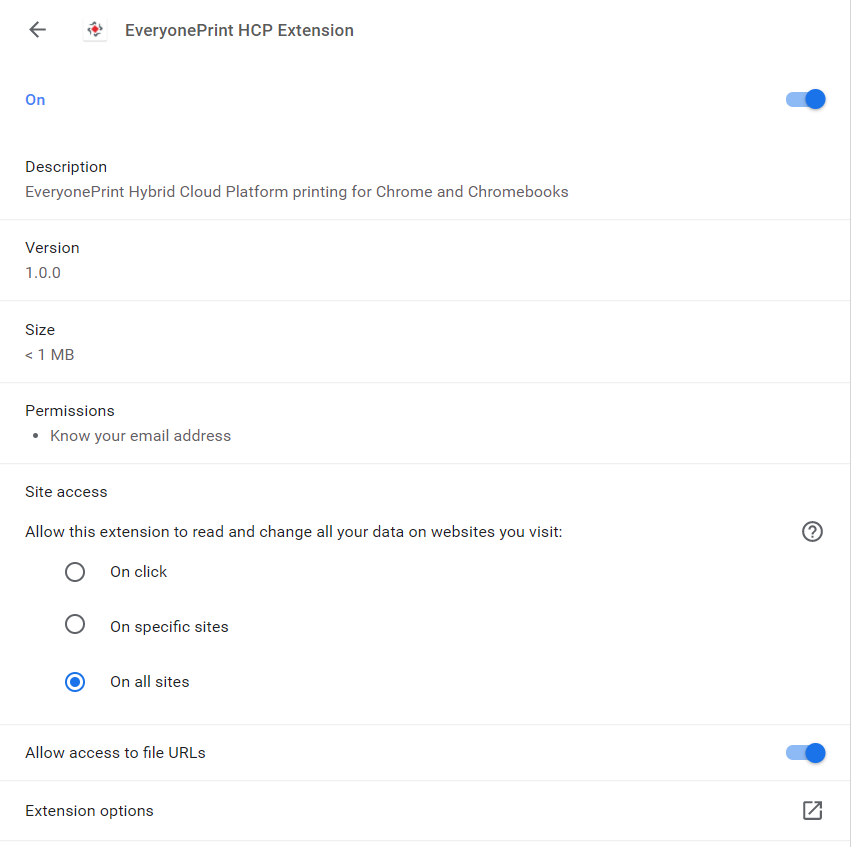
“Extension options” will navigate to the Extension options page. Also, this extension asks for permission to know the email address of the user logged in to Chromebook/Chrome browser.
Popup page for not logged in user
This page is opened from the top-right corner of the browser
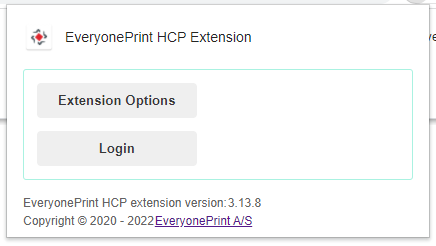
- “Extension Options” – navigate to the extension options
- “Login” – login to the SAFEQ Cloud server
Options page
The extension option page can be opened from point by pressing the “Extension options” from extension details or from popup page.
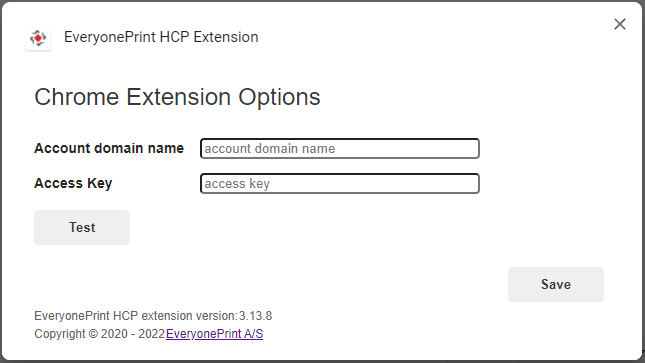
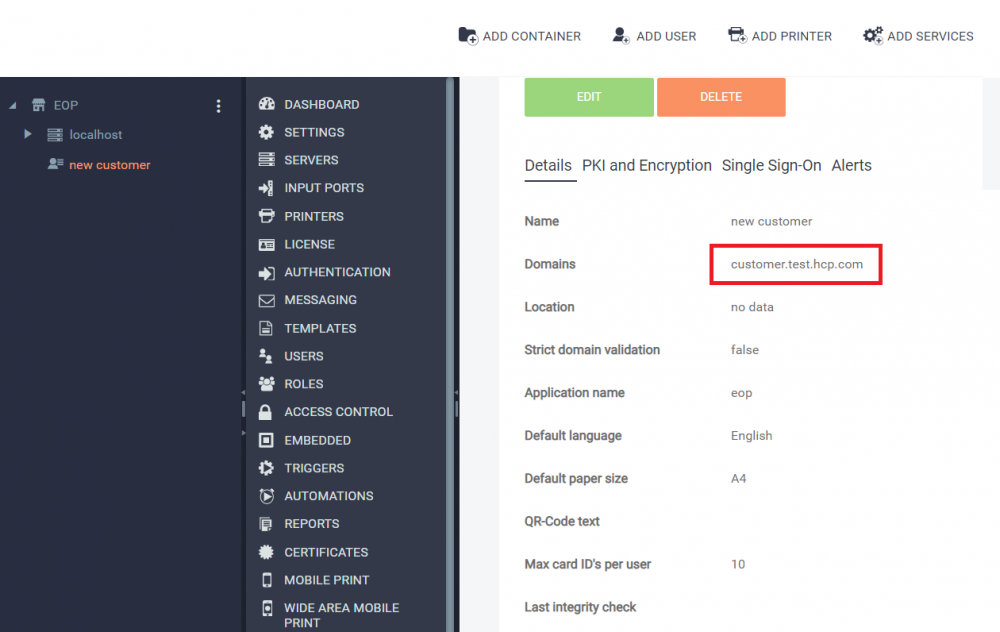
- “Admin domain name” domain name of the target account. It can be found from SAFEQ Cloud Web UI. It is mandatory to be filled.
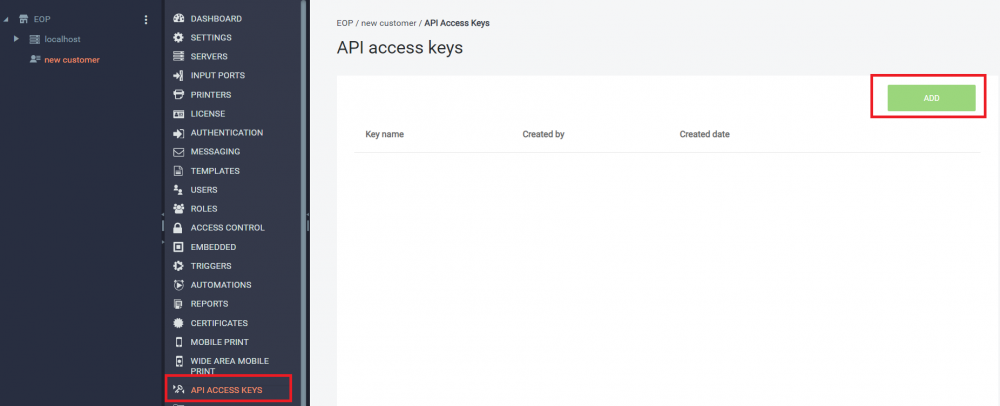
- “Access Key” is a secured key used in the communication with the server. It is mandatory to be filled. For adding a new API key navigate to this page and then press “ADD” button:
- “Test” button will test the server connection
- “Save” button will save the settings
Login page
The login page can be opened from point by pressing the “Login” from popup page.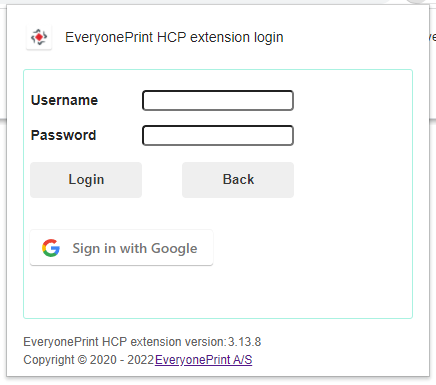
Popup page for logged in user
This page is opened from the top-right corner of the browser
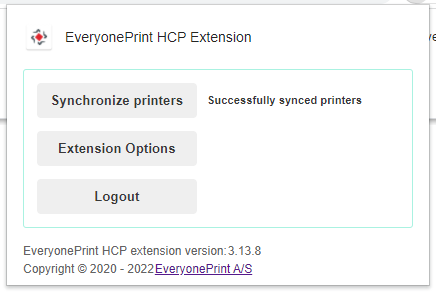
- “Synchronize printers” – synchronize printers with the SAFEQ Cloud server
- “Extension Options” – navigate to the extension options
- “Logout” – logout from the SAFEQ Cloud server
For using the extension, see Using the EveryonePrint HCP Extension for Chrome.
