
Adding a Print Queue
-
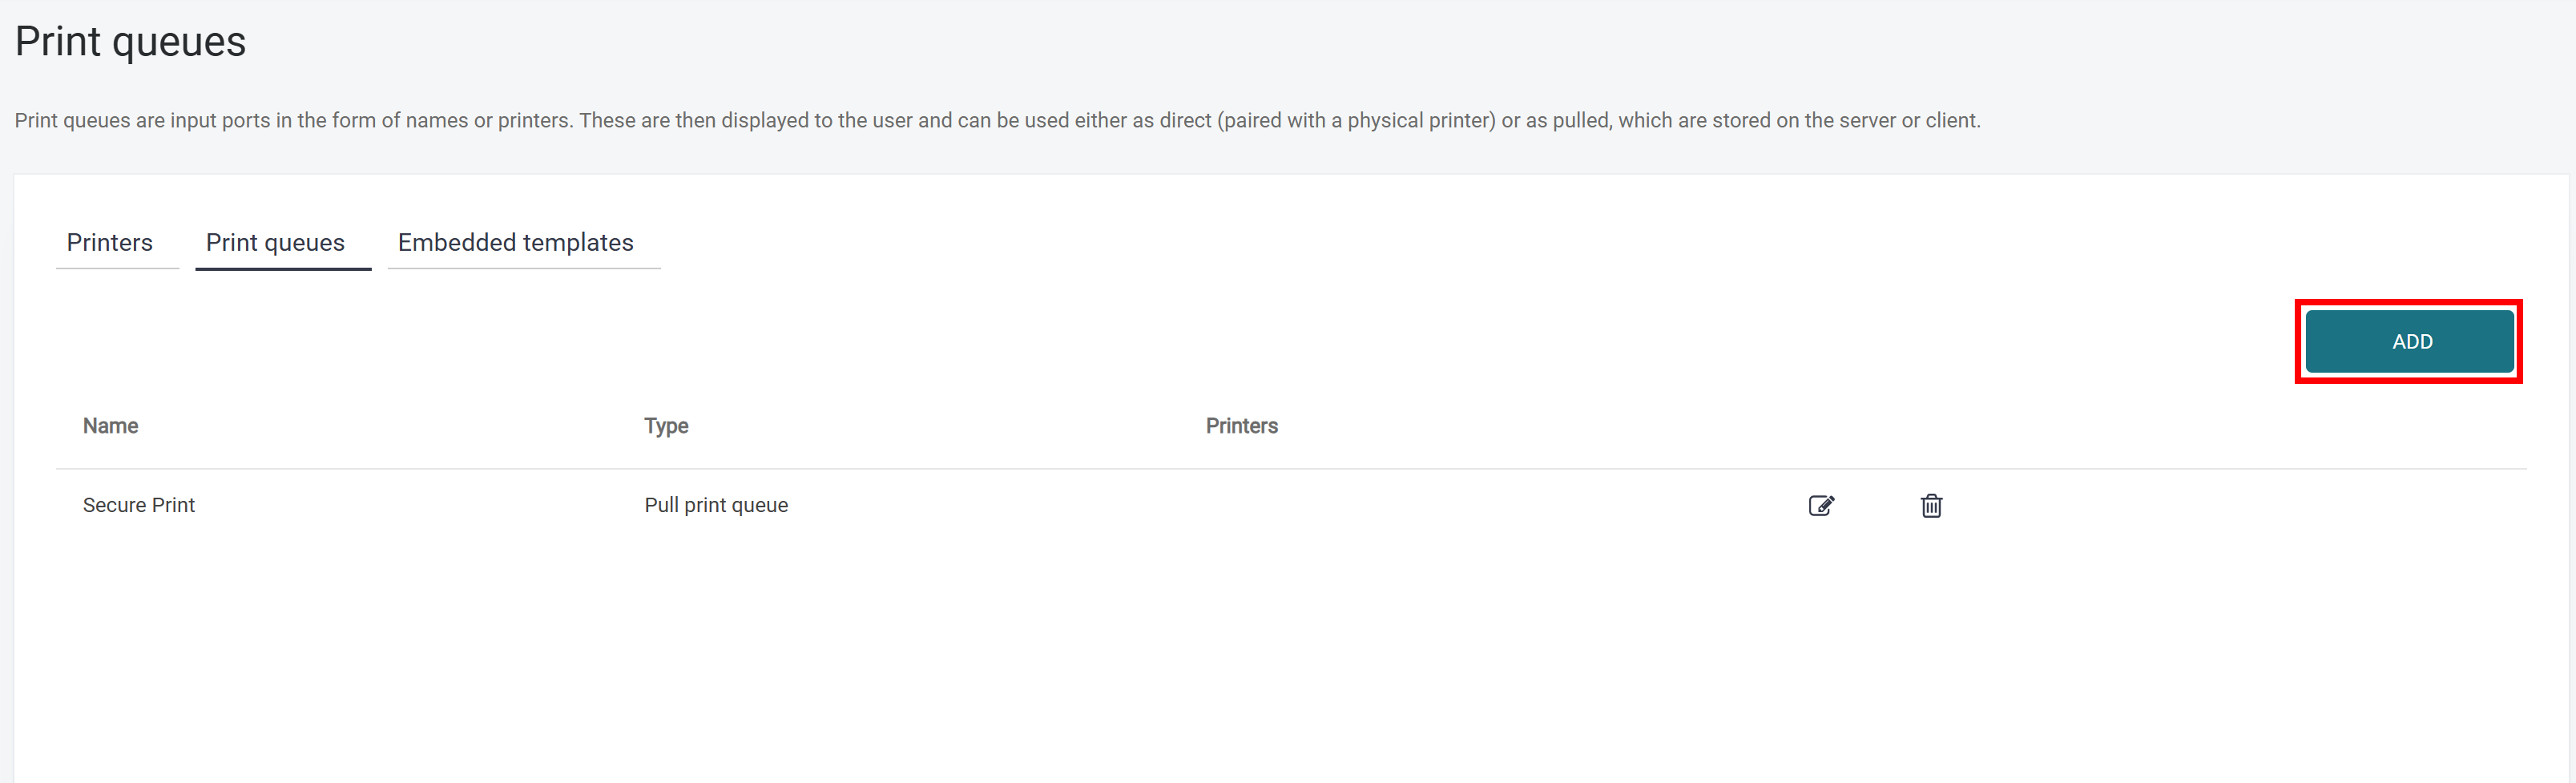
In the SAFEQ Cloud Web UI, click Printers > Print queues.
-
The Print queues list shows the name and type of the Print queues configured for the Account. Click Add.
-
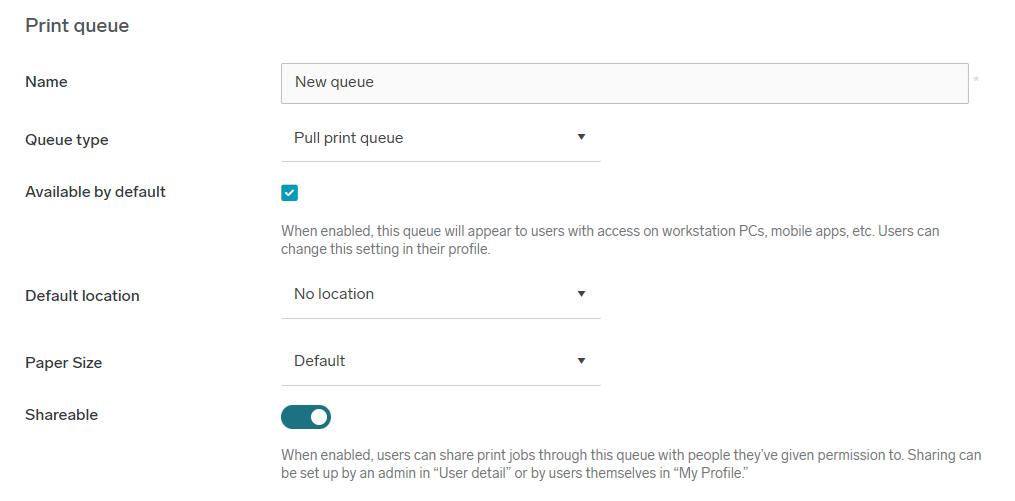
Fill in the following:
-
Name – The name of the Print queue as it appears in the SAFEQ Cloud system tree.
The name of the Print queue is specified as part of the URL used to configure the Client devices that send jobs to SAFEQ Cloud. We recommend you to keep the Print queue name short and descriptive.
-
Queue type – Select between a Direct print queue and a Pull print queue. Direct queue sends the job directly to the output printer. Pull queue sends the job to the Storage Service, where it will be retained and released when a user visits a configured MFD (Roaming Printing).
-
Printer (Direct print only) – Select the MFD that will print the print jobs sent to the Direct queue.
-
Available by default – When this option is set, the Print queue will appear for users with access on workstation PC’s, mobile Apps, etc. This option is enabled by default, and it can be changed by the user in their own profile in the My Printers section.
My Printers
For customers who have many direct queues, this section of SAFEQ Cloud Web UI provides their end users with the ability to choose their own favorite queues out of all the queues they have access to, apart from the default queues assigned to them by an admin. To see this section, the users must have the
ViewUserInputPortspermission. For more information on this feature, see My profile.Default print queue in Microsoft Windows
The default print queue is only assigned during the first Cloud client synchronization, provided that no SAFEQ Cloud print queues are already present.
If more than one print queue is available to the user, the default queue is selected according to the following rules:
-
Pull queues always have a higher priority over Direct queues.
-
The queue with the lowest ID is chosen. The ID can be found in the Cloud interface under Printers > Print queues > Print queue details > ID).
After the initial synchronization:
-
SAFEQ Cloud client printer queues are dynamic, meaning they are automatically added or removed based on the user's login status.
-
SAFEQ Cloud client does not manage or retain control over the default print queue, allowing users to manually change the default print queue if needed - user changes to the default are preserved.
To ensure that newly added printer queues do not override the existing default, you can set
KEEPDEFAULTPRINTER=trueduring Cloud client installation. This setting also allows Group Policy Objects (GPOs) to enforce and maintain the configured default print queue settings consistently across clients. See this section for more details. -
-
Location – Select a location. The selected location will also be assigned to the corresponding printer. If no location is set on the Print queue, it will retrieve and display the inherited location of the parent node.
-
Paper size – Select the paper size that will be used for printing with this queue. If you select Not set, the default paper size value from the terminal settings will be used. Note that some applications, such as MS Word, can override this selection.
-
Shareable (Pull print only) – When this option is enabled (the default), users that other users share their jobs with via the Sharing feature will be able to see those jobs when they are spooled into this queue. If this option is disabled, jobs spooled to this queue will not be visible to other users, even if they are shared.
-
-
Click Save.
Editing and deleting Print queues
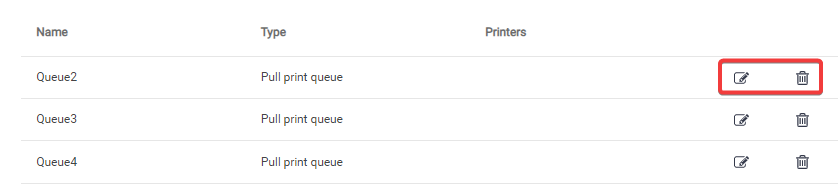
To edit an existing Print queue, open the Print queues list and click the edit icon. To delete a Print queue, click the delete icon and confirm your action.
General setup, Pending jobs, and Access control
Print queues appear in the SAFEQ Cloud system tree as sub-nodes of the Account. Selecting a Print queue in the navigation tree displays the sub-menu with General setup, Pending jobs, and Access control.
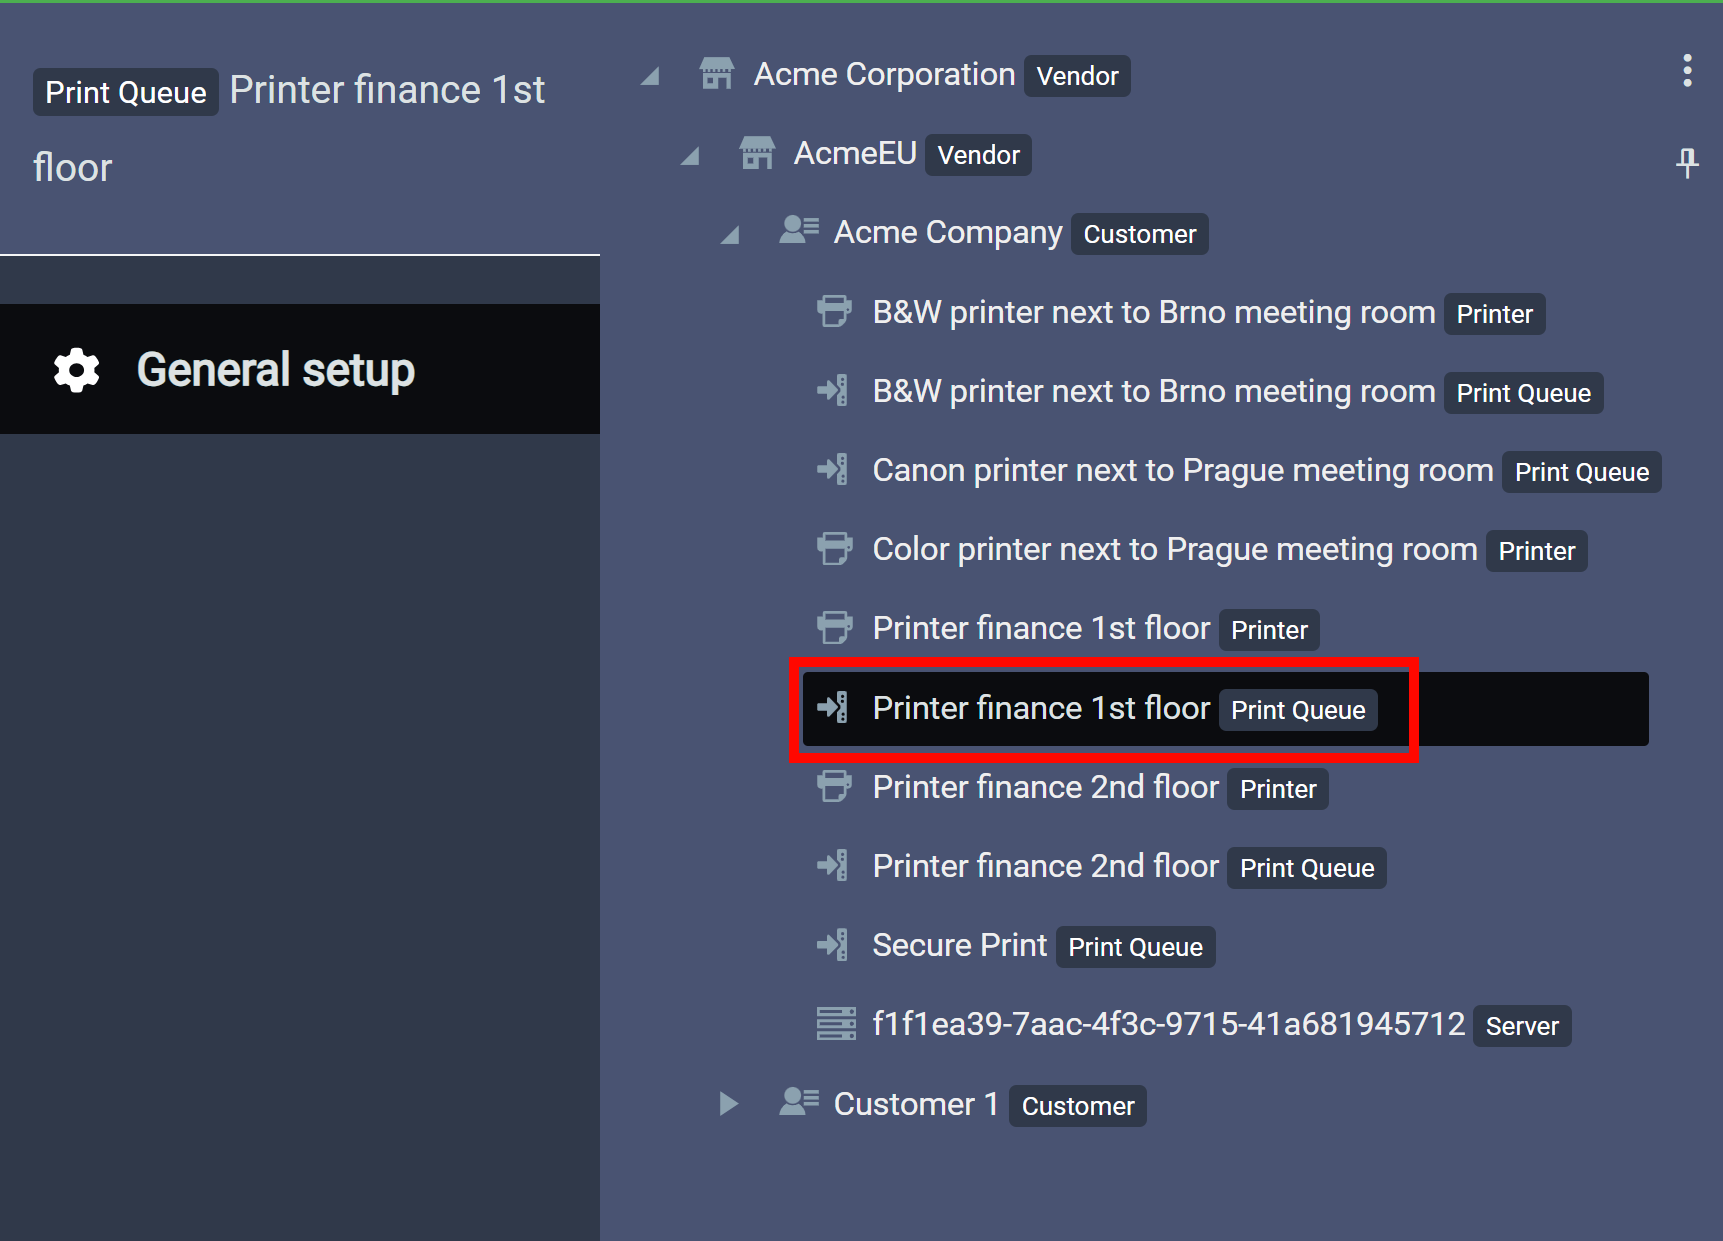
General setup
In this section, you can edit the queue name, Default location, and paper size.
Pending jobs
This section displays a list of jobs and the job owner (user name). If the Print queue is a Pull queue, this list will remain static until the jobs are released by users at the MFD. If the Print queue is a Direct queue, the pending list will show jobs in progress as they are sent to the printer via the Document Output service.
If you have the DeleteJob permission, you can delete jobs being held in a Pull queue by clicking the delete icon in the pending job list.
Access control
This section allows you to manage who has access to the Print queue. For more information about the roles and access controls configuration, see Access Control.