
Relevant Products
Scan workflows are available in BREEZE MFD pro mfp
Creating and editing a workflow
Log in to SAFEQ Cloud Web UI and go to Scanning > Workflows.
You must have ViewScanWorkflow permission to access the section. Additionally, you must have the following permissions to create, edit, and delete scan workflows respectively: CreateScanWorkflow, ModifyScanWorkflow, and DeleteScanWorkflow.
To add a workflow, click Add.

To modify a workflow, click the edit icon next to your selected workflow. The form is the same for adding and editing a workflow and consists of several sections with a specific set of fields.
General section
In the General section, enter the name and the description of your workflow.
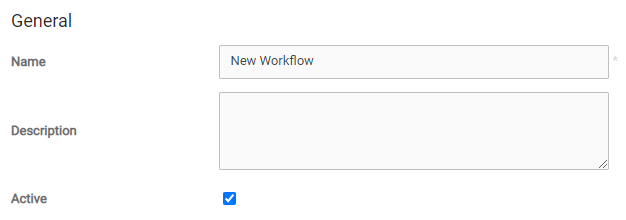
The Name and Description fields appear to end users on the terminal. The field "Active" determines, whether the workflow is available on the terminal at all (in addition to how you configured the access rules – see Access rules).
Destination section
In the Destination section, select a connector. After selecting a connector, its per-workflow customizable fields will be displayed below. Connectors are managed separately.

In this instance, the From, To, Subject, and Body fields are taken over from the selected email connector and represent its customizable parameters. You can use various dynamic placeholders, as described in Workflow variables.
Processing section
In the Processing section, you can enable additional workflow processing. When you enable a processing step, its configurable fields will be displayed. For more information, see Workflow processing steps.
Output section
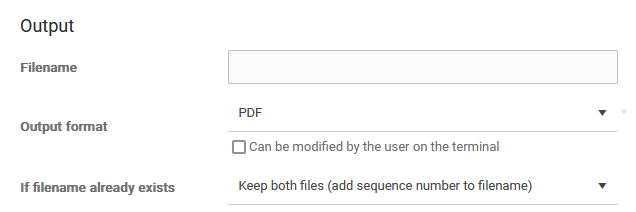
In the Output section:
-
Enter the Filename.
-
Select the output format. The available formats are:
-
PDF
-
Compact PDF
-
JPEG
-
TIFF
-
Multipage TIFF
-
-
If you wish to allow the users to change the output format at the MFD before scanning, select Can be modified by the user on the terminal.
-
Choose what happens if the filename already exists in the target directory:
-
Keep both files — A new file will be created with a numeric sequence in the "_#####" format. For example, "filename_00001", "filename_00002", etc. No files will be deleted.
-
Replace original file — The original file will be replaced with a new one.
-
Append to the original file (PDF only)
-
Prepend to the original file (PDF only)
-
-
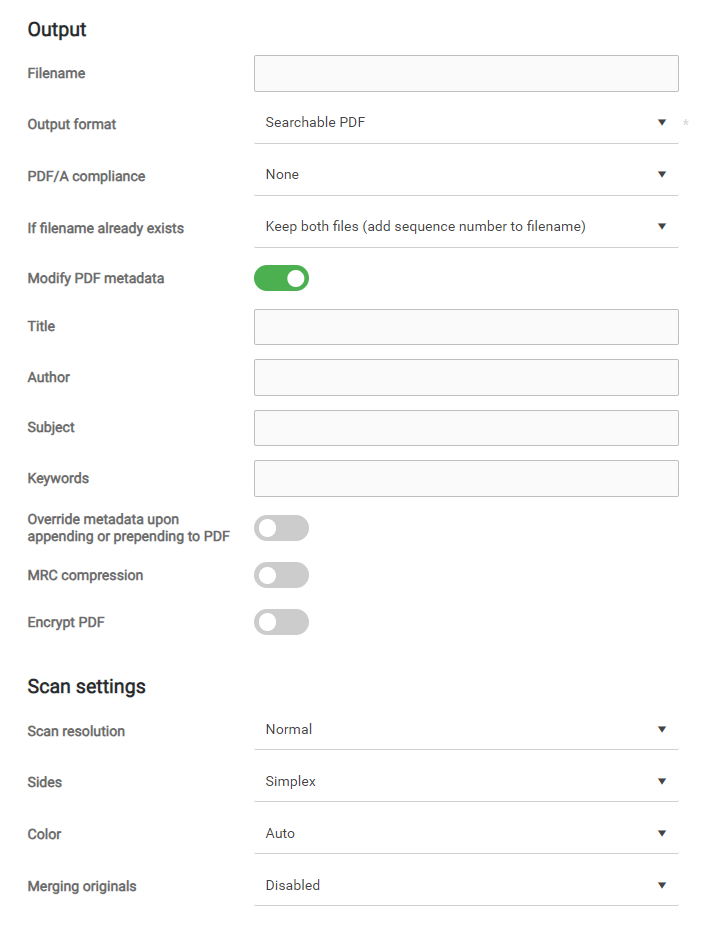
When OCR processing is enabled in the Processing section, the available formats change to Searchable PDF, Microsoft Word, Microsoft Excel, Microsoft PowerPoint, RTF, and TXT.
-
If you selected the Searchable PDF format, you will see additional configuration options.
-
Modify PDF metadata
-
This option allows you to modify the standard PDF metadata in the searchable PDF fields. If enabled, you can specify the following metadata: Title, Author, Subject, Keywords.
-
If appending or prepending a searchable PDF file, you can choose to overwrite the metadata on each append or prepend by enabling the Override metadata upon appending or prepending to PDF option.
-
-
MRC compression
-
Enables or disables the MRC compression in a searchable PDF file.
MRC (Mixed Raster Content) is a special compression technology used to minimize the size of PDF files.
If document image files are excessively large, it's often due to the background, which may account for up to 90% of the file size. This compression technology recognizes the color background and deletes it or compresses it, leaving the text and pictures against a white background. This reduces the PDF file size. Picture objects (diagrams, graphs, logos, photos, drawings, stamps, signatures, etc.) are also slightly compressed, but only to an extent that does not lower the quality. Therefore, we recommend using this option if you don't need background in the scanned documents.
-
-
The supported PDF/A compliance types are:
-
PDF/a-1a
-
PDF/a-1b
-
PDF/a-2a
-
PDF/a-2u
-
PDF/a-3a
-
PDF/a-3u
Due to a limitation in third-party software, the options "Append to the original file (PDF only)" and "Prepend to the original file (PDF only)" do not preserve the selected PDF compliance level.
-
-
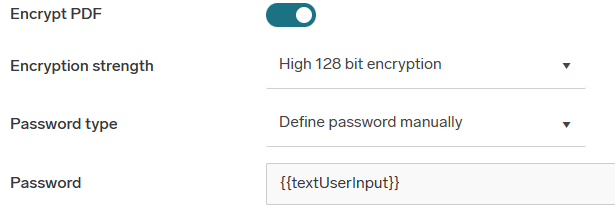
Encrypt pdf
-
PDF encryption is available only when PDF/A compliance is set to None.
-
PDF Password type supports multiple options
-
Generate password automatically
Password can be generated automatically and sent via email to predefined recipients. -
Define password manually
-
A static password can be set manually. Same password will be used for every execution of the workflow.
-
Password can use workflow variables e.g. {{userName}}-{{deviceName}} to create a unique, predefined password. See Workflow variables for more details.
-
Alternatively, password can be configured as User input which will allow users to set password on the terminal before executing the workflow. For more information, see User inputs.
-
-
-
The supported Encryption strengths are:
-
Low - 40 bit
-
High -128 bit
-
High - AES 128bit
-
-
-
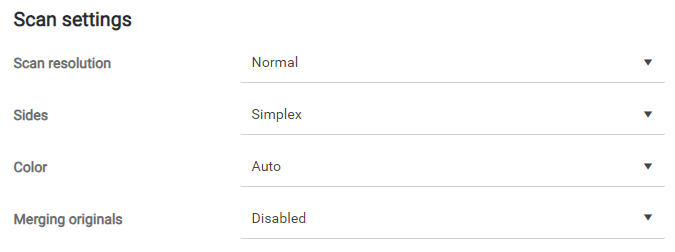
Scan settings section
In the Scan settings section, you can configure the general scan settings.
-
Scan resolution — Select scan resolution. The DPI values depend on the MFD vendor. See the table below.
-
Sides — Choose whether only one side or both sides will be scanned.
-
Color — Select the color of the scanned document.
-
Merging originals — Choose whether the documents will be combined together.
Scan resolution DPI values:
|
Scan resolution in Scan settings |
Konica Minolta* |
Ricoh* |
FUJIFILM BI* |
HP Workpath* |
Sharp |
|---|---|---|---|---|---|
|
Low |
200*200 |
100*100 |
200*200 |
75*75 |
100*100 |
|
Normal |
200*200 |
200*200 |
200*200 |
150*150 |
200*200 |
|
Fine |
300*300 |
300*300 |
300*300 |
300*300 |
300*300 |
|
High |
400*400 |
400*400 |
400*400 |
500*500 |
400*400 |
|
Super |
600*600 |
600*600 |
600*600 |
600*600 |
600*600 |
*Pure cloud terminal
User inputs section
In the User inputs section, you can define scan metadata that will be collected at the MFD's terminal in the form of user input. Input values supplied by terminal users are saved in user input workflow variables.
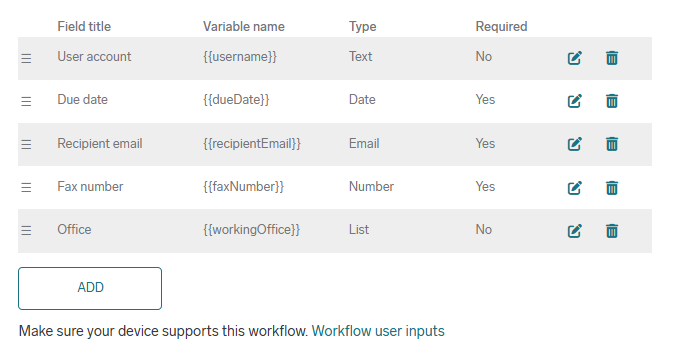
Reorder user inputs using the ≡ icons on the left side.
Remove user inputs by clicking the trash icon beside the user input.
Edit user inputs by clicking the edit icon beside the user input. The form is the same for adding and editing a user input.
Create a new user input:
-
In the User inputs section, click Add.
-
In the Add new user input popup window, select Type from the drop-down menu:
-
Text – Create a field, where users can enter any text.
-
Number – Create a field, where users can enter whole positive numbers.
-
Date – The expected format is YYYYMMDD (e.g., "20160719" for July 19, 2016)
-
Email – Create a field, where users can enter any text in email address format.
The "SearchUser" permission is required in order to be able to search email addresses directly on the MFD's terminal. Without this permission, the result is empty.
The result is limited to 40 records per authentication provider.
Only users who have interacted with the system at some point (for example, by authenticating through the PC client) will be listed in the result.
-
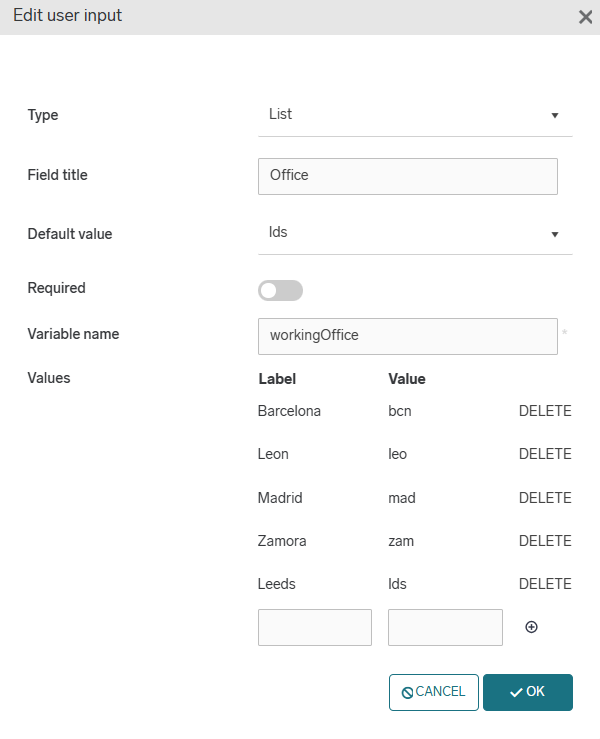
List – Manually enter values that will be available as a list on the MDF's terminal.
-
-
Enter Field title.
-
Set Default value.
-
Check Required if the user input is necessary to start scanning.
-
Set Variable name.
-
If you selected the List type, create a list of values. For each value, enter the label and the value, and then click Add. Click Delete to remove a value from the list.
-
Click OK to save the user input.
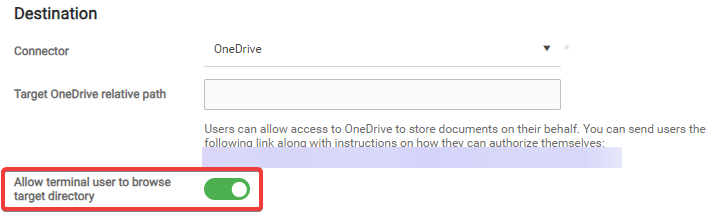
Allow terminal user to select the destination folder
-
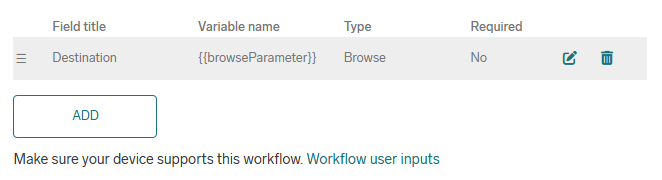
If you wish the end users to be able to choose the destination folder in a scan workflow, select the Allow terminal user to browse target directory option in the Destination section. This will automatically create the BROWSE type user input field.
-
Once the BROWSE input field is created, you can edit or delete it like any other user input field. To edit it, click the edit icon.
-
A new dialog window will be displayed.
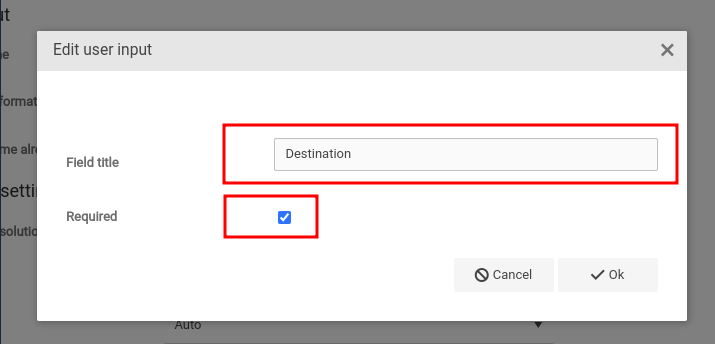
-
Field title – The title of the user input field that will appear in the workflow detail on the terminal. Capture variables may be used.
-
Required – If selected, the user must select a destination folder before they scan a document. Before allowing destination folder selection, make sure it contains browsable subfolders. The user will not be able to select the root of the target directory.
-
-
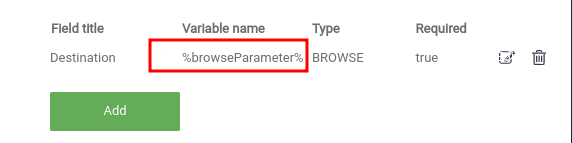
Click Ok to save changes.
For the BROWSE type user input field, the variable name is always {{browseParameter}} (or %browseParameter%).
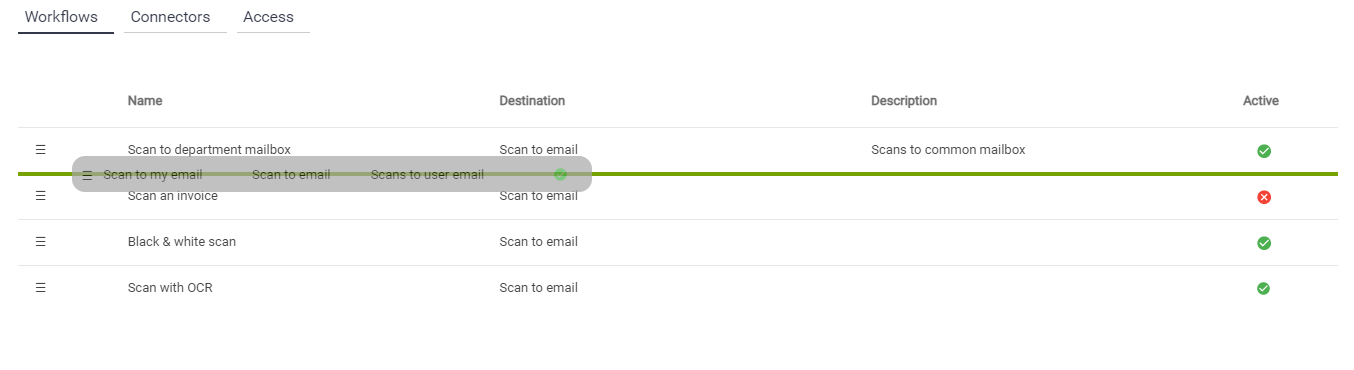
Changing the order of workflows
To alter the order in which workflows are presented on terminals and in the SAFEQ Cloud Web UI, click Reorder in the list of workflows. This will switch the UI to re-ordering mode, where paging is disabled and individual workflows can be dragged & dropped in the desired position.
You must have the ModifyScanWorkflow permission to reorder workflows.
Deleting a workflow
You can delete a workflow directly from the workflow list by clicking the delete icon, or by clicking Delete in the workflow detail. To do this, you must have the DeleteScanWorkflow permission
Deleting a workflow will also remove all access rules that were configured for it.