
Before you begin, prepare the serial number of the MFD that you wish to add.
Creating the Embedded configuration
-
In the SAFEQ Cloud Web UI, go to Printers > Embedded templates.
-
If not done already, create an embedded configuration for Ricoh by clicking Add.
-
In Vendor, select Ricoh.
-
In Application Type, select Standard Gen 2.
-
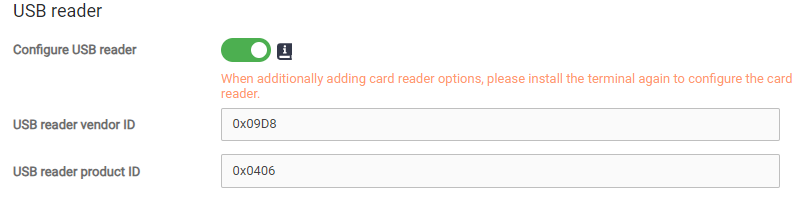
Optionally, enable Configure USB reader to set up the card reader and perform the following steps (set to disable to leave the card reader configuration untouched for future installations):
-
Enter its VID and PID in the configuration, in HEX format, with or without the 0x prefix.
-
Please see Compatible Card Readers for the values.
-
-
Click Install and Configure in the embedded menu (if applicable due to network visibility).
-
Or Click Manual operations in the embedded menu.
-
Make sure the VID and PID values are explicitly specified in the respective command parameters
-
-
Beware that until the terminal is installed or reinstalled, changes are not propagated.
-
If you reinstall, there is no priority for the installation options - the card reader configuration specified last will be applied.
-
When installing the terminal by other means (directly through Web Image Monitor), the USB reader must be configured manually.
-
-
Fill in the rest of the configuration according to your needs and click Save. For more information on embedded configuration, see Embedded Terminals' configuration.
Adding the MFD
-
Go to Printers tab.
-
Click Add.
-
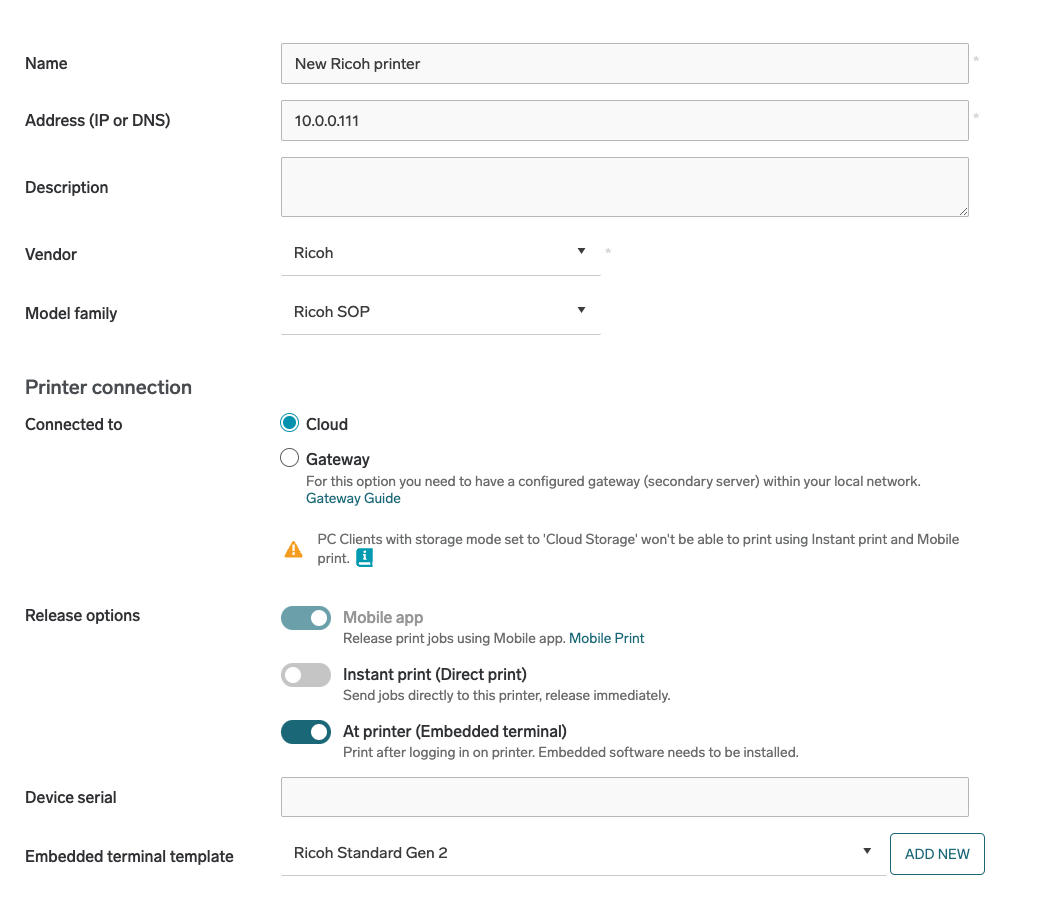
In Vendor, select Ricoh.
-
In Model family, select Ricoh SOP.
-
Fill in all required information.
-
Click Save.
-
Proceed to Cloud Terminal installation. You will have a choice of three installation methods.