-
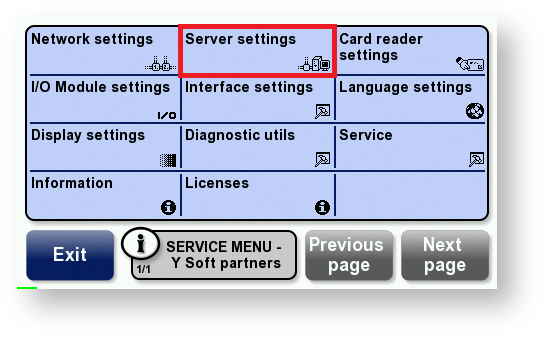
Display the Service menu and touch Server settings.
-
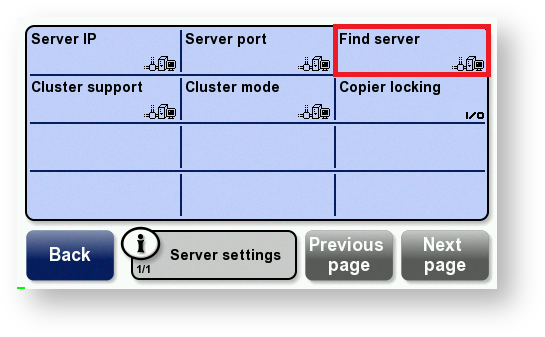
Touch Find server.
-
If the terminal finds the server, skip to step 7
OR
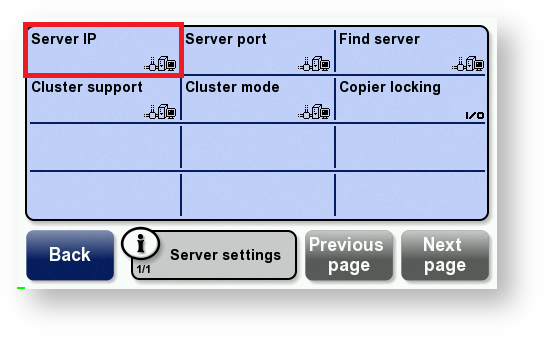
If the terminal does not find the server, touch Server IP.
-
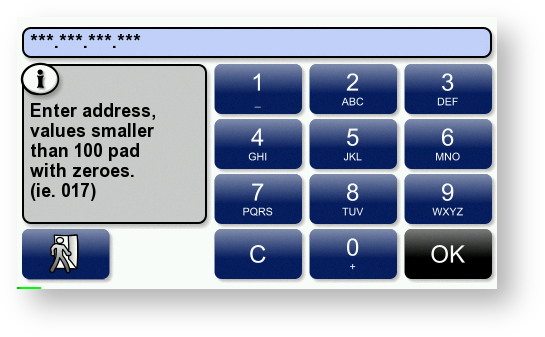
Enter the YSoft SafeQ server’s IP address in the format shown in this example and touch OK.
10.0.1.1 is entered as 010 000 001 001.
-
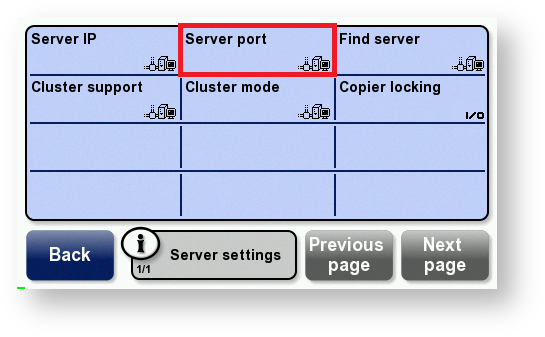
Touch Server port.
-
Enter the YSoft SafeQ server’s port; then touch OK.
The default port is 4096.

-
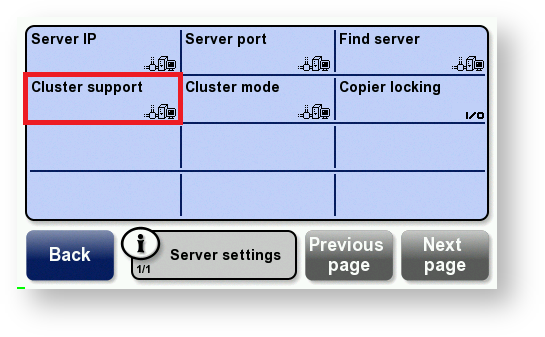
Touch Cluster support and Enable this option
-
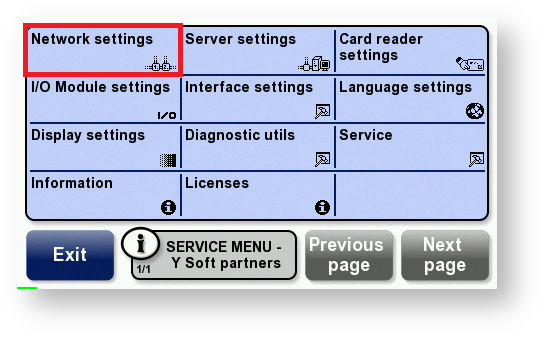
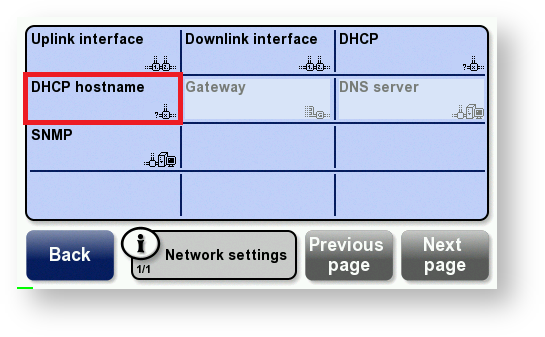
Touch Network settings.
-
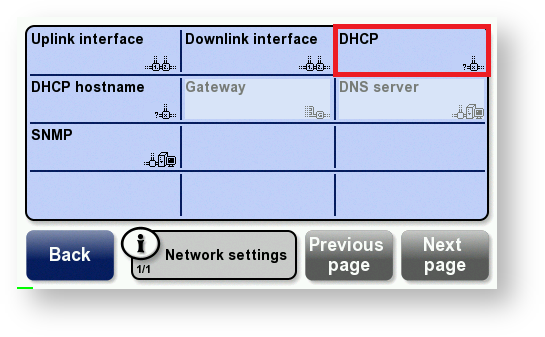
Touch DHCP and according to your network setting select Enable or
Disable.
-
If DHCP is enabled, touch DHCP hostname.
-
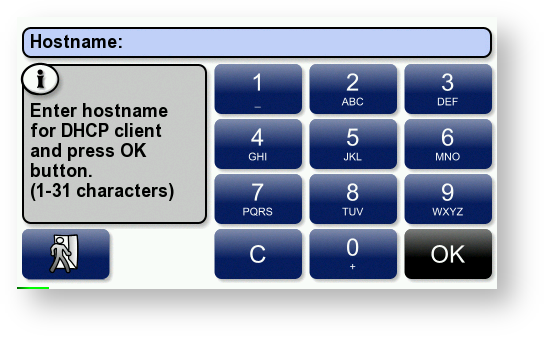
Enter the hostname that will be sent by the DHCP client; then touch OK. Go to step 21.
The hostname can contain a maximum of 31 characters. The terminal’s serial number is used as the hostname by default.
OR
-
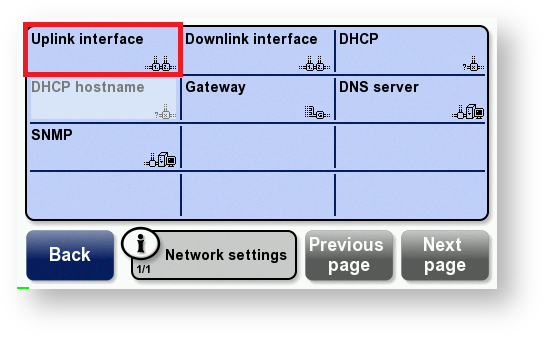
If DHCP is disabled, touch Uplink interface.
-
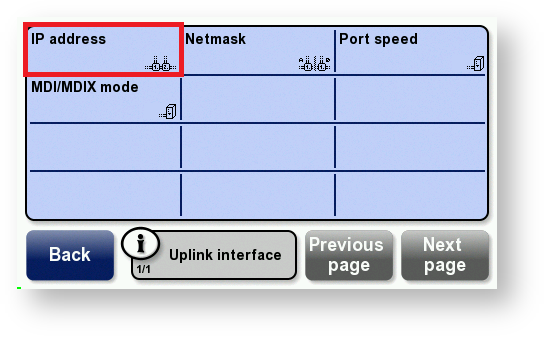
Touch IP address.
-
Enter the terminal’s IP address in the format shown in this example and touch OK.
10.0.1.1 is entered as 010 000 001 001.
-
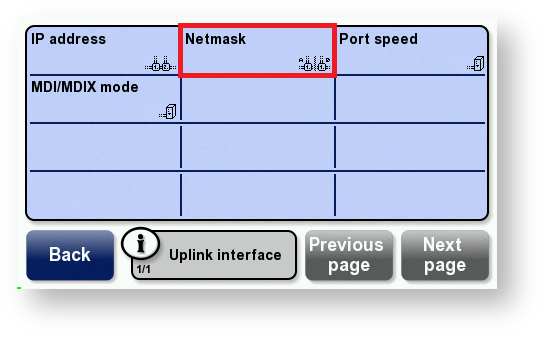
Touch Netmask.
-
Enter the subnet mask in the format shown in this example and touch OK.
255.255.255.0 is entered as 255 255 255 000.
-
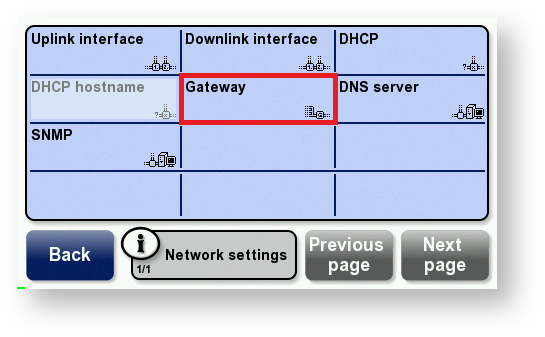
Touch Back. Touch Gateway.
-
Enter the gateway’s IP address in the format shown in this example and touch OK.
10.0.1.1 is entered as 010 000 001 001.
-
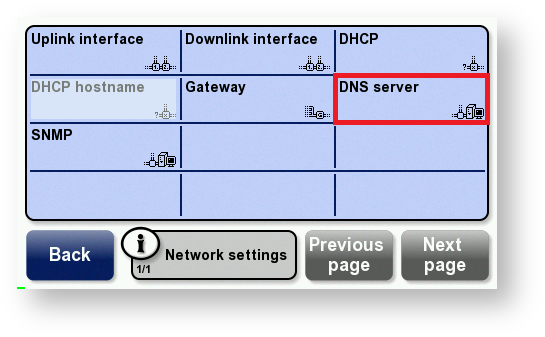
Touch DNS Server.
-
Enter the DNS server’s IP address in the format shown in this example and touch OK.
10.0.1.1 is entered as 010 000 001 001.
-
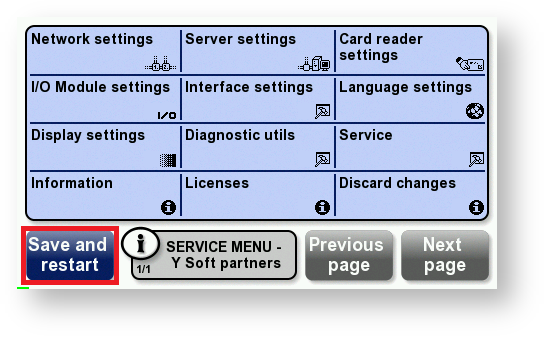
Touch Back. Touch Save and restart to save the changes.
Multiple initialize requests to Terminal Server of not registered Terminal Professional devices is expected behavior.
