
Please follow Updating from MU/Build to Build for a detailed guide to the update procedure. This page only contains a subset of the required steps!
This page describes how to update the YSoft SafeQ installation using the server installer. This procedure is valid for First Server, Additional Management Server, and Site Server deployments.
The minimum free space required for the update is 8.8 GB.
General Information
-
The installer detects the previous installation and informs the user that an update instead of a clean installation will be performed.
-
The update does not allow the changing of any system configurations, it updates the environment as-is.
The update procedure can be summarized as several steps:
-
The installer stops all running services.
-
The new version is deployed.
-
A configuration that may contain user data is restored.
-
Services are started again.
Order of Update
-
Update Management Server or one of the Management Server cluster nodes first.
The first update updates the database, therefore, it is no longer expected to work with the previous version of YSoft SafeQ Management Services.
-
Update the remaining Management Server cluster nodes one by one (i.e., start the update of the second node after the update of the first node has finished).
Do not start Management Services manually before all nodes have finished updating.
-
Update Site Servers after the update of Management Server(s) is finished.
Preparation
Download the installation package
Download the server installer archive from the YSoft Partner Portal.
- Use ysq-server-install.zip or YSoft-SafeQ-6-MUXX-Server-installer.zip for deployments without an OCR engine.
- Use ysq-server-ocr-install.zip or YSoft-SafeQ-6-MUXX-Server-installer-with-Advanced-workflows.zip for deployments with an OCR engine.
Extract the archive
- Extract the archive with the installer to your disk.
- The installer consists of one main executable file (SafeQ6.exe) and several component installers located in the bin subfolder.
- Run the main executable file.
Updating Using the Installer Wizard
Run the executable file.
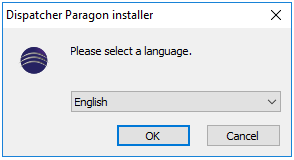
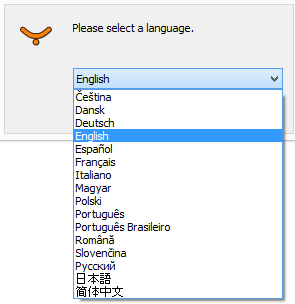
Choose the language
-
The installer uses the selected language to communicate with the user with the exception of text coming directly from the OS, which is dependent on the OS language. Typically the YES, NO, and OK buttons.
-
The number of languages depend on the localization scope for each installer.
-
The default language is English.
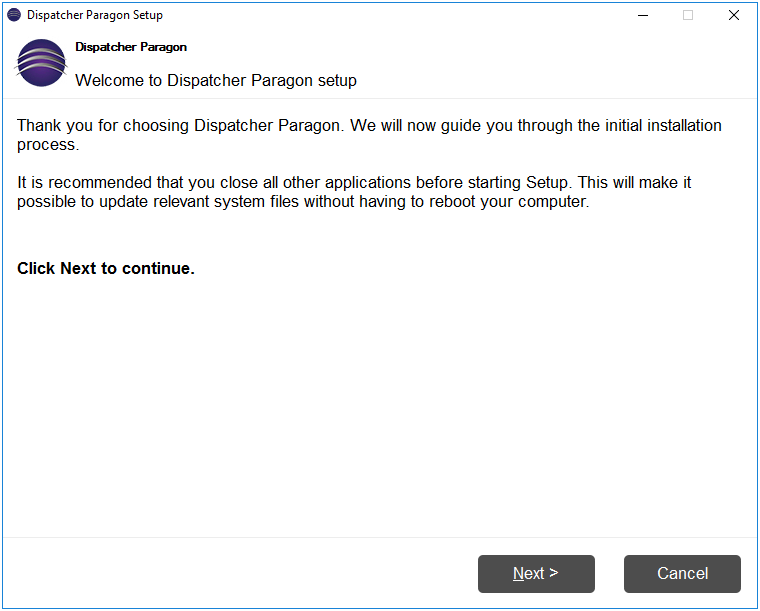
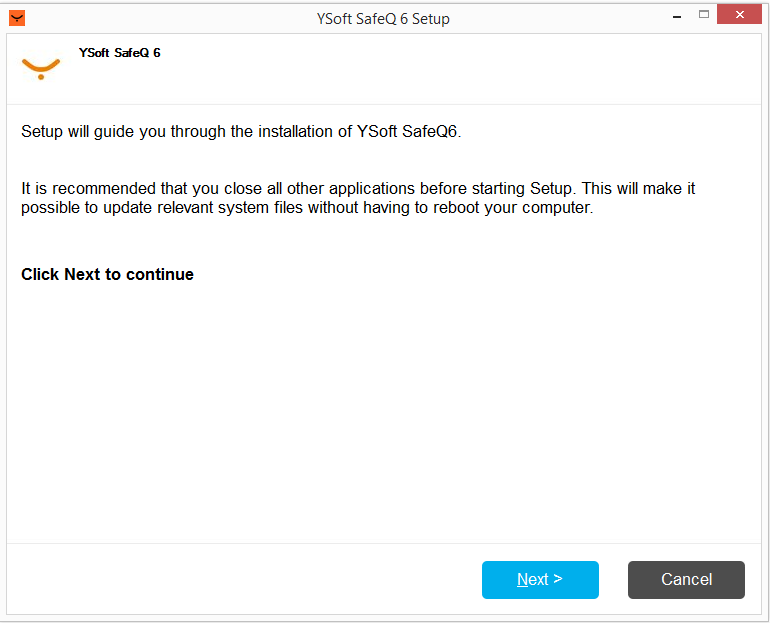
Welcome page
-
The user is notified that a wizard-like setup will guide them through the installation process.
License agreement
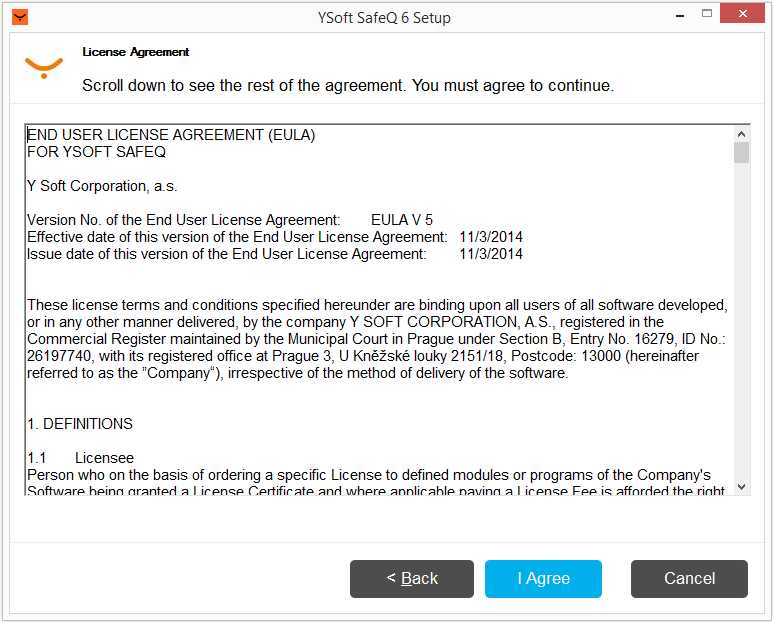
- The License Agreement shows the standard Y Soft EULA.
- The user has to Agree with EULA content in order to continue.
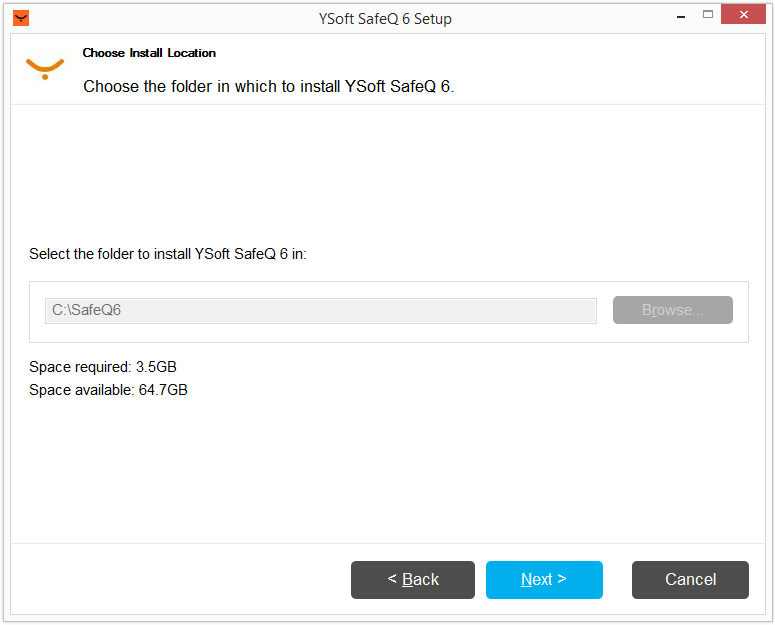
Destination folder
-
The YSoft SafeQ 6 installation in the following directory will be updated.
-
The folder's path must consist of ASCII characters only.
-
At least 3.5 GB of available space is required.
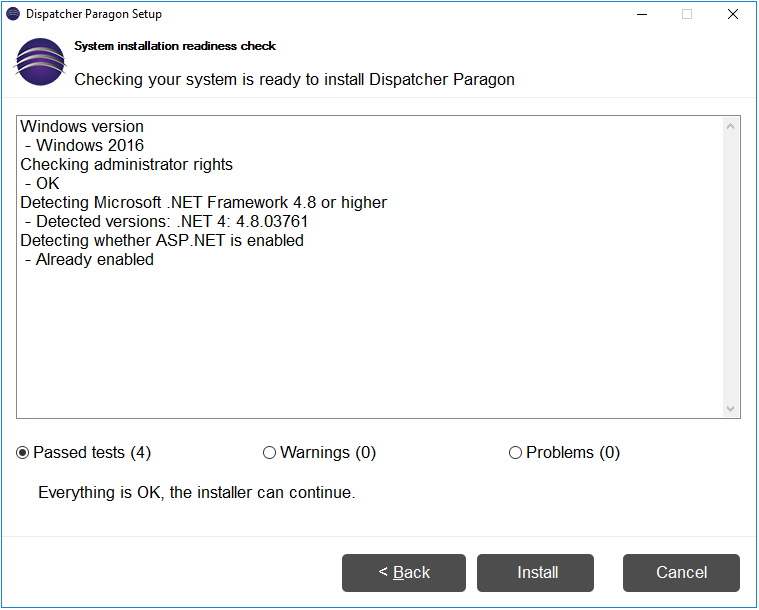
Preinstallation check
-
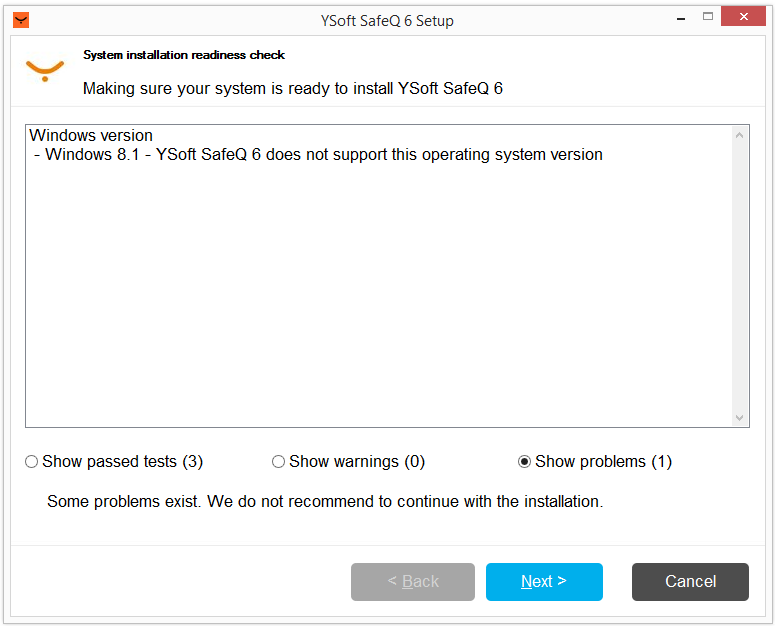
The preinstallation check performs a series test to verify if the server environment is suitable for the installation.
-
The installer checks that the license in the database has valid software support and disallows the update if the validity criteria are not met. License validation result is saved in ${INSTALL_DIRECTORY}/license-validator.log. If access to the database fails, copy the encrypted license from the activation portal or the "data" field of database table tenant_1.license to ${MGMT_directory}/conf/license.xml and run the installation again.
-
The installer process has Administrator rights.
-
The Server OS is intended for servers (not Windows 7,8,10, etc.).
-
.Net Framework is available in a suitable version.
Update summary
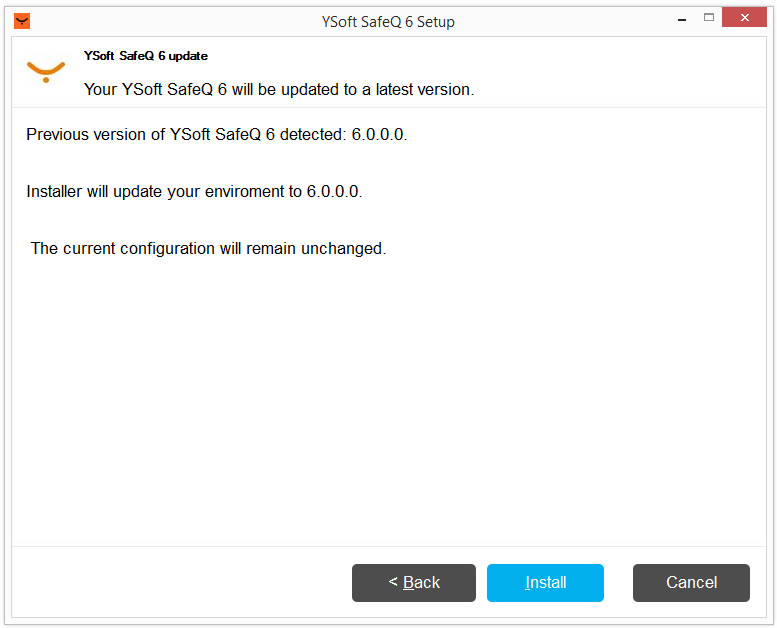
- The user is shown a summary where both the old and new version numbers are displayed.
- Only assembly files will be changed, the user data and configuration remain unchanged.
Installation progress
-
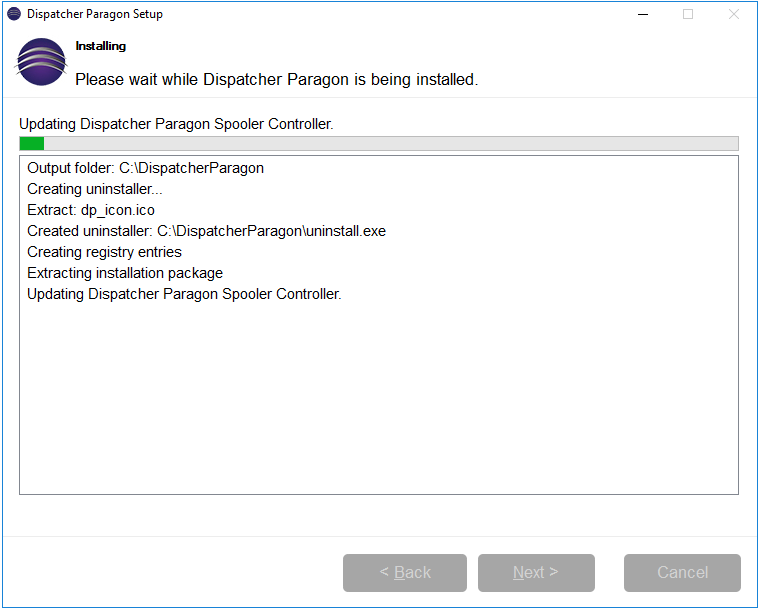
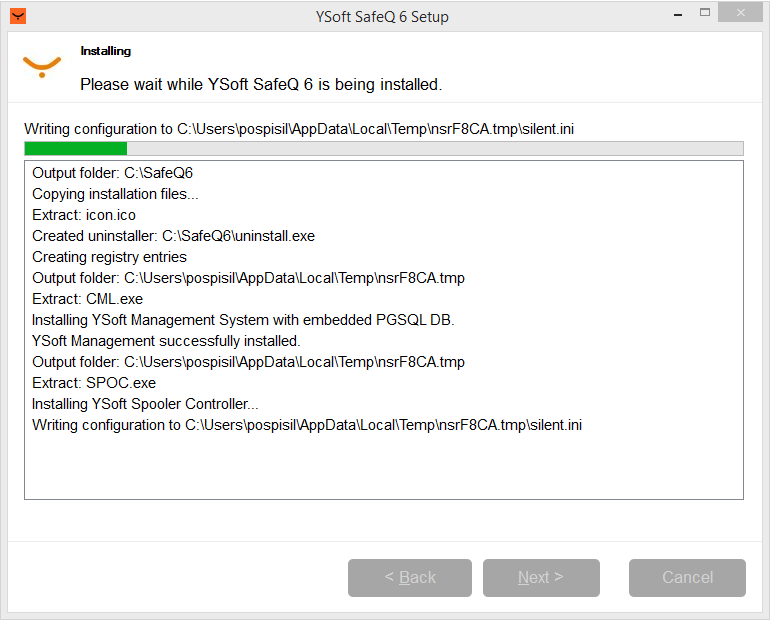
The update continues in a similar manner as a clean installation.
-
The update's progress is shown in the form of a progress bar.
-
The user can monitor update activities.
-
An explanatory error message is shown if the update fails.
Installation finished
-
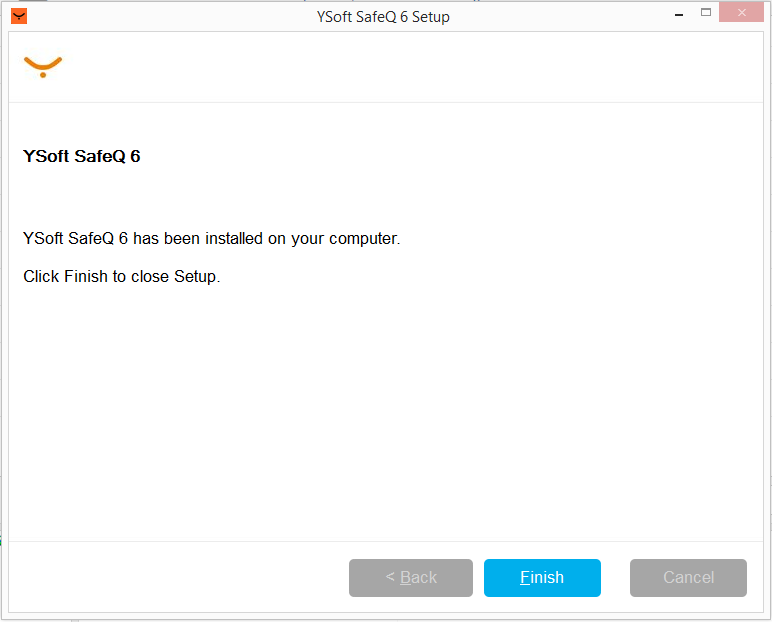
The user is informed that a new version of YSoft SafeQ was successfully installed and it is possible to safely exit the installer.
Updating Using the Silent Installer
An unattended update does not support altering any aspects of the already deployed and running environment. Customer data and the configuration remain as unchanged as possible.
Run the unattended update by executing the installer binary file from any command-line-like tool:
SafeQ6.exe /S