
The application is available in Google Play Store.
Supported Formats
-
BMP
-
GIF
-
HEIF
-
JPEG
-
PDF
-
PNG
-
WebP
-
HTML
-
Various forms of plain text
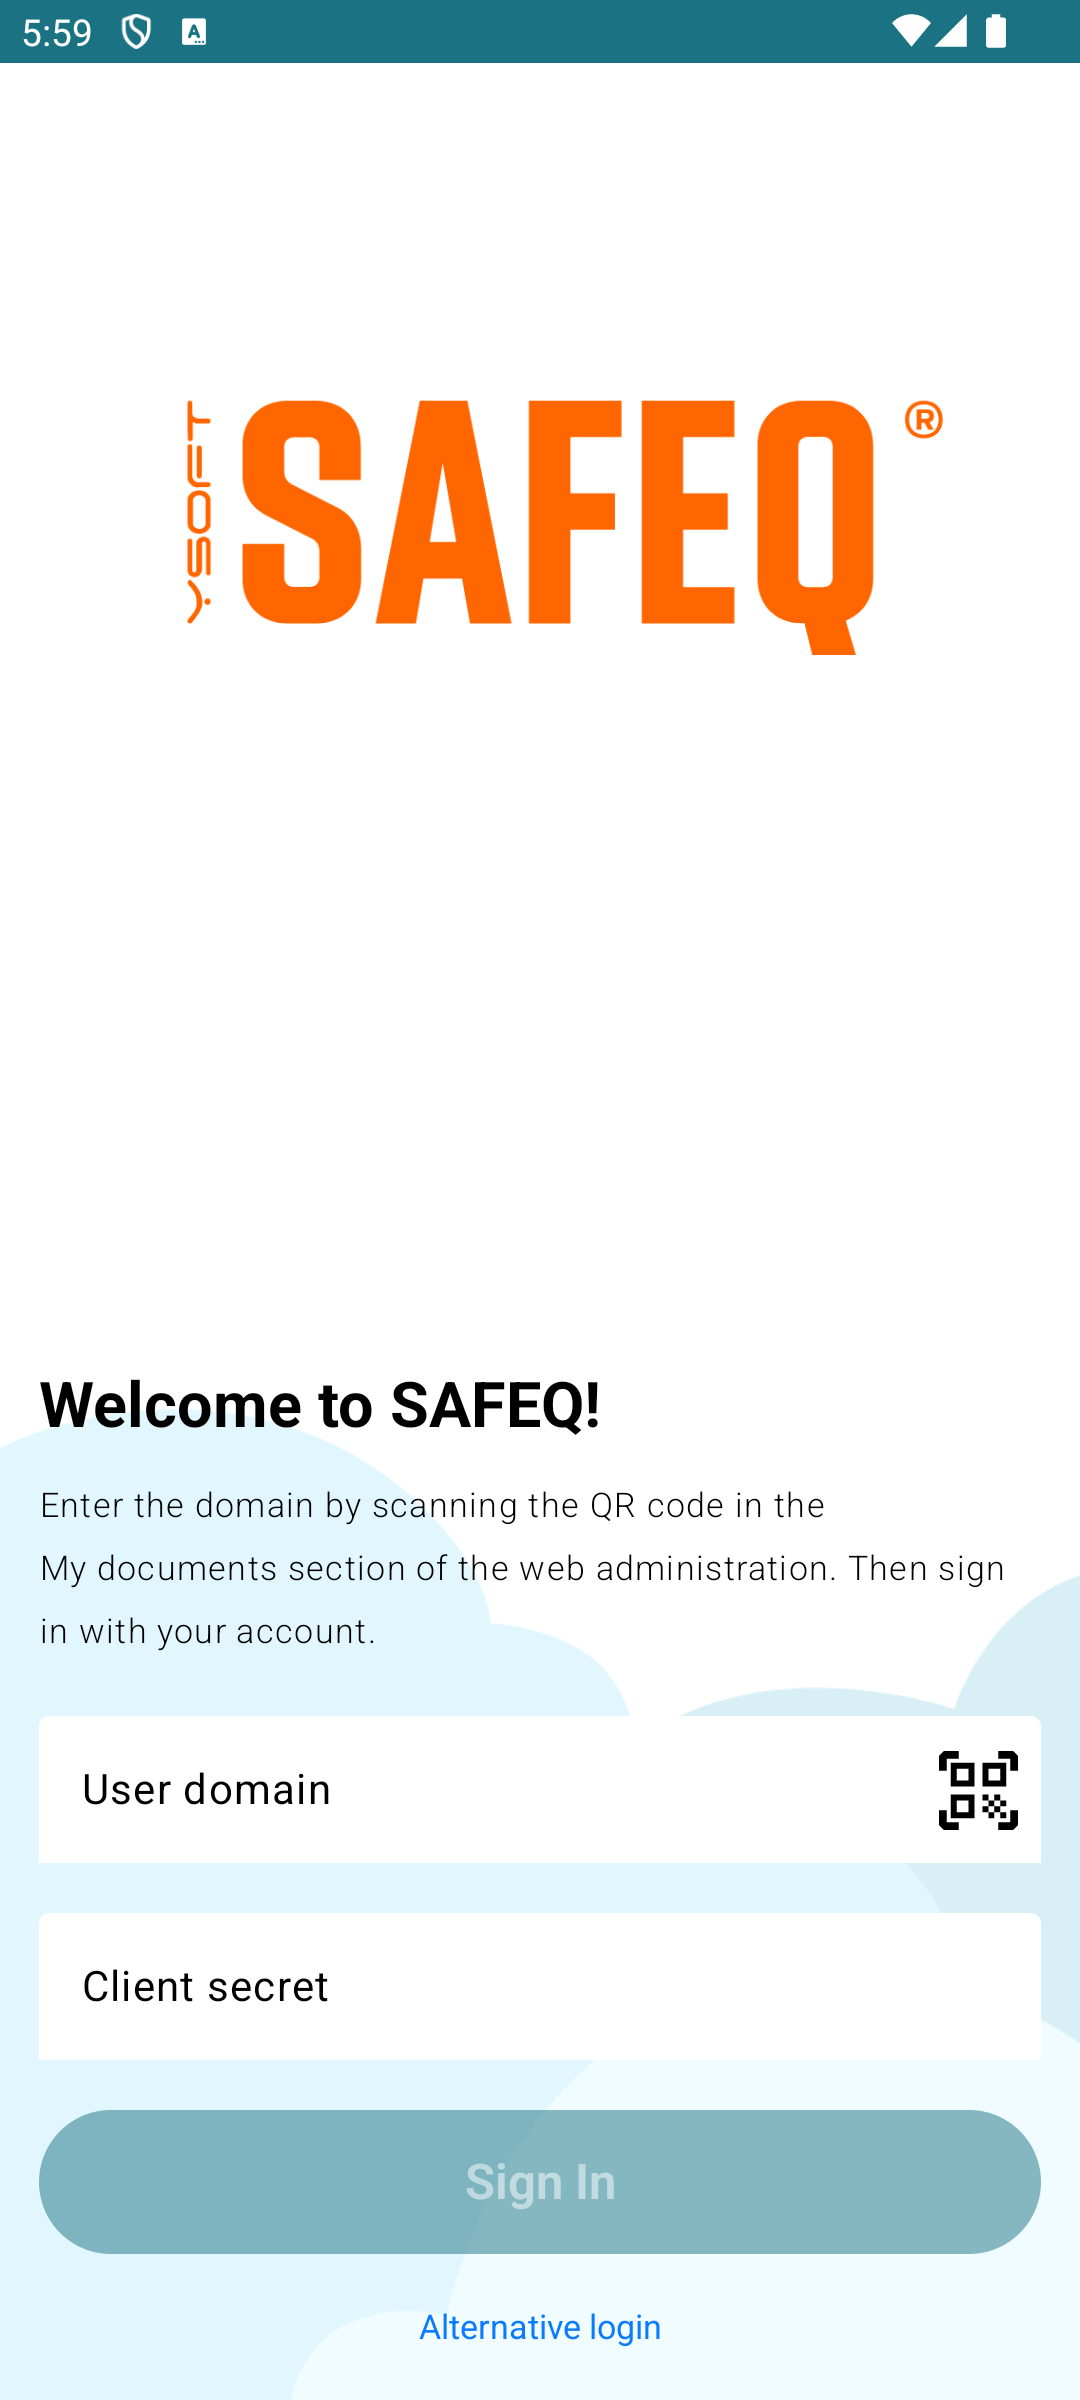
Signing In
When the application is first launched, it displays the Sign In screen, which is used to log in to the YSoft SAFEQ Cloud solution. To continue logging into YSoft SafeQ 6 (Client v3), you must click the Alternate Login button.
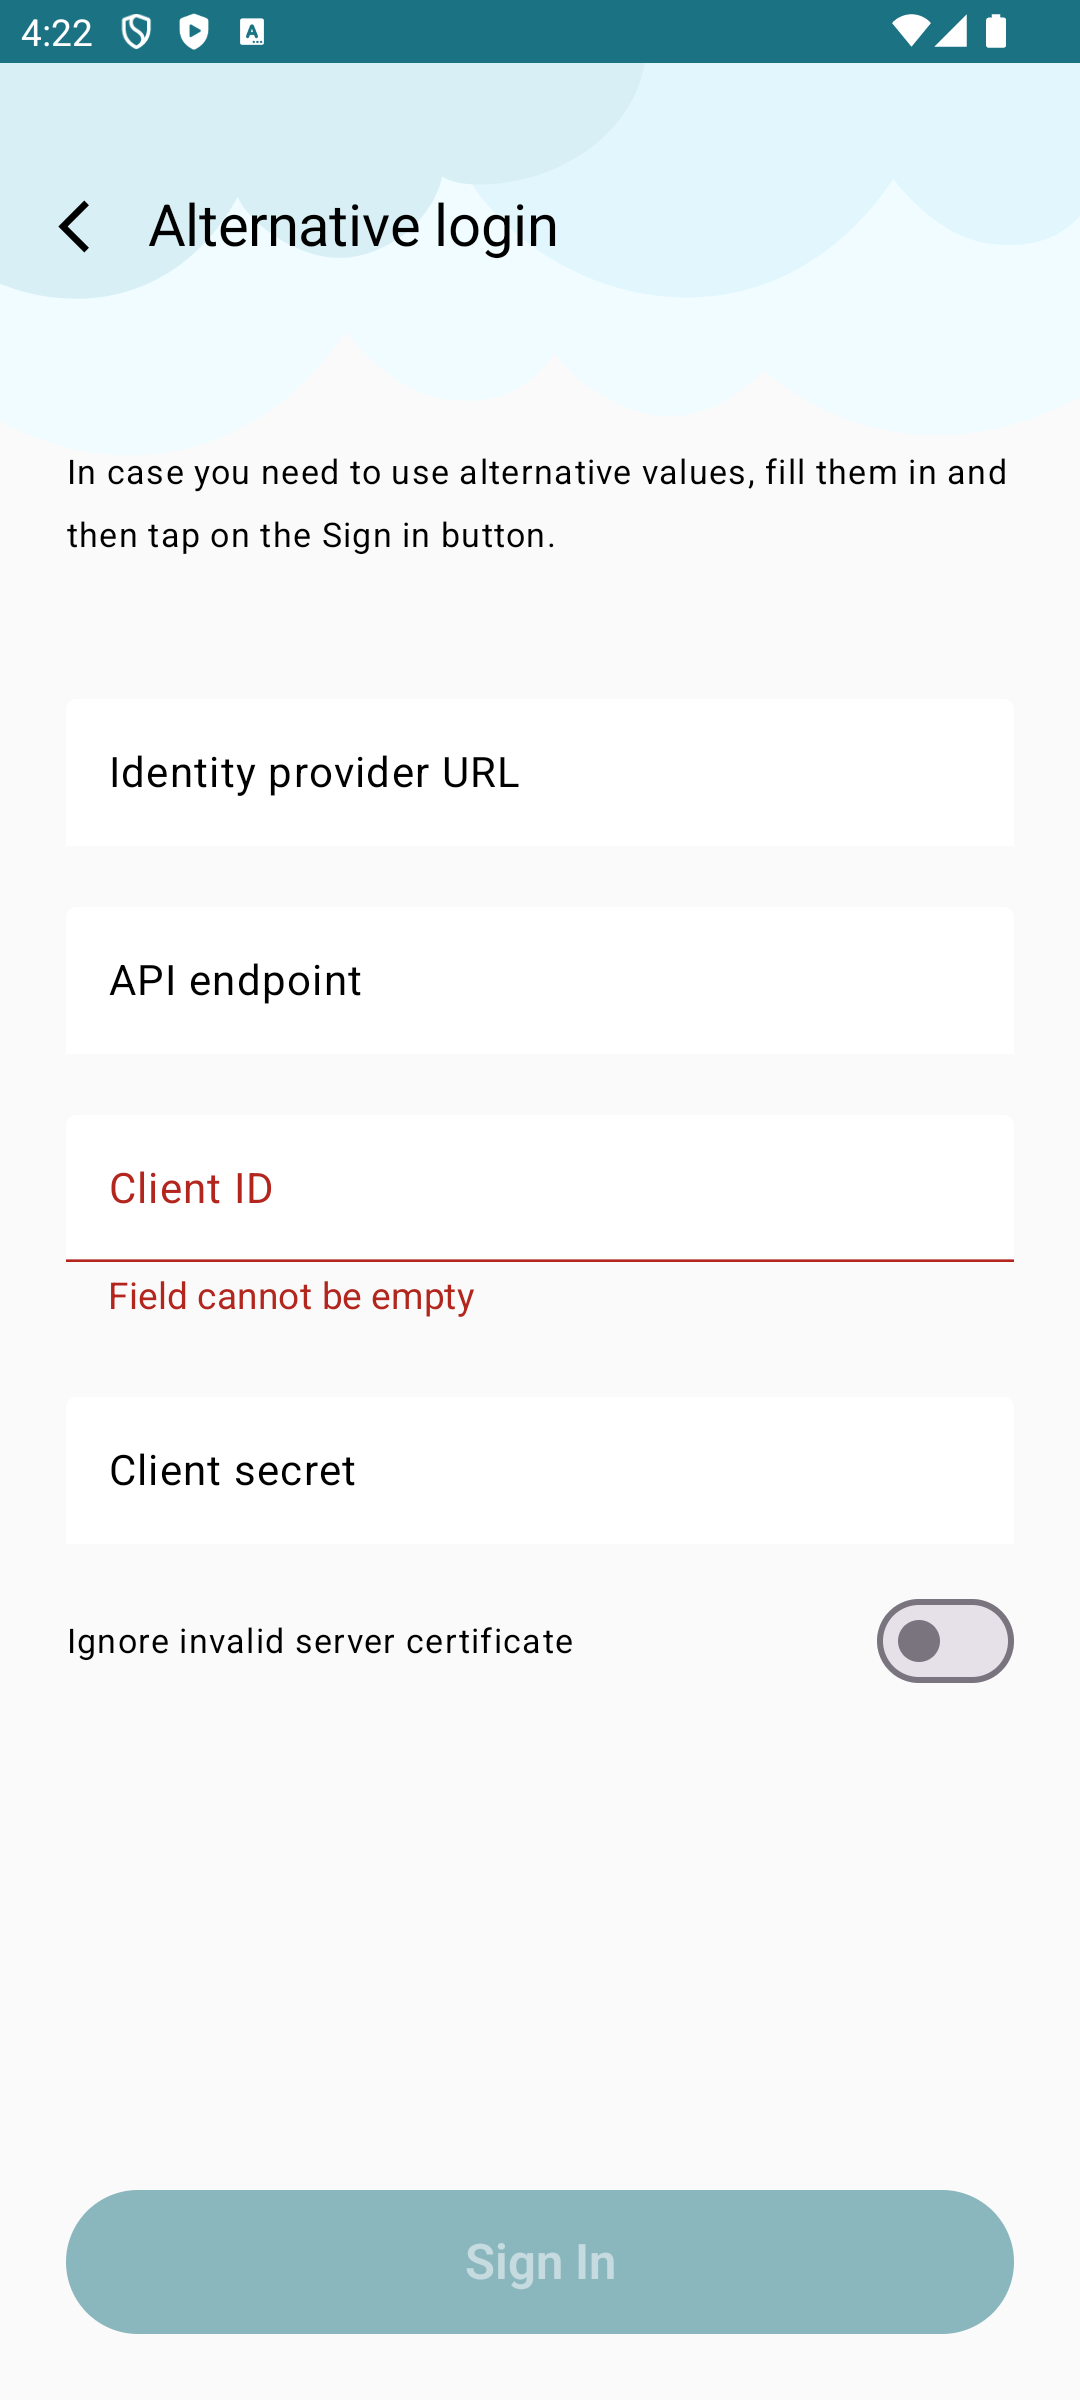
On the Alternate Login screen, there are four input fields to complete:
-
Identity provider URL – If a custom identity provider is deployed, provide the custom identity provider’s URL. For a default deployment use the address and port of Job Service, e.g. Job Service is deployed on a machine with hostname “example.com”, then the value is “https://example.com:5000/”.
-
API endpoint – Use the address and https port of Spooler, e.g. “https://example.com:5002”.
-
Client ID – Use the ClientId value specified in the identity provider. For a default deployment using Job Service as an identity provider, use ClientId of Additional Clients located in Job Service’s local.json configuration file. The default value is “mobile-application”.
-
Client Secret – Optional value of the API Key that authenticates the app.
You can enable communication that is not secured by TLS by using the toggle button.
Job List
After a successful login, you will see all of your documents.
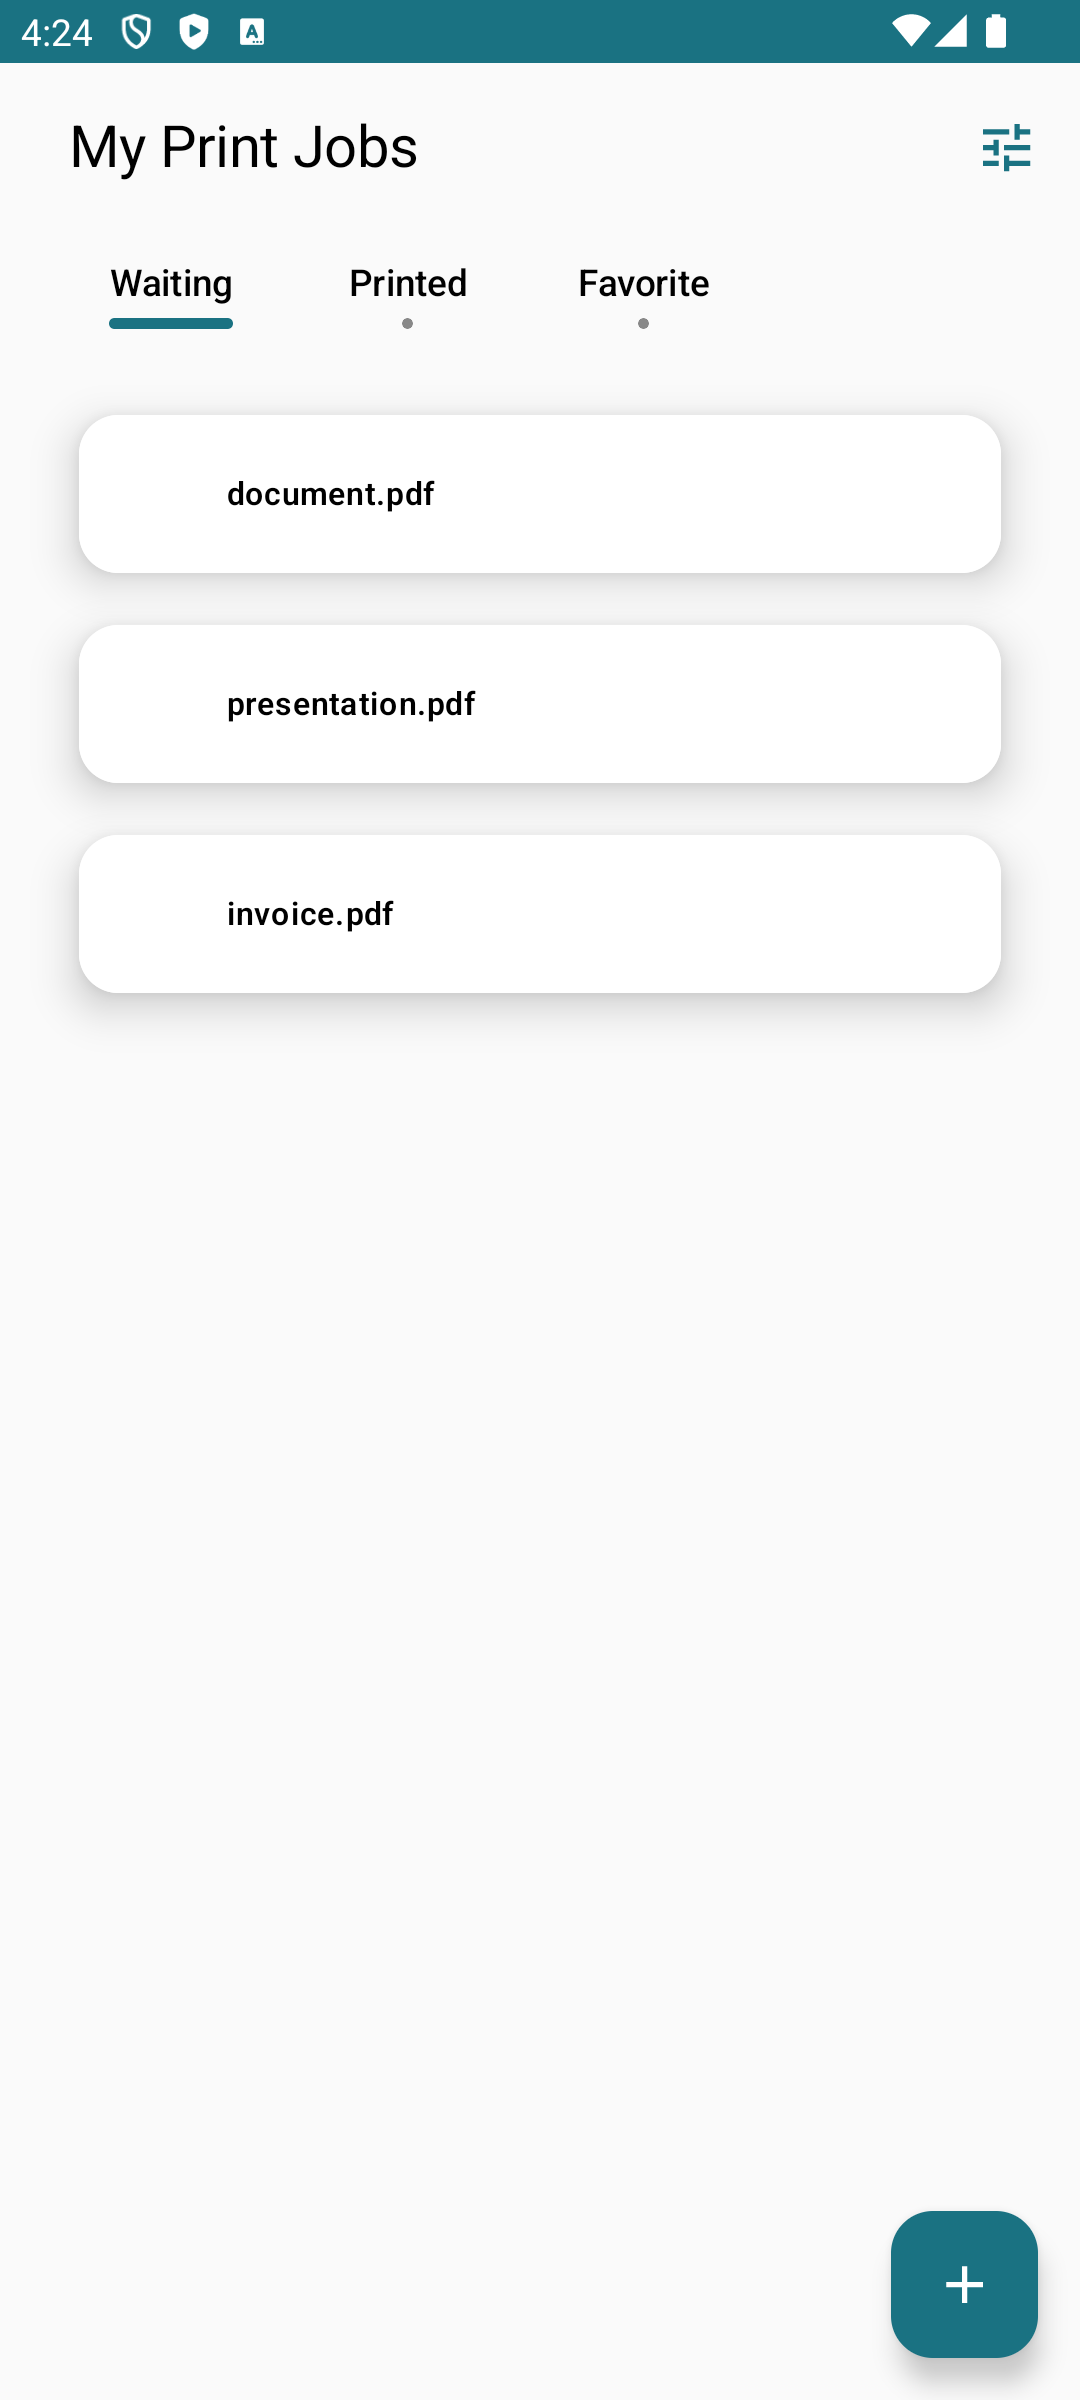
Submission of the Print Job
You can submit new documents by tapping the plus button located at the bottom of the Job List screen. This action will open a standard system file chooser. From there, you can select one or more files for submission. If any of the chosen files are password-protected, a dialog will appear prompting you to enter the password. You have the option to skip those files you do not wish to unlock.
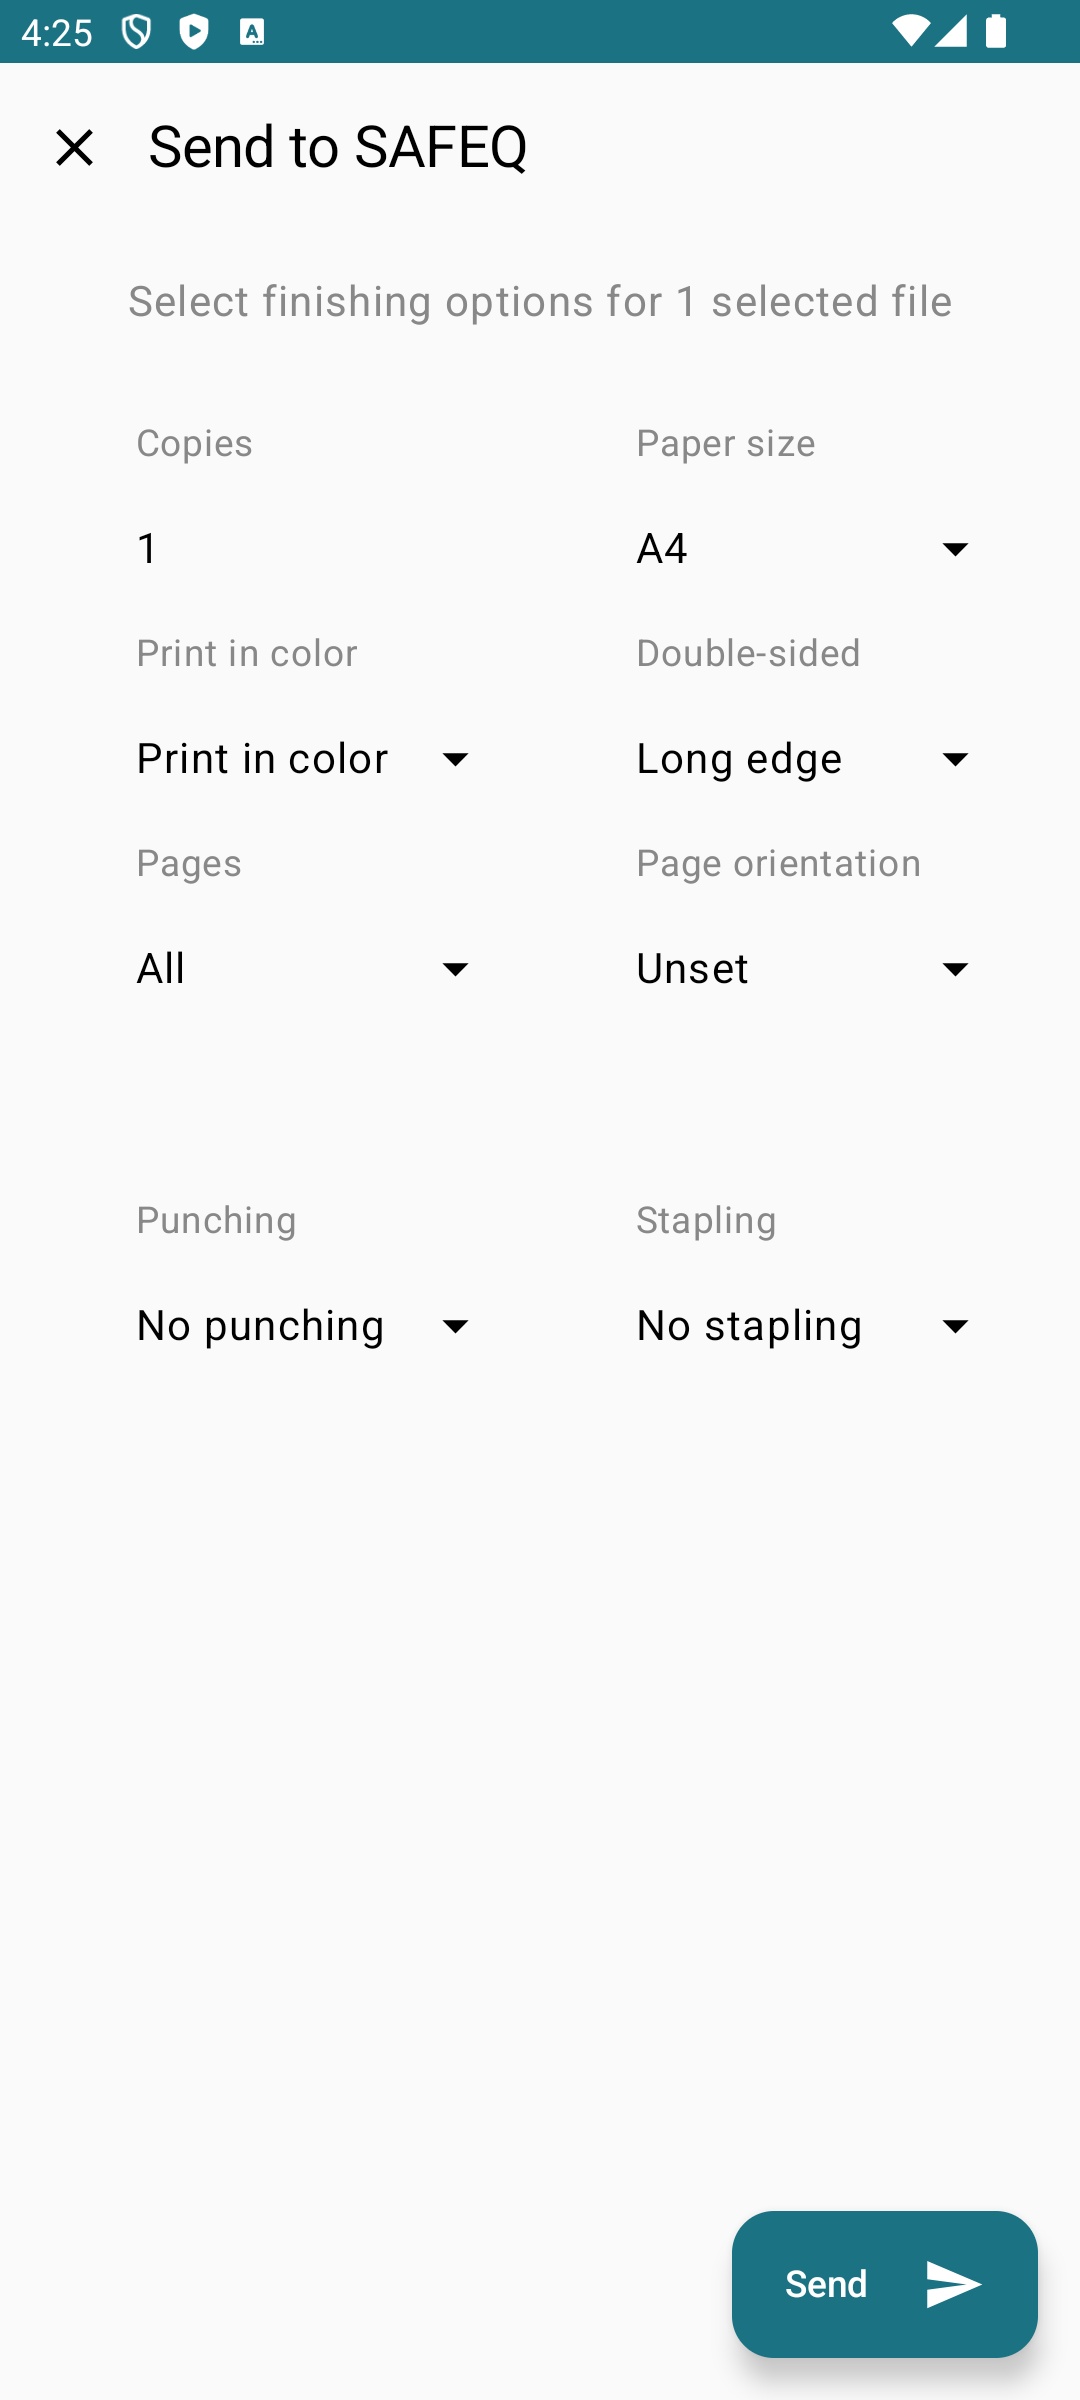
Once you have selected the desired files or entered passwords where necessary, the finishing options window will open. Here, you can customize settings such as the number of copies, color preferences, page size, page orientation, and double-sided printing. Furthermore, users have the opportunity to select advanced finishing options.
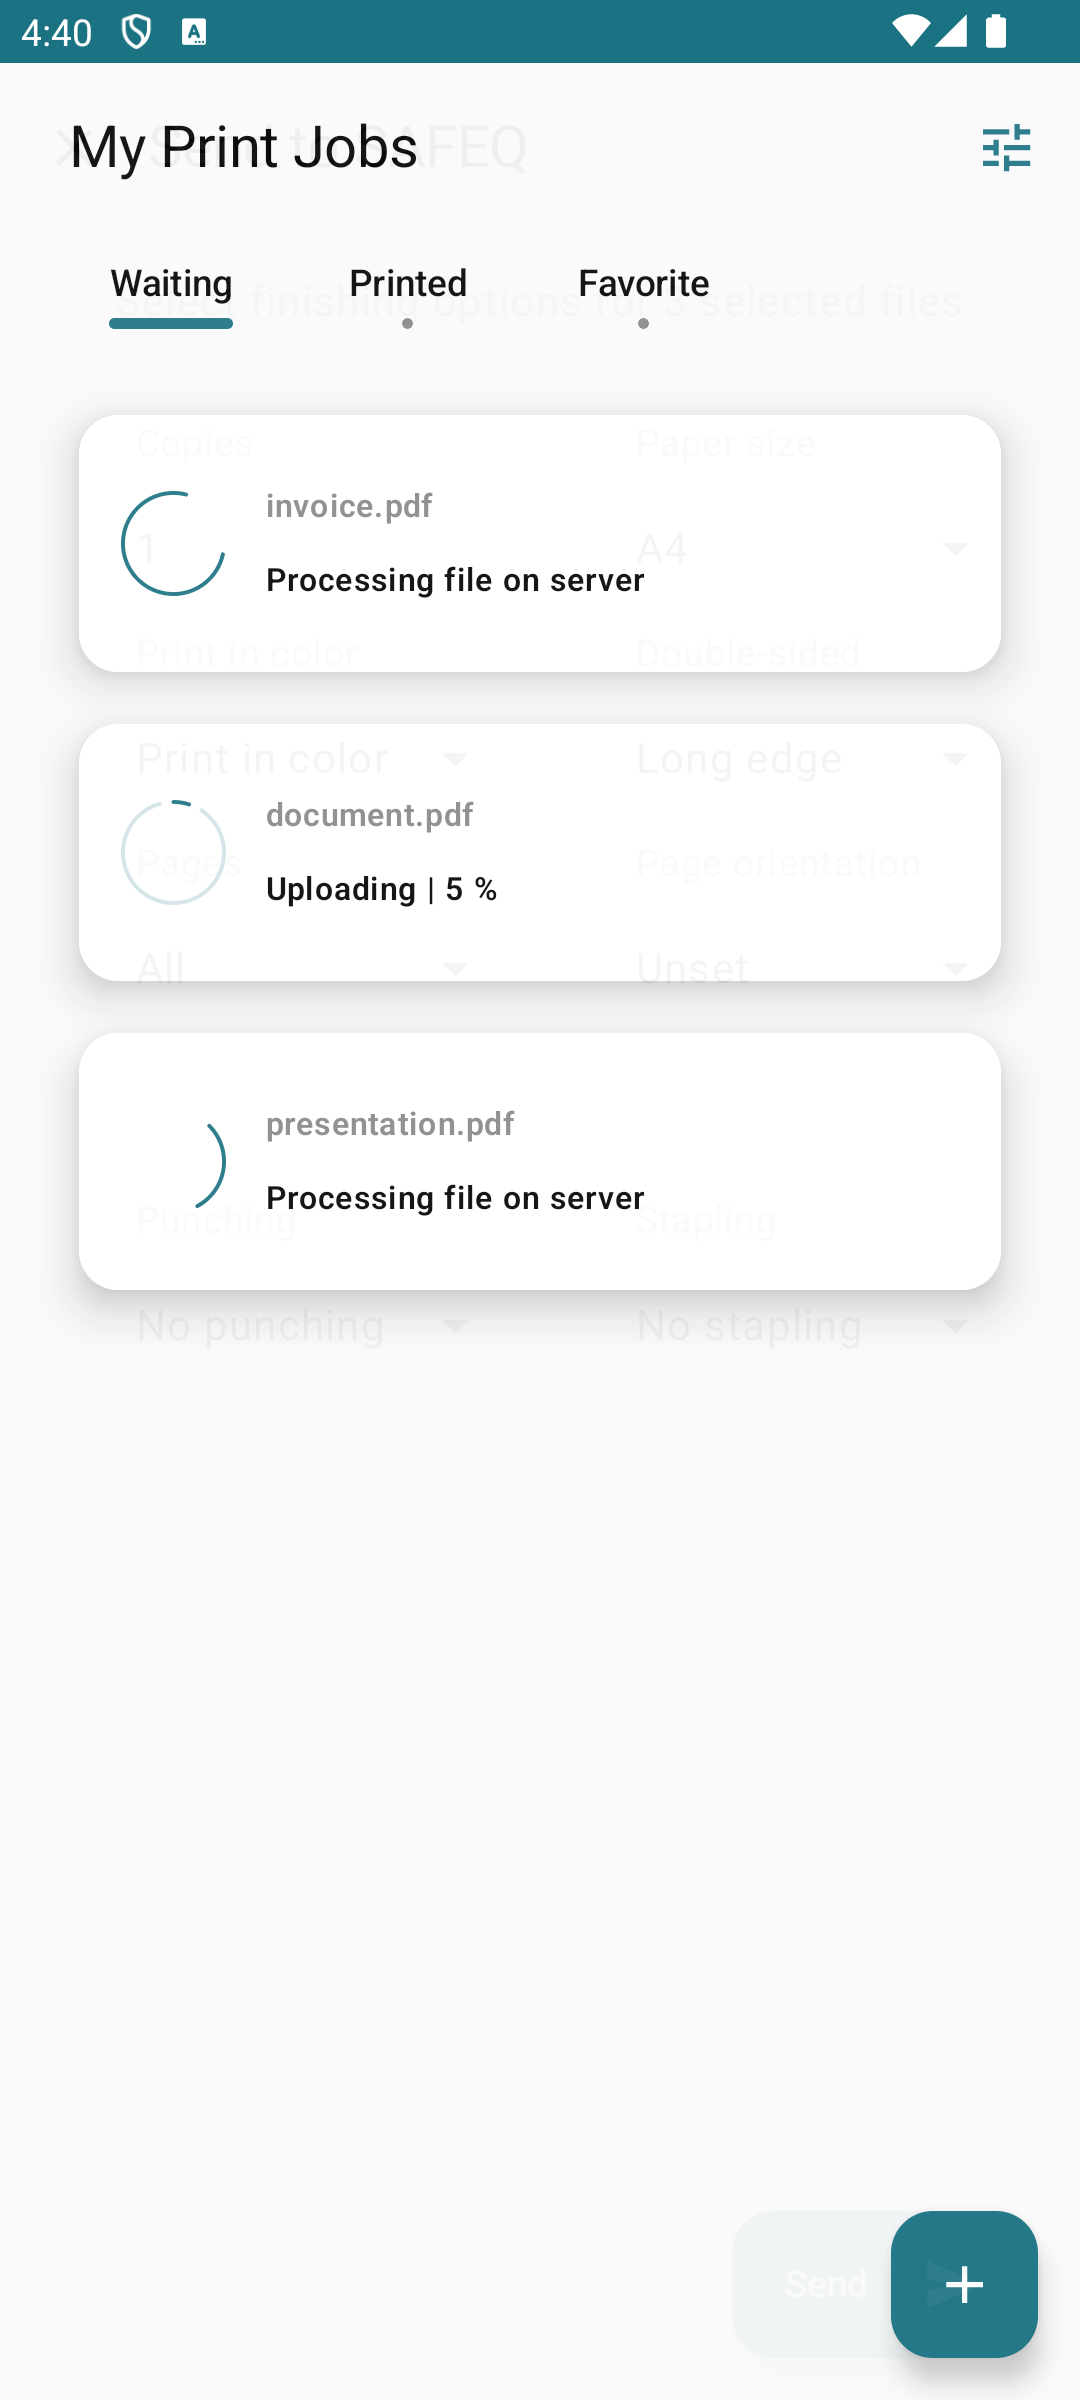
After configuring your preferences, press the send button, and the job will begin uploading.
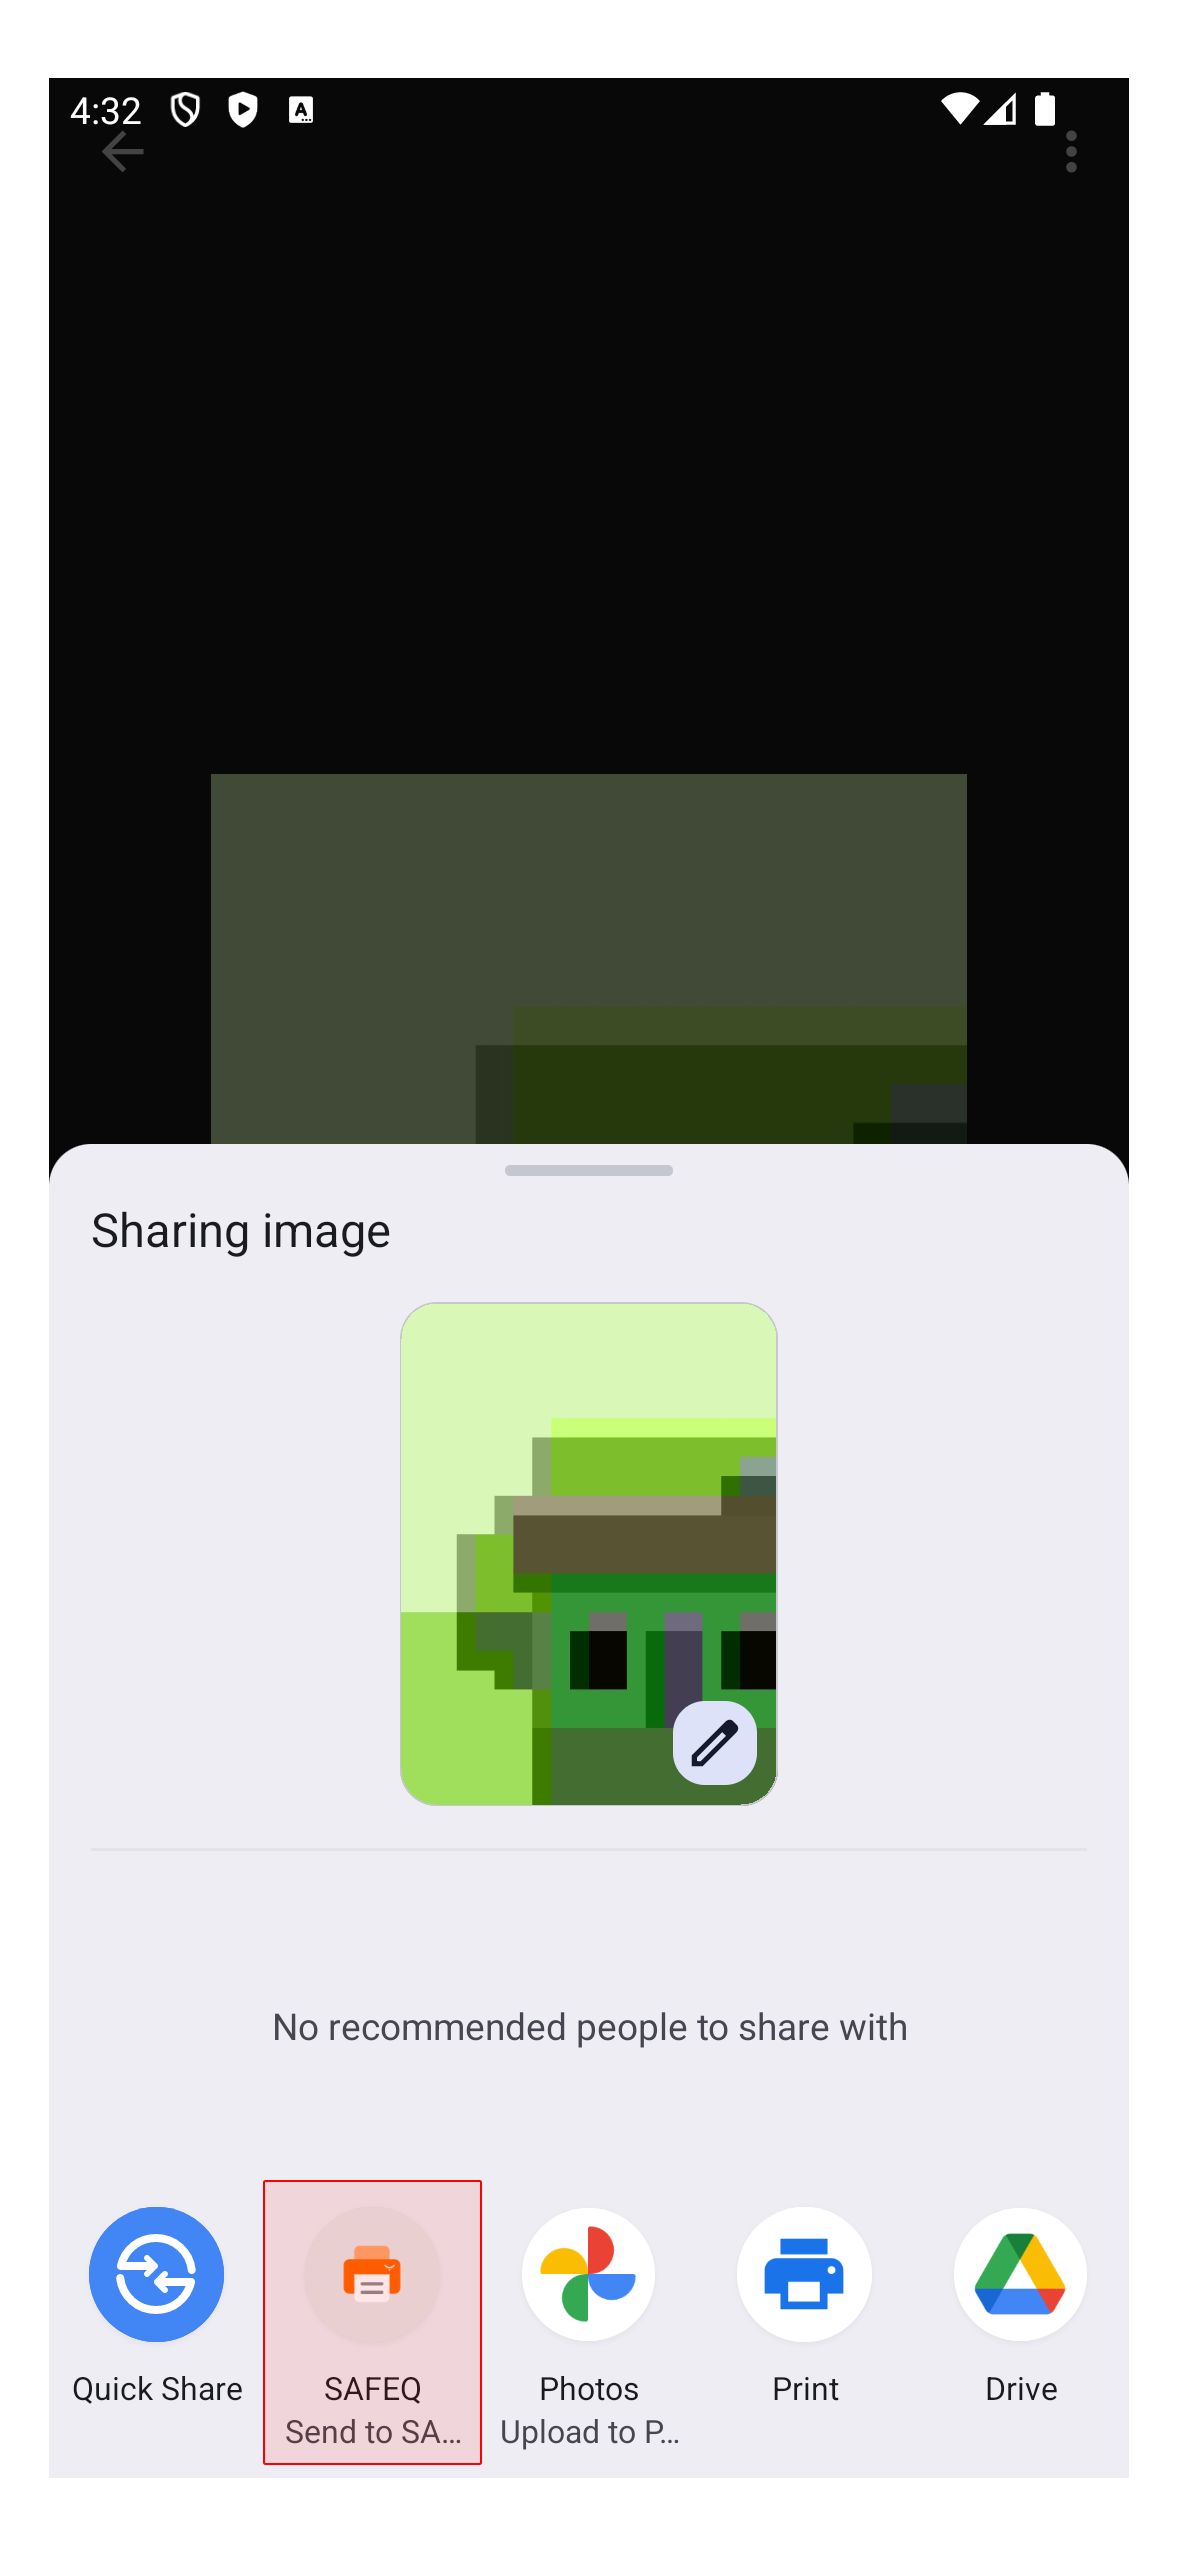
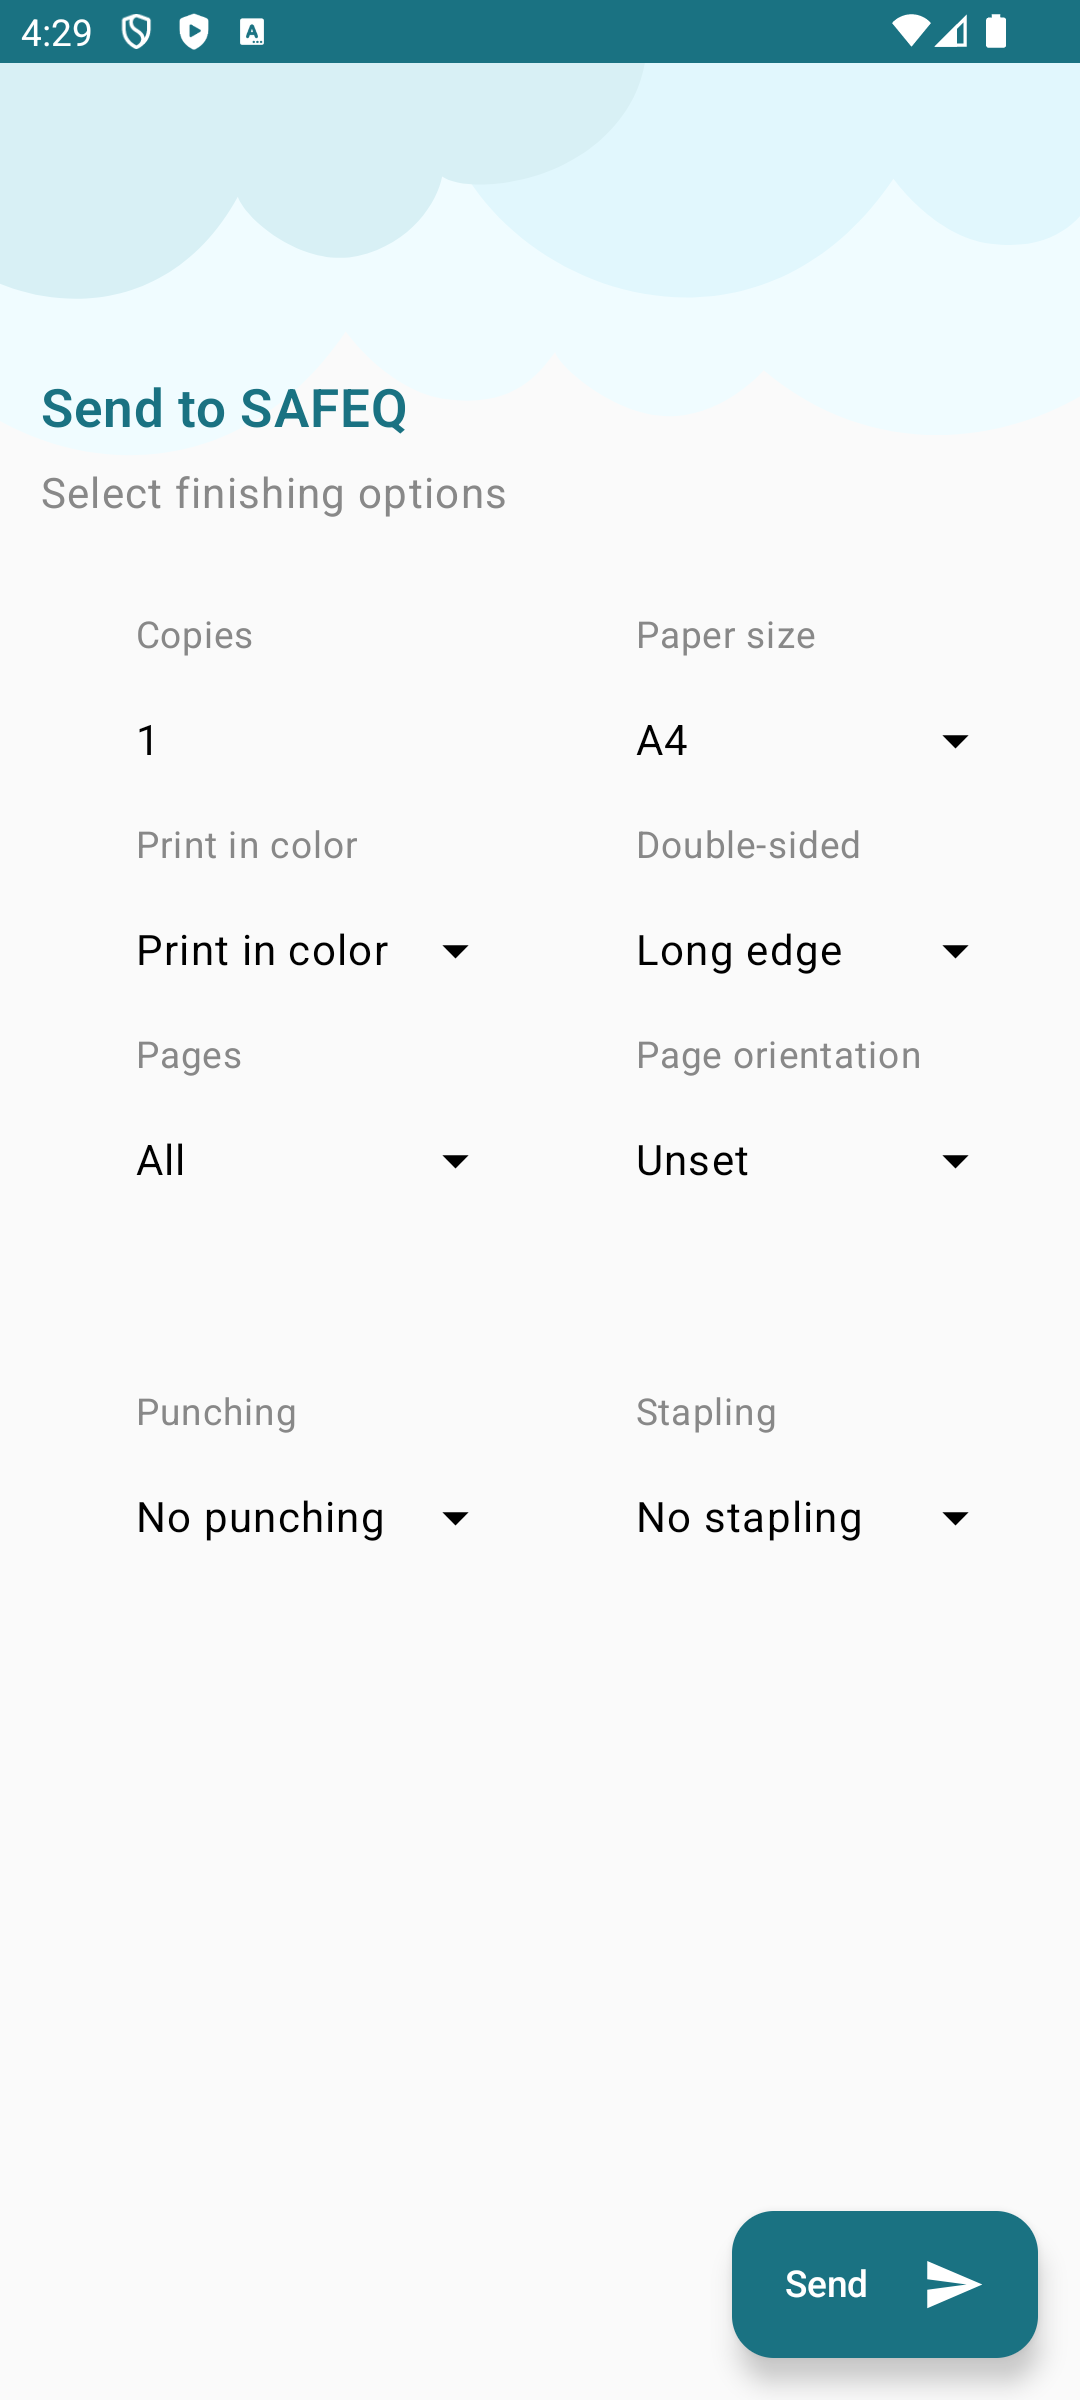
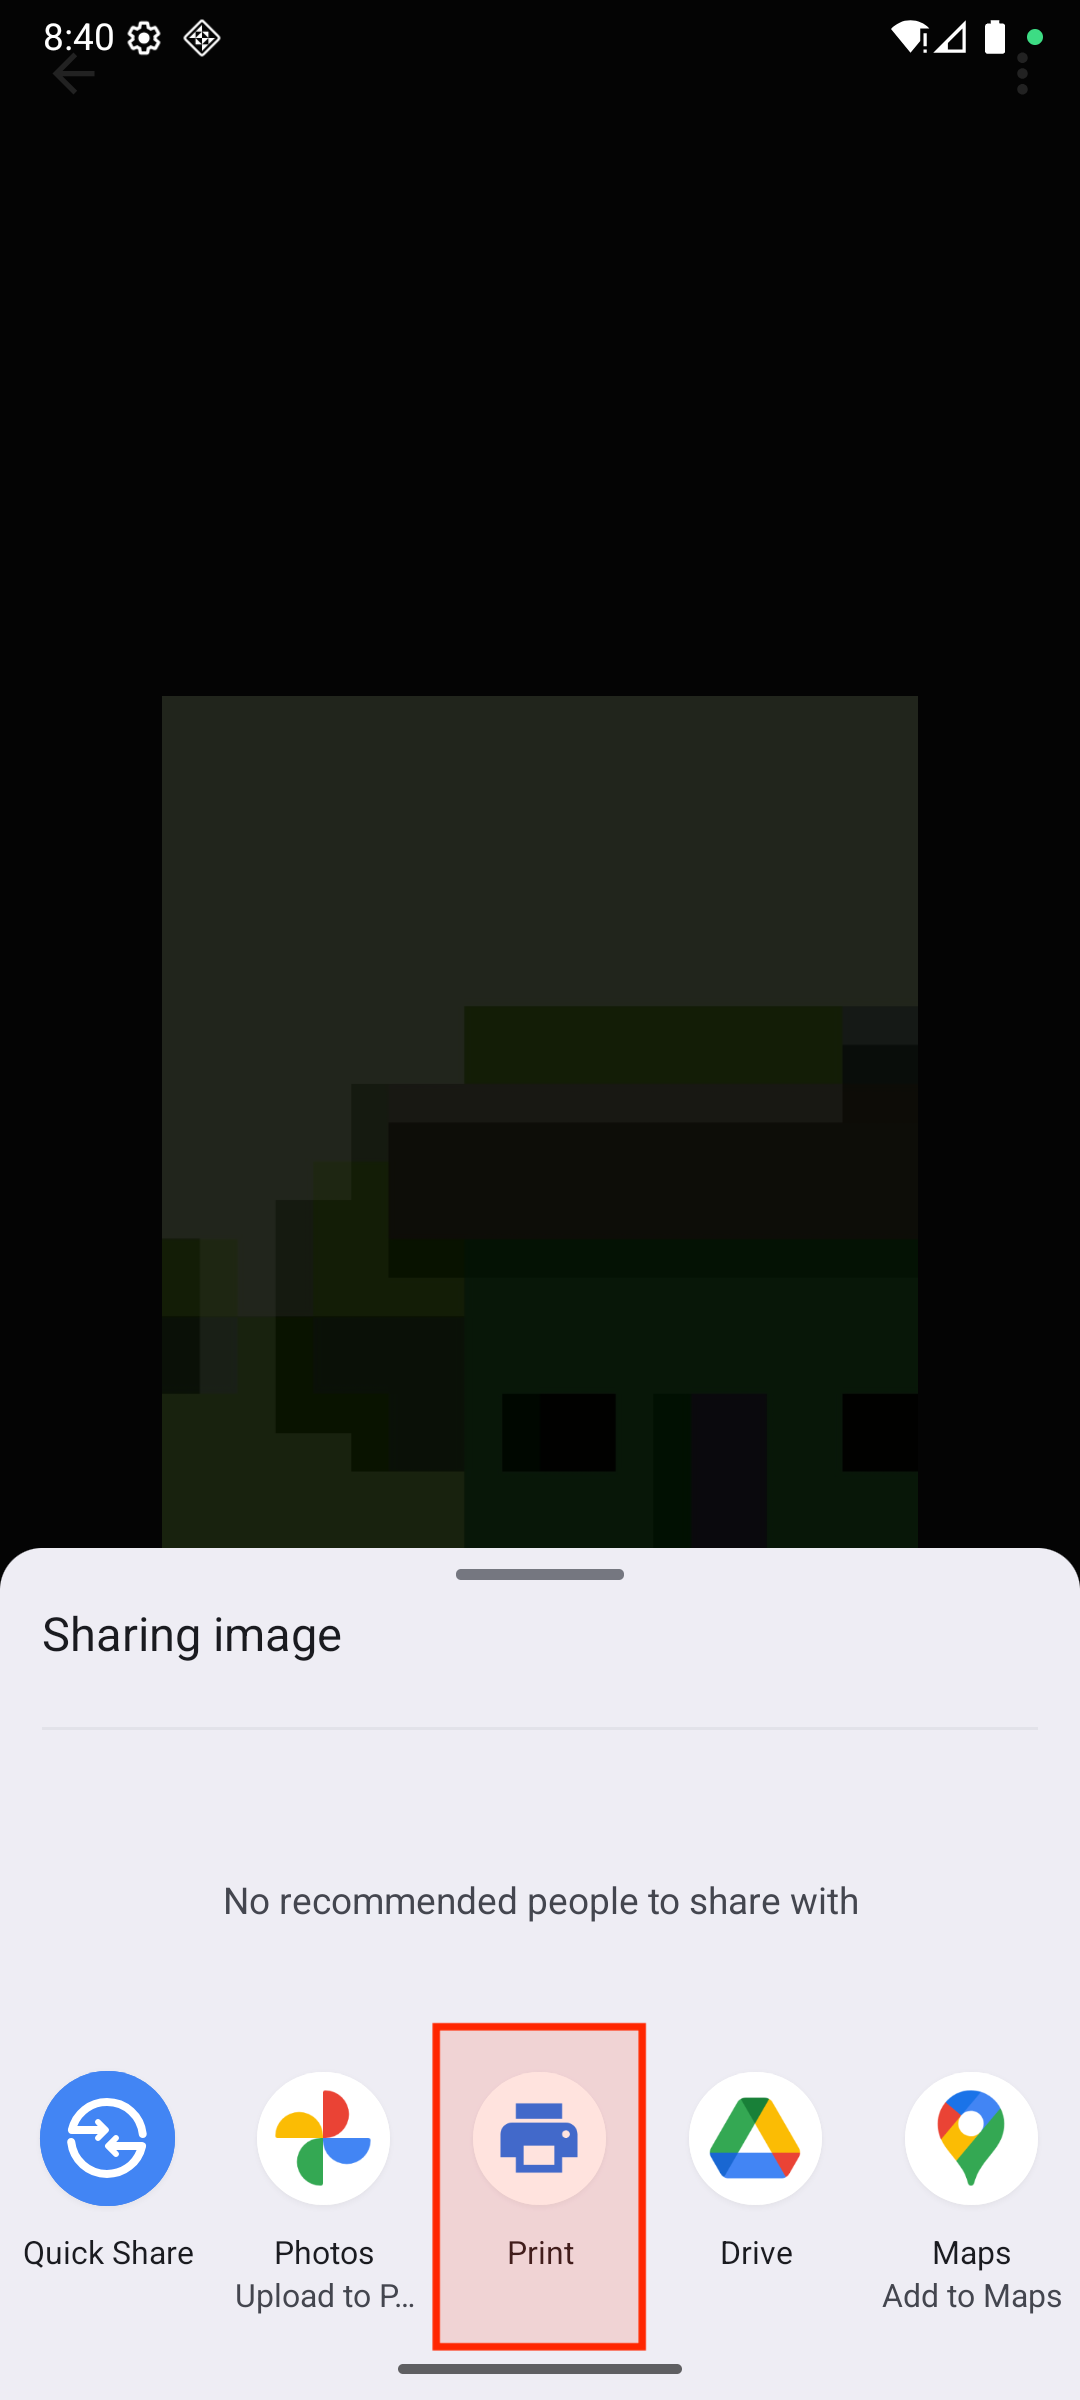
Another alternative is to submit the document by selecting YSoft SAFEQ from the share menu. This can be accomplished from any application that supports printing. After tapping on the application icon, the finishing options screen will appear. If the chosen file is protected by a password, a dialog box will prompt you to enter the password.
You can choose the number of copies, the color scheme for the document, the page size, page orientation, and duplex printing options. Furthermore, users have the opportunity to select advanced finishing options.
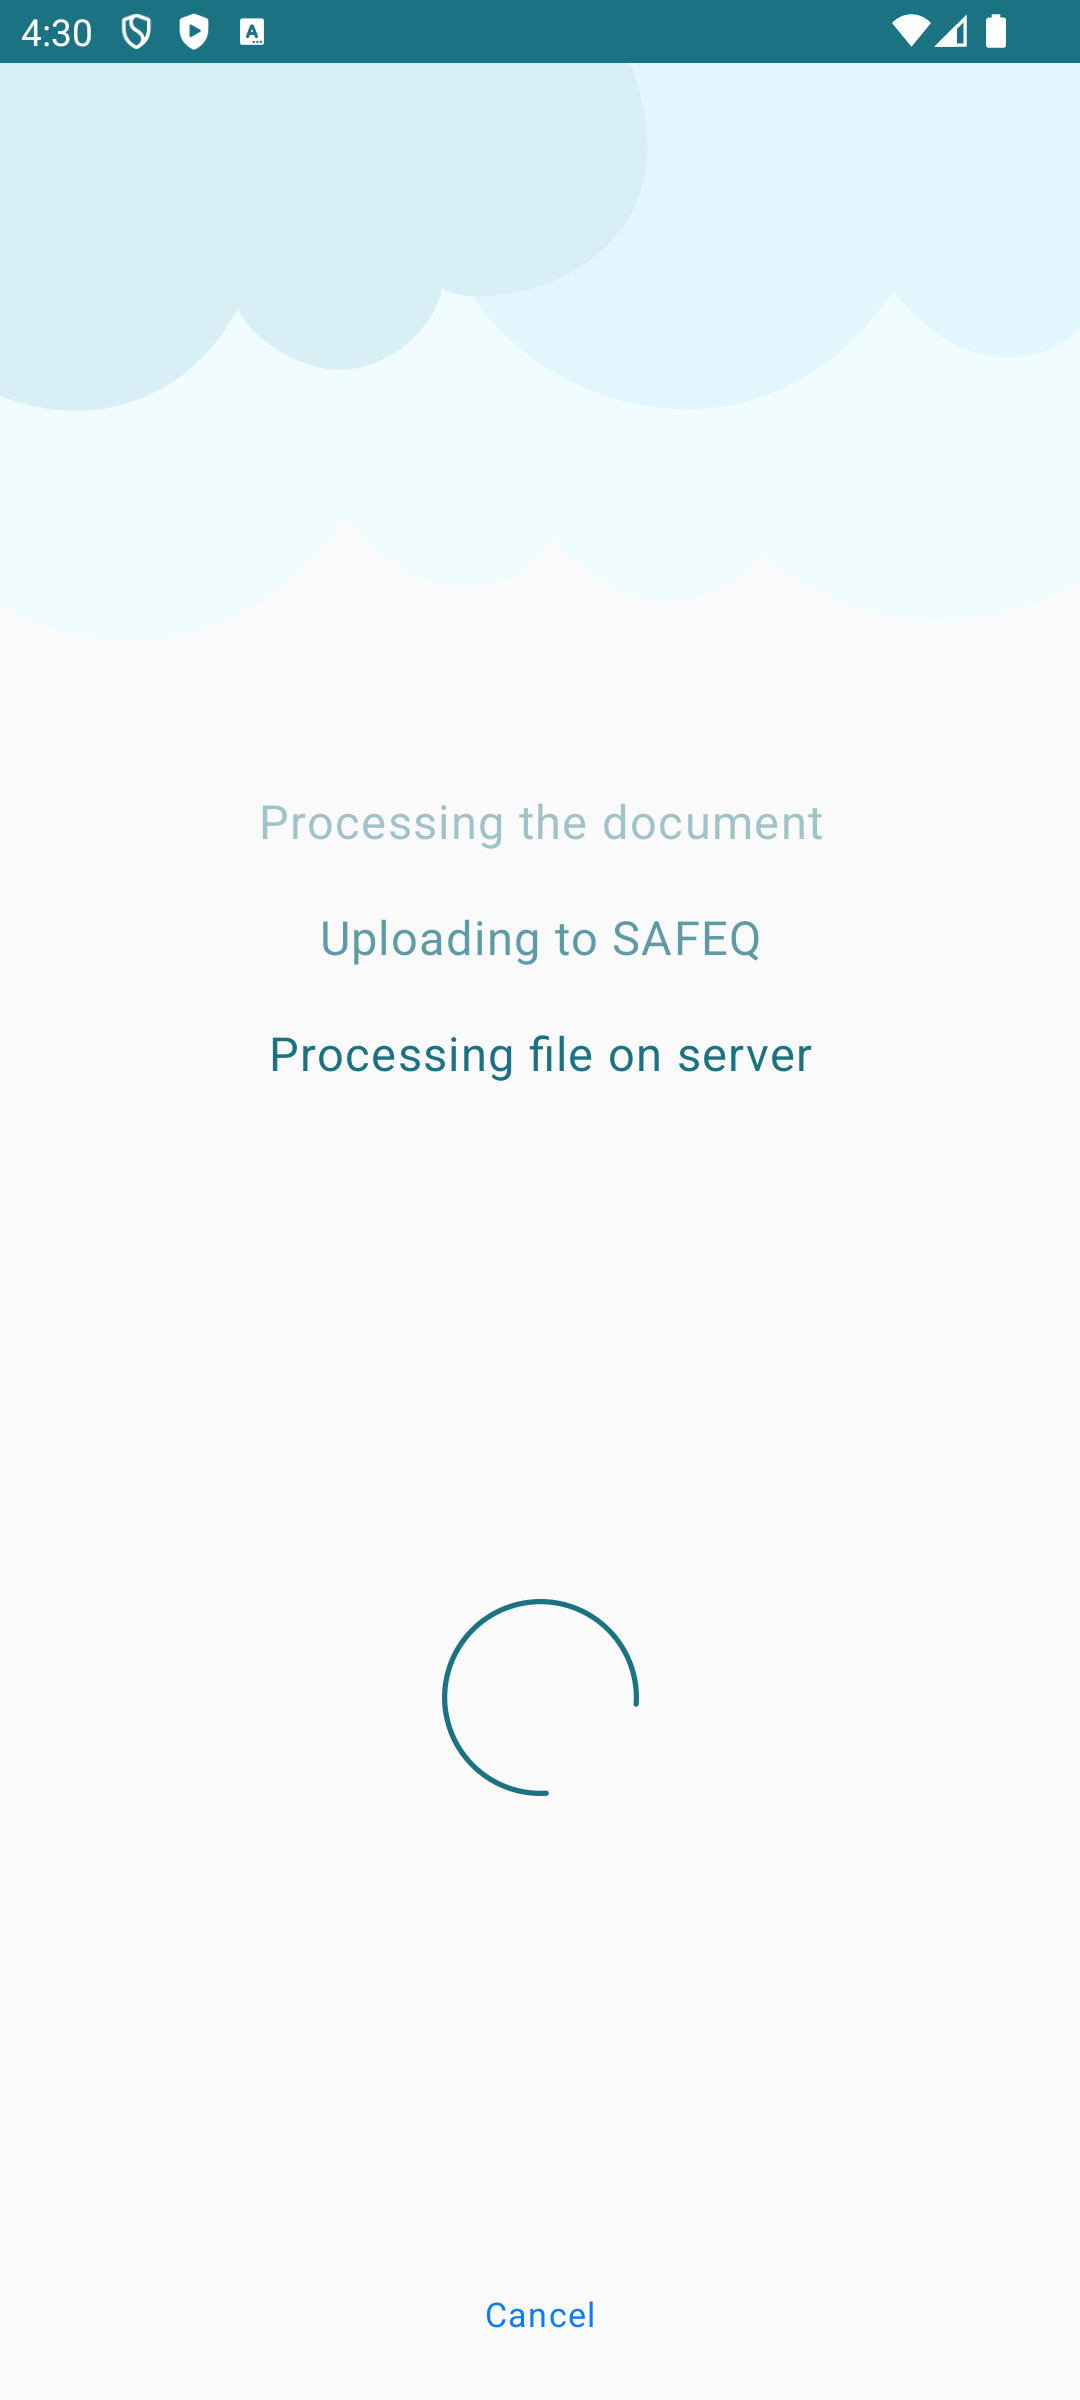
Upon clicking the Send button, the document will undergo processing.
Submitting jobs using the Android native print function
The YSoft SAFEQ mobile app supports Native Print, allowing you to print directly from any Android app that supports printing (such as Chrome, PDF viewers, document editors, and more) to your YSoft SAFEQ print queues. This feature integrates the YSoft SAFEQ app with Android's built-in print system, making it easy to print from anywhere on your device.
First-Time Setup
-
Sign In: Make sure you are signed in to the YSoft SAFEQ app. If you're not signed in, you'll see a "⚠️ Sign in to use" message when trying to print.
-
Add a Print Queue:
-
When you first try to print, if you have exactly one secure print queue available, it will be automatically added for you.
-
If you have multiple queues or no queues deployed, you'll need to select a print queue:
-
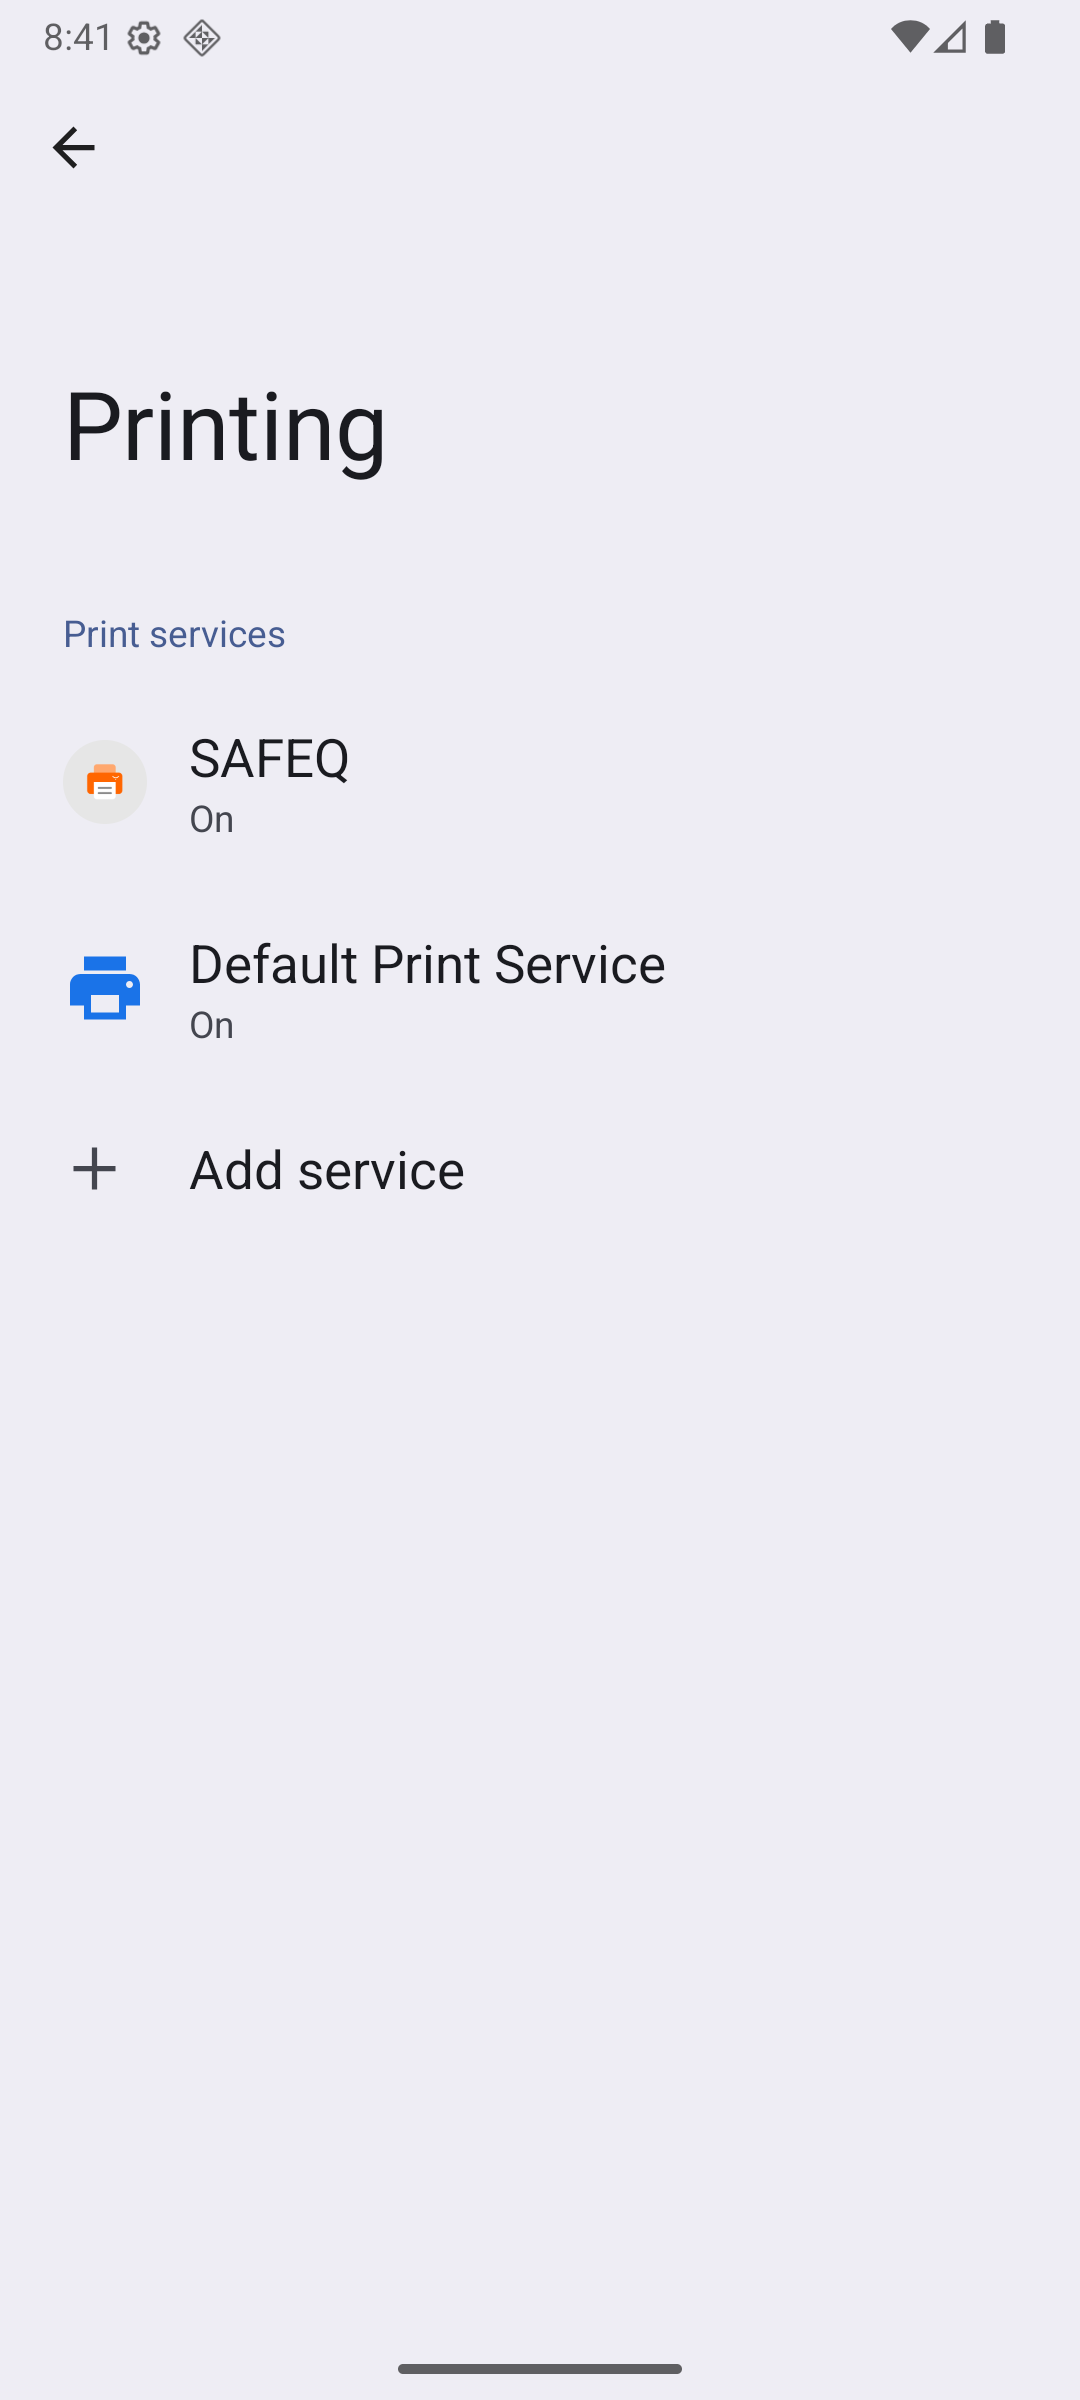
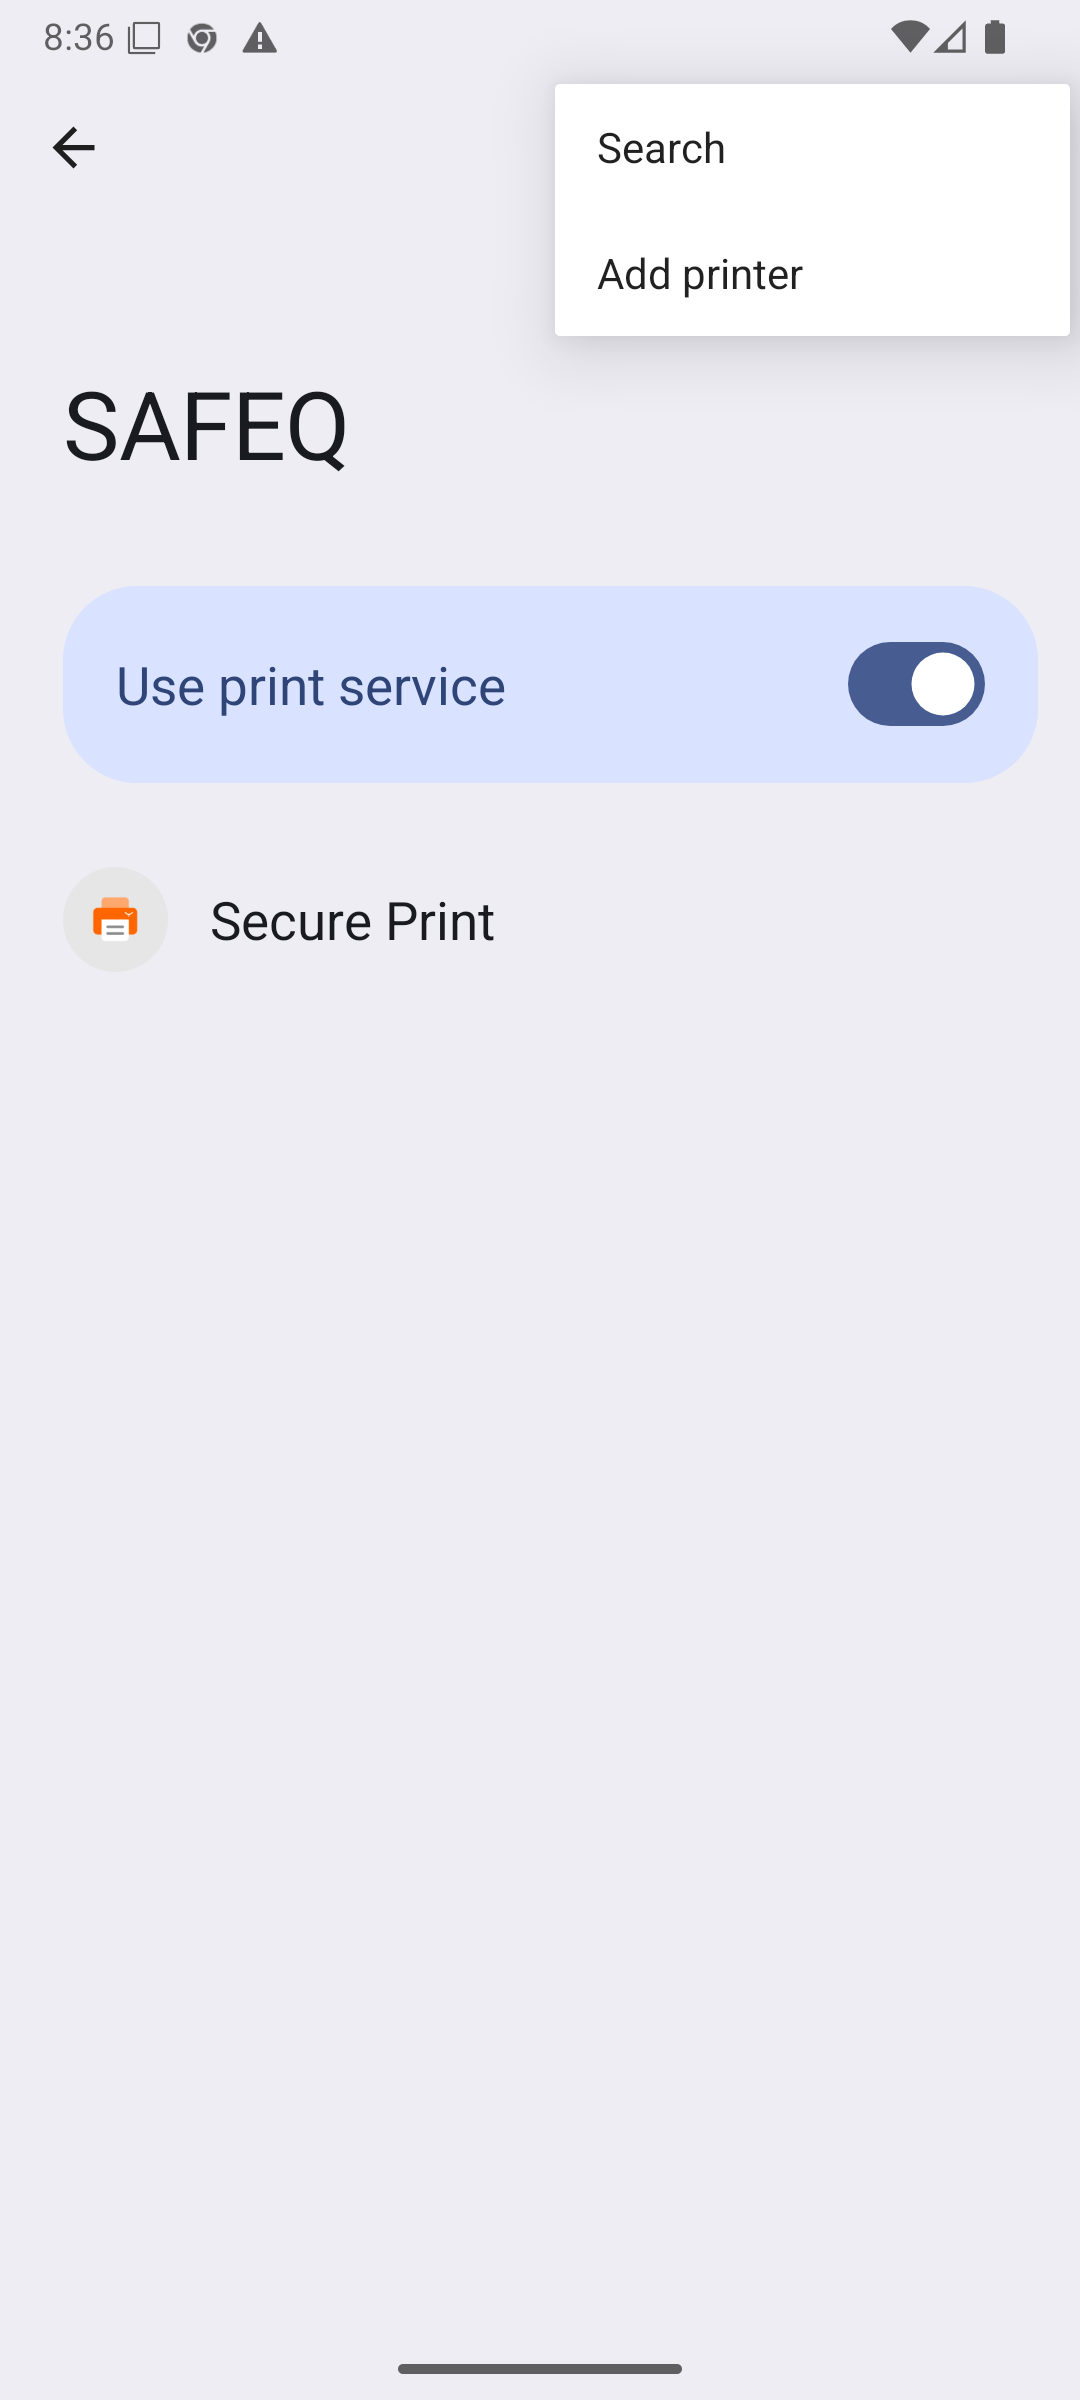
Open Android Settings → Connected devices → Connection preferences → Printing
-
Find the YSoft SAFEQ print service
-
Tap on it and select "Add printer" (or tap the printer that shows "Select a print queue")
-
Choose the print queue you want to use
-
-
-
Verify Your Printer: After adding a print queue, it will appear as an available printer when you print from other apps.

Printing from Any App
-
Open the app you want to print from (e.g., Chrome, a PDF viewer, a document editor).
-
Open the print menu:
-
Tap the three-dot menu (⋮) → Print, or
-
Use the app's print option (usually in the Share or More menu)
-
-
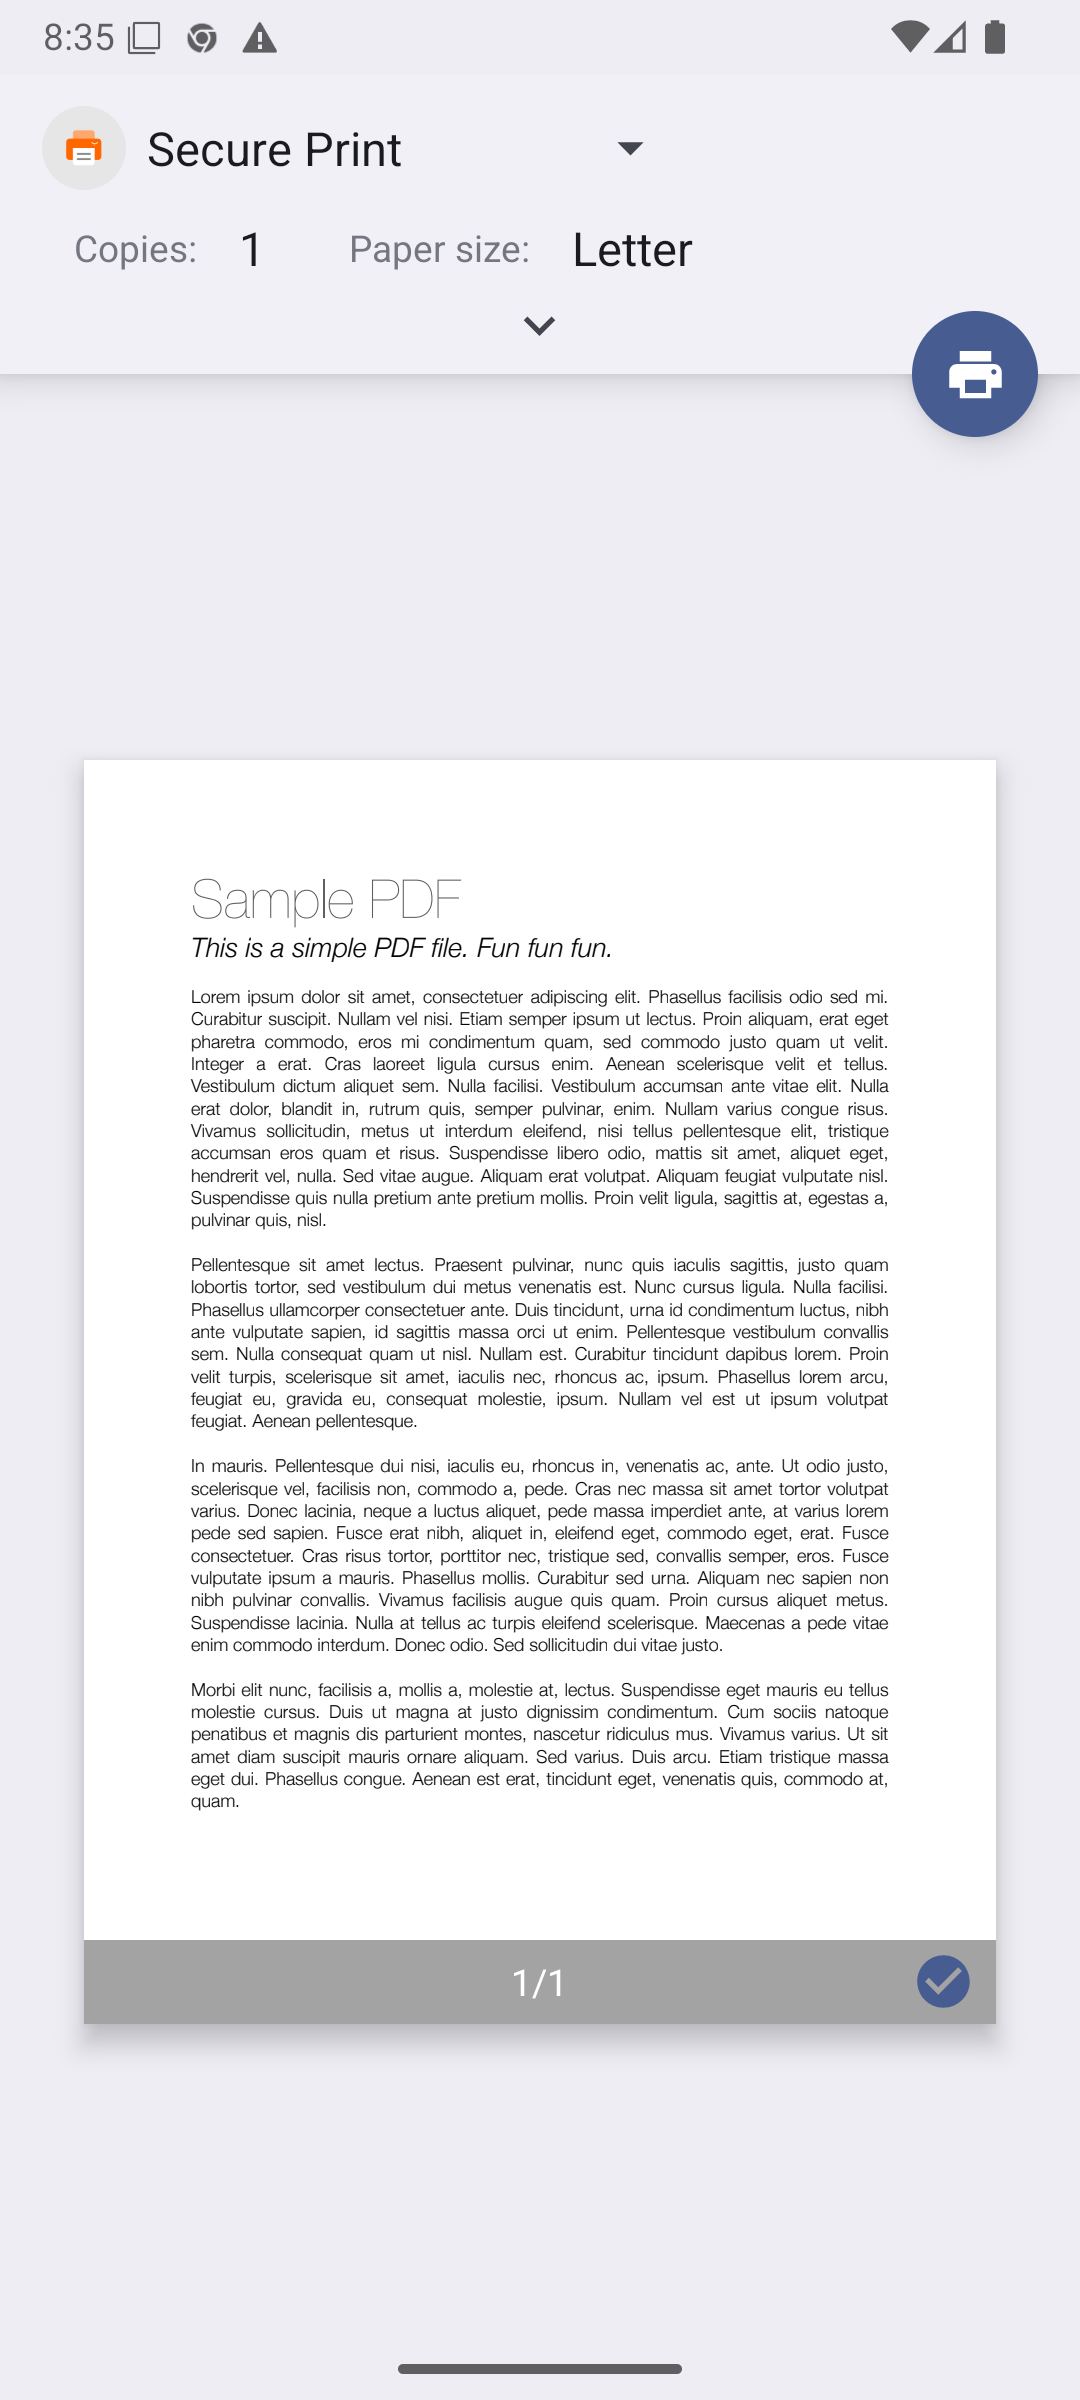
Select YSoft SAFEQ Printer:
-
In the printer selection screen, look for printers named after your YSoft SAFEQ print queues
-
Select the YSoft SAFEQ printer you want to use
-
-
Print: Tap the Print button. Your document will be uploaded to YSoft SAFEQ and processed according to your print settings.
Managing Print Queues
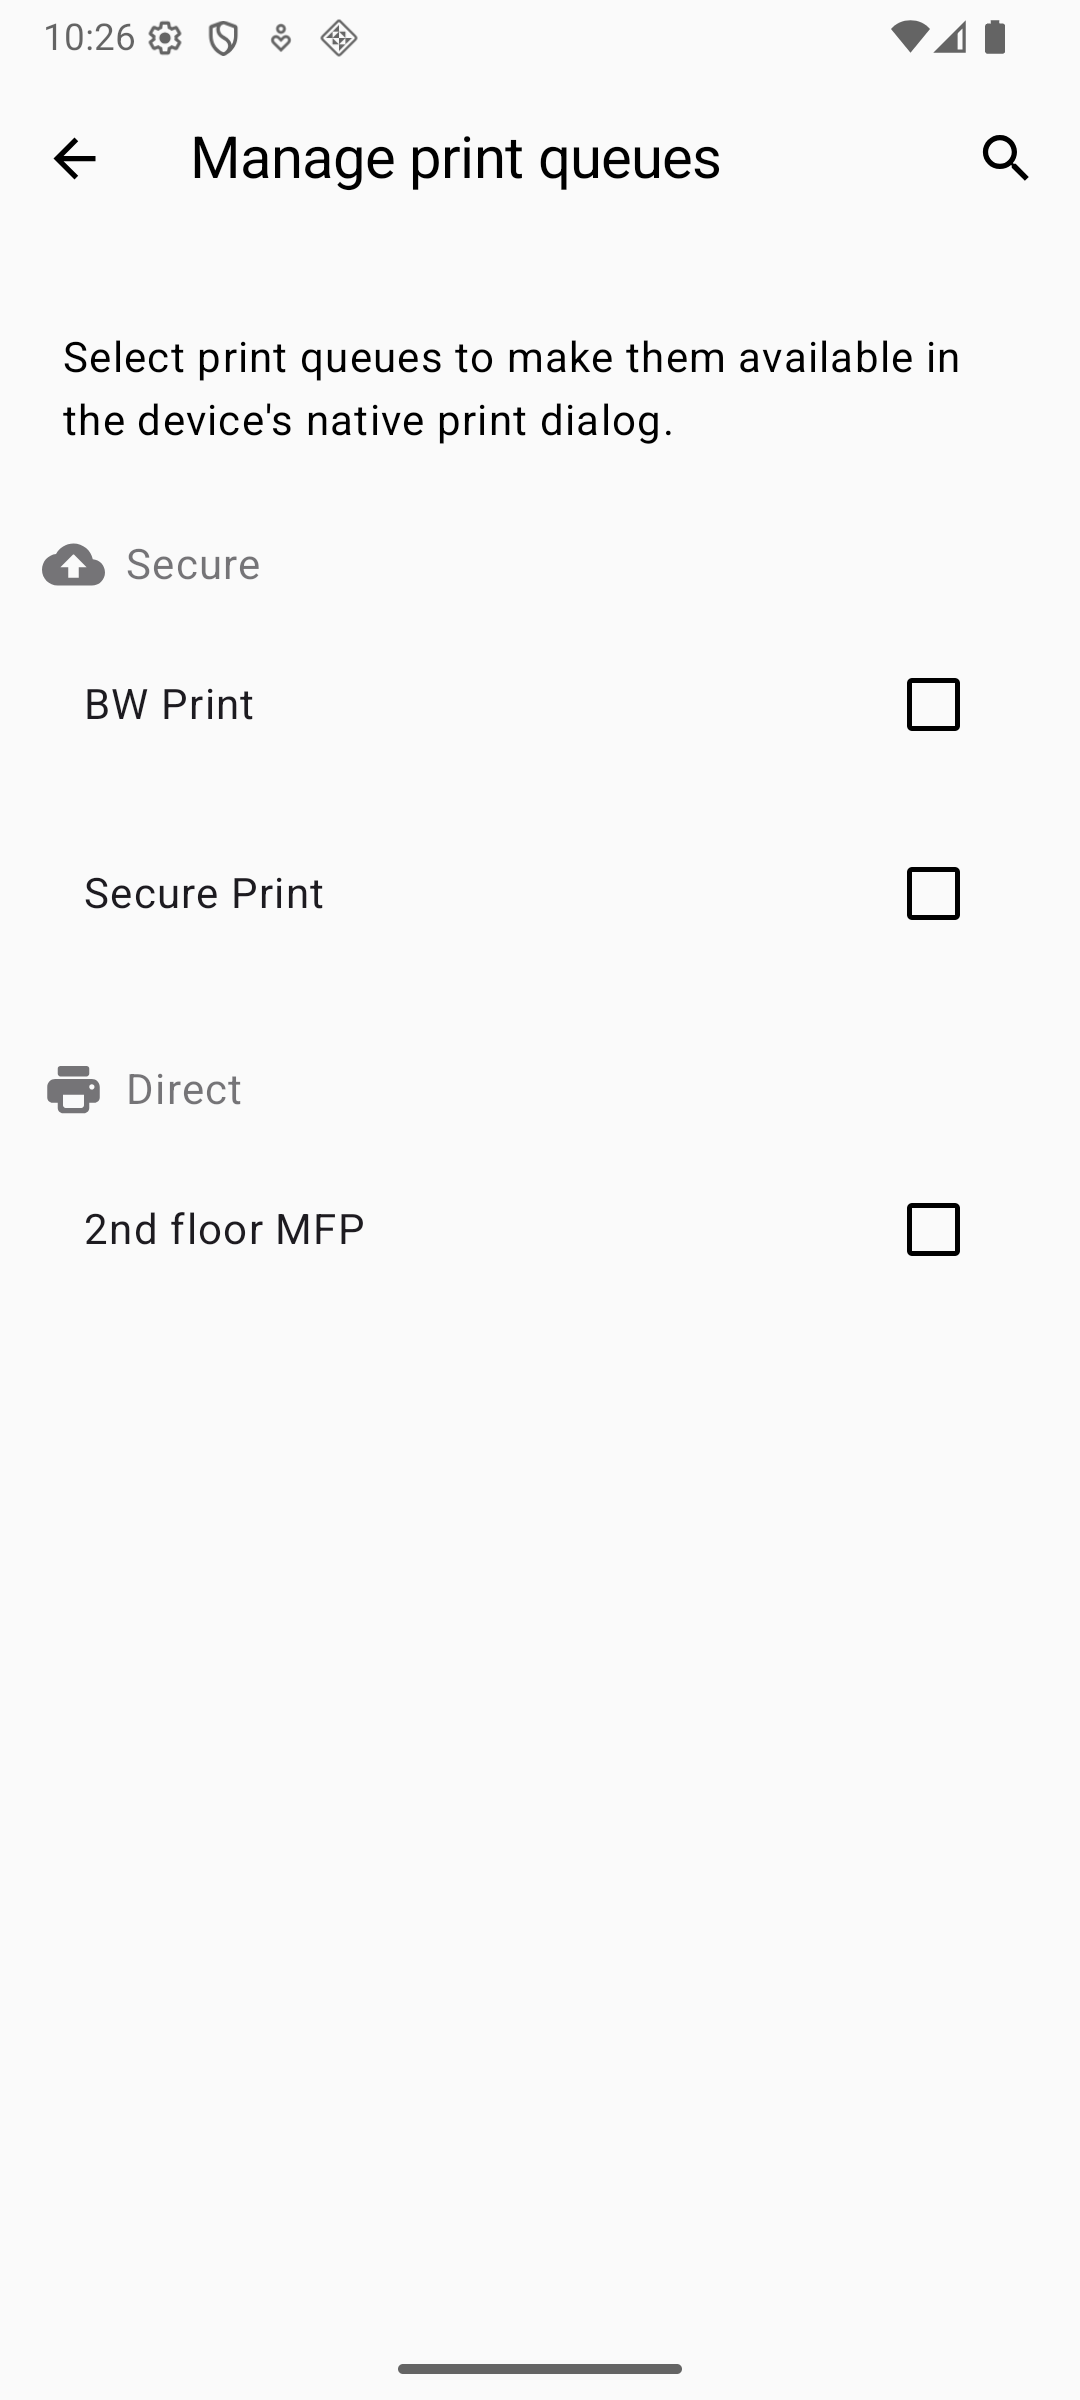
There are multiple way to manage which print queues will will appear in the native print dialog:
-
Open Android Settings → Connected devices → Connection preferences → Printing
-
Find and tap on the YSoft SAFEQ print service
-
Tap "Add printer" (or the printer icon with a plus sign)
-
Select the print queue you want to add from the list
-
The new printer will appear in your printer list
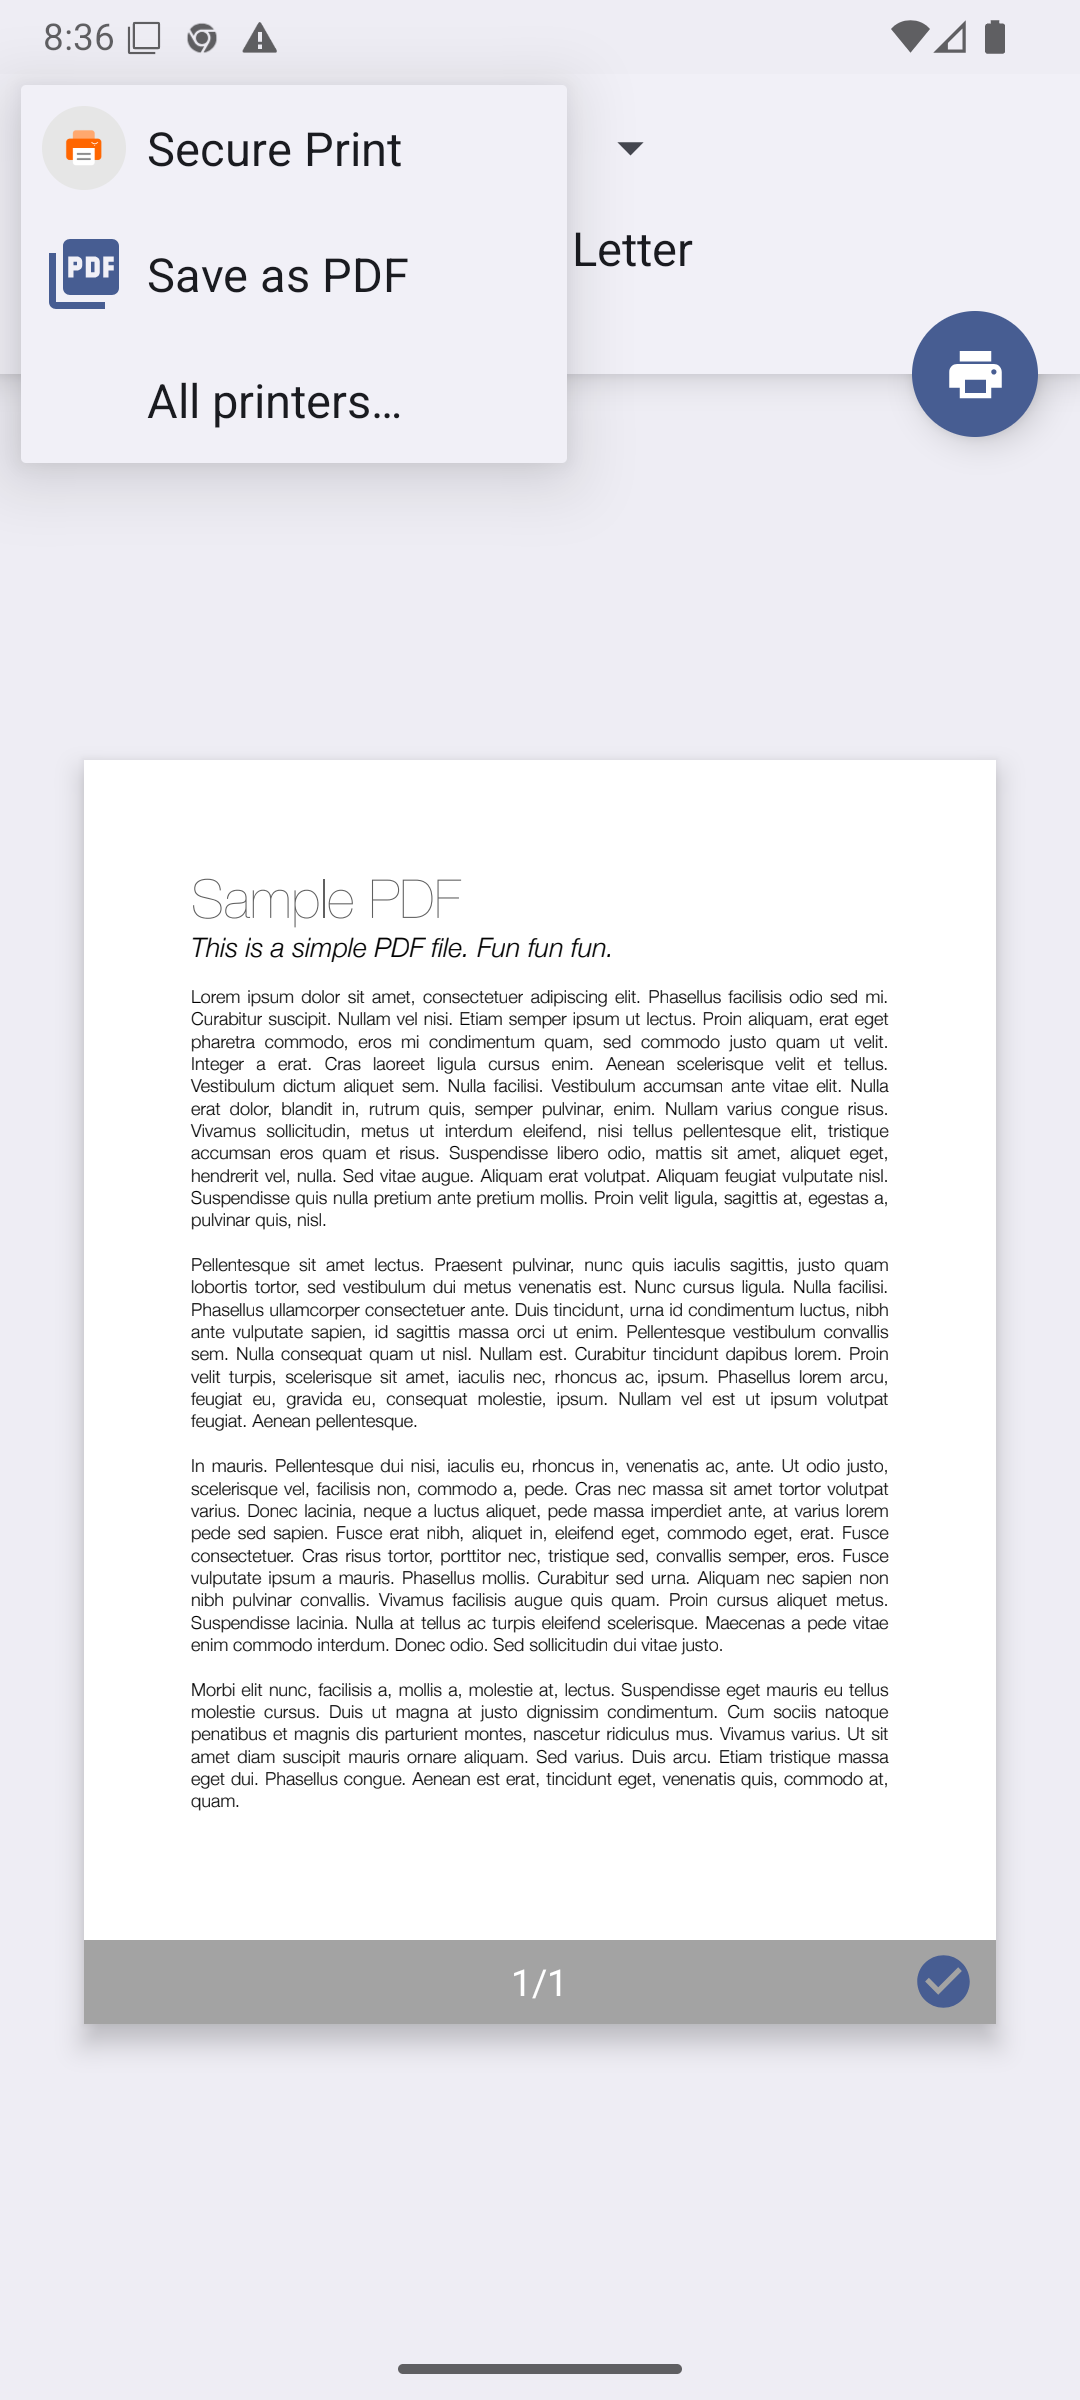
You can also add more print queues directly from the print dialog. When selecting the printer you want to use, just tap “All printers…” in the drop-down menu and follow the same process from point 3 above.
Or you can open the same screen from the settings screen in the application.

Note: Devices running Android 14 may not render the shadow in the file unlocking dialog.
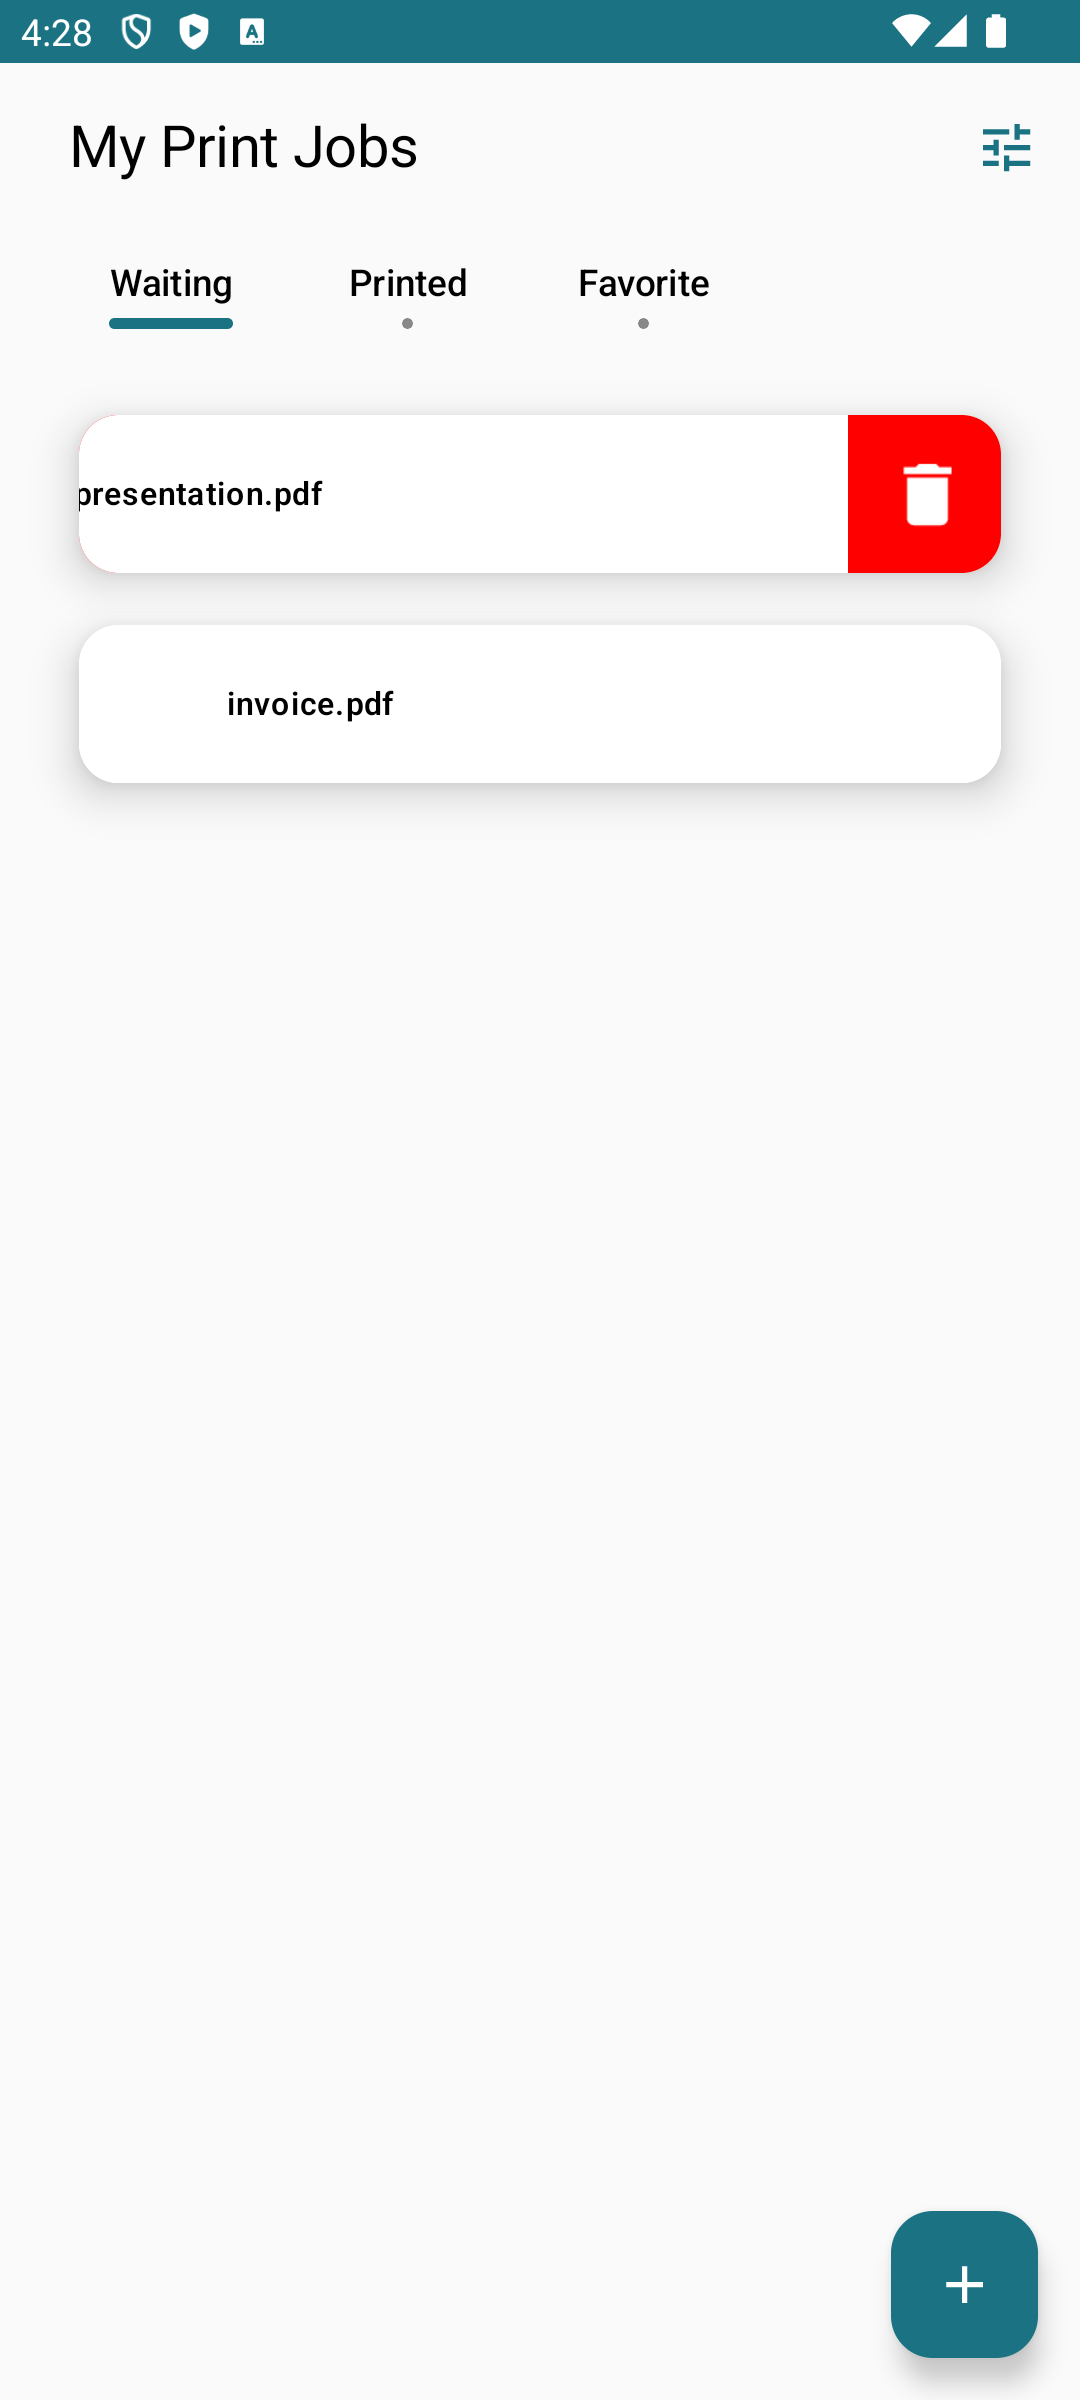
Deletion of the Print Job
Swipe left on the print job to delete submitted documents.
Troubleshooting
While reporting any issues with the application the user has the option of collecting and sharing diagnostic information. Please do so via the ‘Share diagnostic information’ option on the Settings page.
