
A step-by-step description on how to print natively from OS X and iOS devices. All jobs will be sent to the user's secure queue in YSoft SafeQ, available to be printed at any connected printer.
Send a Print Job to a Secure Queue on Devices with a Mac OS X Operating System
-
Print a document from any application. You can either use a pre-configured printer (set by your administrator) or select from nearby printers (the name depends on the configuration, for example, "YSoft SafeQ 6").
-
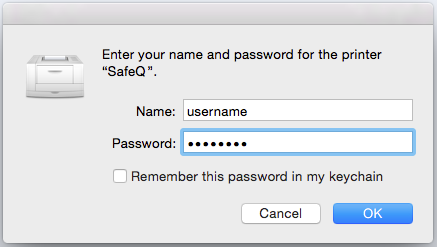
Enter your credentials. The print job will be sent to a secure queue in YSoft SafeQ 6.
Send a Print Job to a Secure Queue on Sevices with an iOS Operating System
-
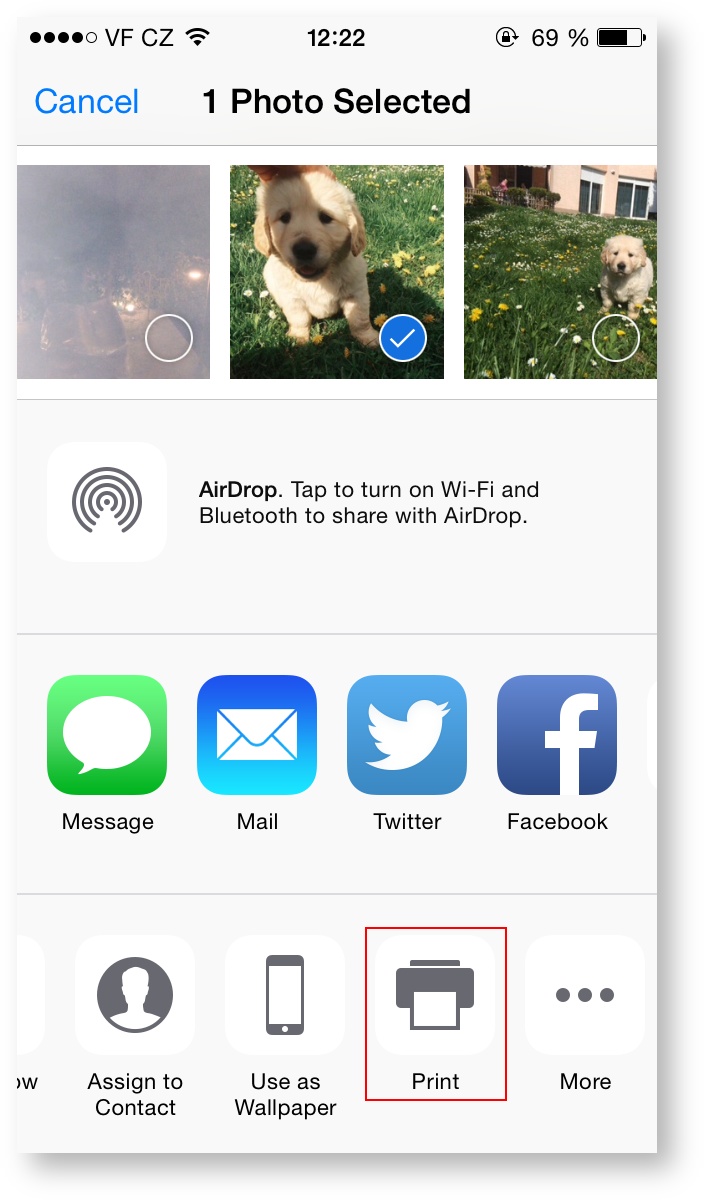
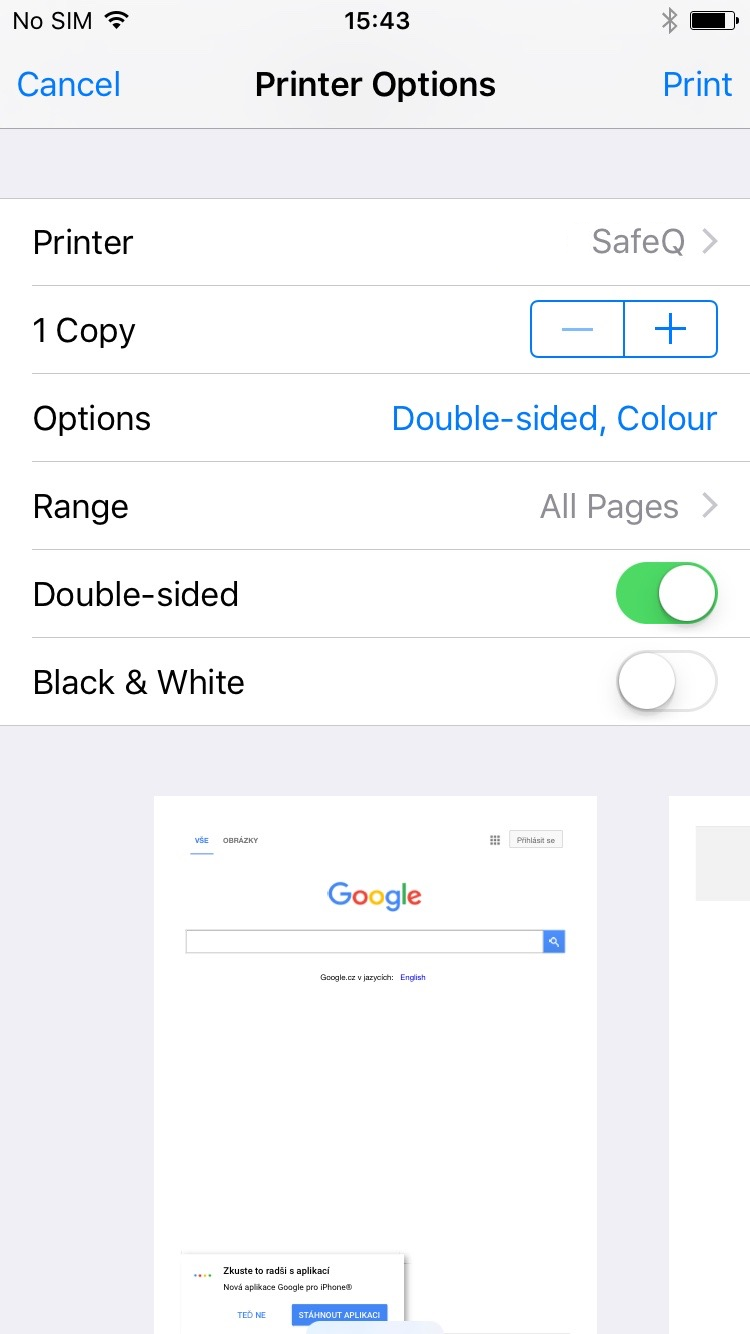
Open the document you want to print, and click the "Print" icon.
-
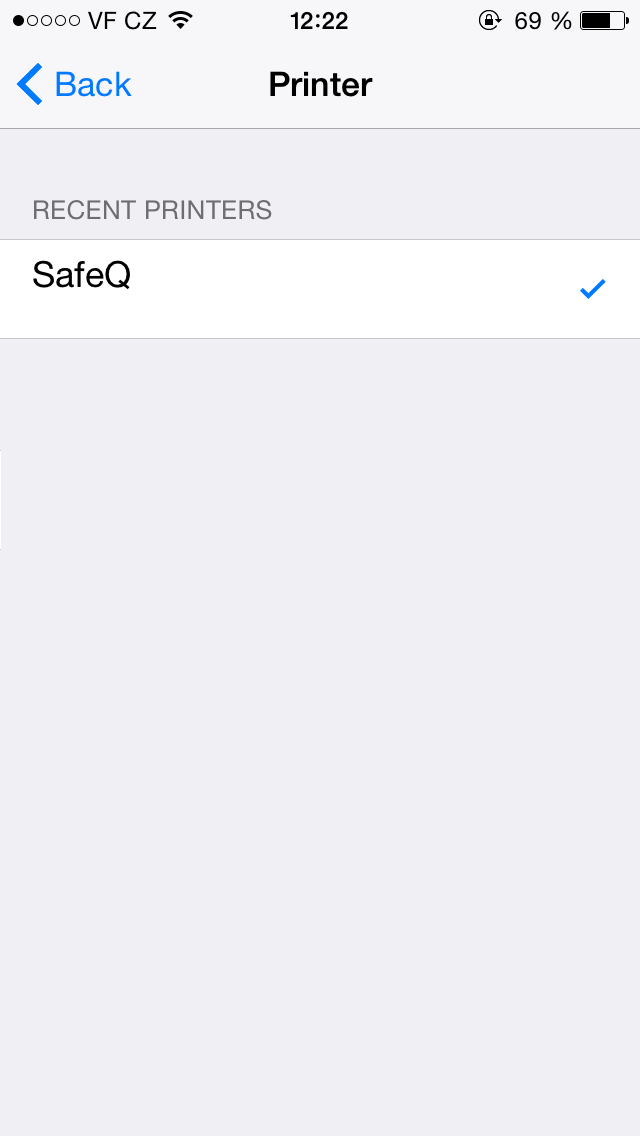
Select the printer with the name set in YSoft SafeQ 6.
-
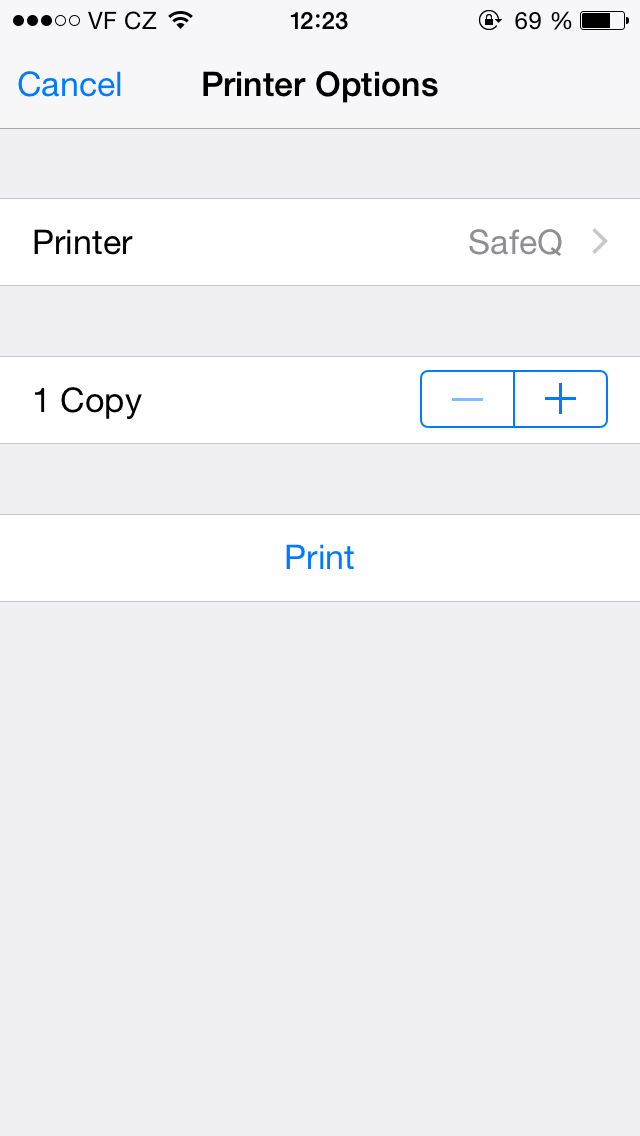
Confirm the print job by clicking the "Print" button. The print job is sent to a secure queue in YSoft SafeQ 6.
-
You can also see additional printer options, which allow you to configure:Single-sided/Double-sided printingColor/Black & White printNumber of copiesPage rangesMedia size–A4 or Letter
-
If you are printing for the first time, enter the required credentials.
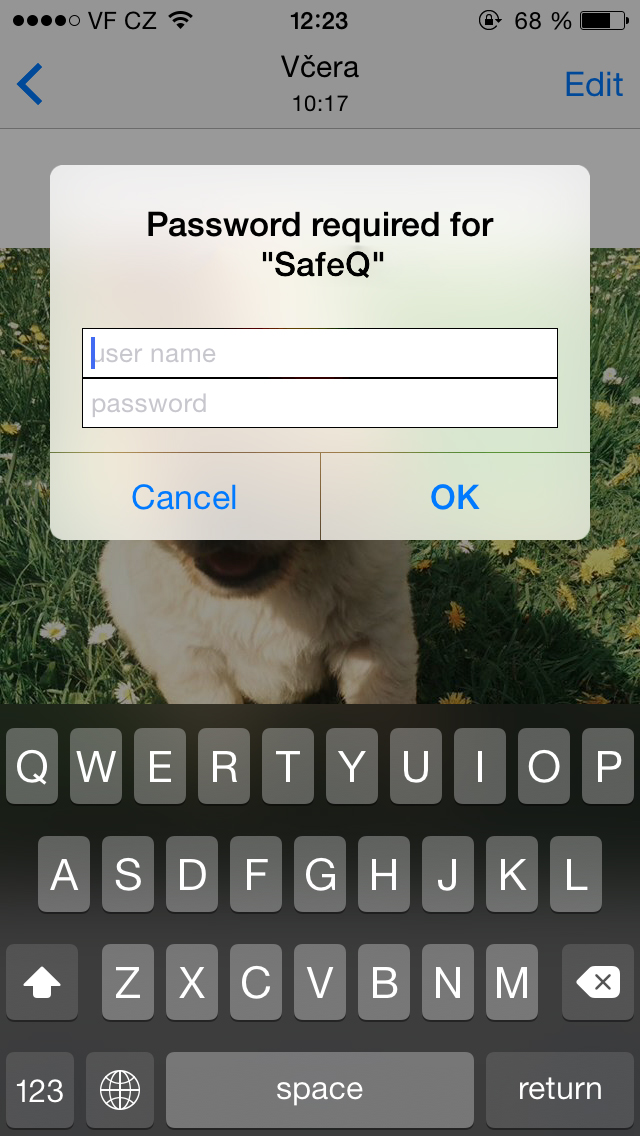
iDevices cache credentials. Subsequent print jobs will not require the re-entering of credentials.
Configure a Printer on Mac OS X
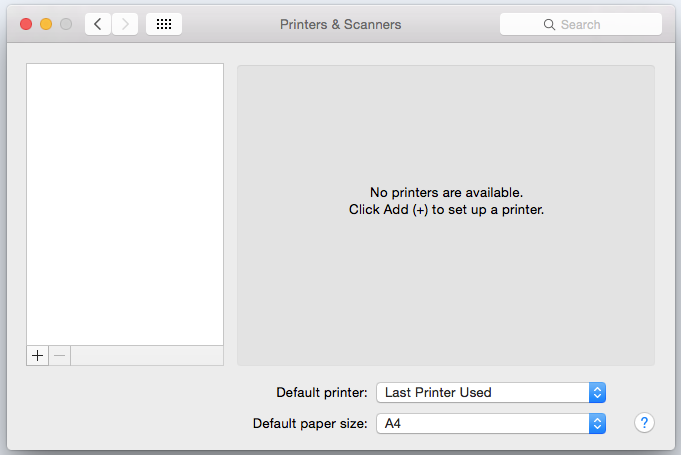
Instead of discovering available printers ad-hoc on your Mac, you can configure a printer following the steps below.
-
Open System Preferences.
-
Open Printers & Scanners.
-
Click '+', click the printer with the name set in YSoft SafeQ Mobile Integration Gateway, and click the 'Add' button.
