
Relevant Products
Google authentication is available in BREEZE PRINT BREEZE MFD PRO PRINT PRO MFD
SAFEQ Cloud supports Google Workspace authentication for authenticating Workspace users to SAFEQ Cloud.
You can configure Google authentication to use OpenID Connect (OIDC) authentication alone, or in combination with service access authentication (implemented via Service Account).
Be aware that Google authentication always uses OIDC, which is incompatible with SAML Single sign-on.
For the breakdown of the advantages of OIDC and service access authentication methods, refer to the Authentication providers section.
Google Authentication is limited to Google Workspace accounts. Personal Gmail accounts are not supported.
Google Authentication currently does not synchronize cards or pins. Cards and pins may be assigned to users in SAFEQ Cloud UI.
General settings
To add Google Authentication provider, perform the following steps:
-
Log in to SAFEQ Cloud Web UI and go to Users page and Authentication providers tab.
-
Click Add.
-
In Type, select Google.
-
Fill in the general settings:
-
Name – An internal name used for identifying the particular authentication provider configuration. Should be prefilled with the selected Type.
-
Domains – The domain names of the authenticating users. Add here the domain aliases that the users can use to log in. At least one domain in the list should match the domain part of the fully qualified username.
For example, to allow user john.doe@acme.com to log in via this Authentication provider, enter the acme.com domain here.
-
Priority – A number that determines the order in which authentication providers will be called until one succeeds. Higher-priority providers will be tried first.
-
Active – If enabled, the authentication provider will be used for authentication. If disabled, this authentication provider will not be used for authentication. You can use this to disable the Authentication provider temporarily.
-
-
In the next steps, choose the authentication type or a combination of types.
-
OIDC Built-in authentication – The default option suitable for basic use cases. This is the most convenient option if you don't need any special configuration or don't want to set up your own Google OIDC client manually.
-
OIDC Customizable authentication – Choose this option if you need to configure your own custom Google OIDC client.
-
OIDC Built-in or Customizable authentication together with Service account authentication – Choose this option if you need to authorize users without their explicit authorization.
-
When the OIDC authentication is enabled (using either Built-in or Customizable config), you can choose whether to hide a login button for this authentication provider on the Login page via the Hide on Login page switch.
OIDC Built-in configuration
When using the built-in OIDC authentication, users will log in via a predefined SAFEQ Cloud Google client.
-
Log in to SAFEQ Cloud Web UI and go to Users page and Authentication providers tab.
-
Click Add and fill in the general settings (Type, Name, Domains, Priority, and Active).
-
OIDC Authentication section – Choose Built-in
-
Hide on Login Page - Enable this option to hide the Google button on the SAFEQ Cloud Cloud login page. Otherwise the name displayed on the button is taken from the Name field.
Example: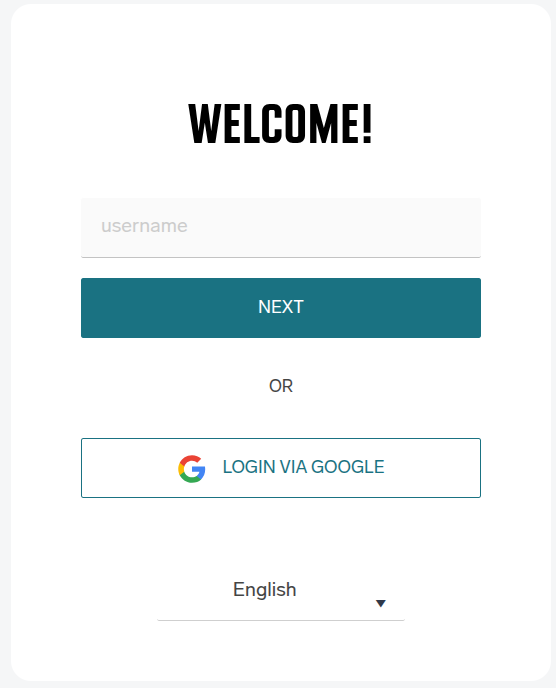
If the Hide on Login Page option is enabled, no "Login via <Provider Name>" button will be displayed on the login screen. To authenticate via such an authentication provider, users need to fill in the username containing a domain matching the authentication provider, which will redirect them to the OIDC authentication flow (the same way as clicking the "Login via <Provider Name>" button.
-
-
Service account authentication section: Enable the Active toggle if you wish to use service account together with OIDC. See the Service account authentication section of this page.
-
Click Save.
-
Google users can now log in to SAFEQ Cloud.
Every user logged in via this provider will have the Authenticated Users group assigned. You can use this group to manage access controls.
Other groups are also synchronized with Google, using Admin SDK API and Cloud Identity API (only without Service Account).
See Access Control.
Upon each user login, explicit consent to the Google application is required. This protocol is mandated by Google to enable SAFEQ Cloud to sustain an offline session. This ensures that the user's account remains synchronized, even when authentication methods such as card, PIN, or other non-Google-redirecting processes are utilized for accessing SAFEQ Cloud.
The necessity for an offline session can be circumvented through the configuration of a Service Account.
OIDC Customizable configuration
If you want to configure custom Google OIDC authentication, you must first configure Google Client registration and then use it for the authentication provider in SAFEQ Cloud.
-
Go to OAuth Consent configuration.
-
Select a Project or create a new one
-
If this is your first OAuth integration, select Internal or External, enter contact information and click Create
-
Configure a name for your login app and a user support email address
-
In Authorized domains add the domains who are allowed to log in to SAFEQ Cloud
-
Save to continue to the Data Access section
-
Click on Add or remove scopes and add the .../auth/userinfo.profile and the openid scopes
-
Save, review the summary of your changes and finish
Configure a new OAuth Client ID
-
Go to Clients section
-
Click on Create Client
-
Select Web Application in the Application Type drop down menu, and enter an identifying name for your app
-
Fill Authorized redirect URIs according to your domain:
-
https://{domain}/callback/oidc-login
-
https://{domain}:8443/callback/oidc-login
-
-
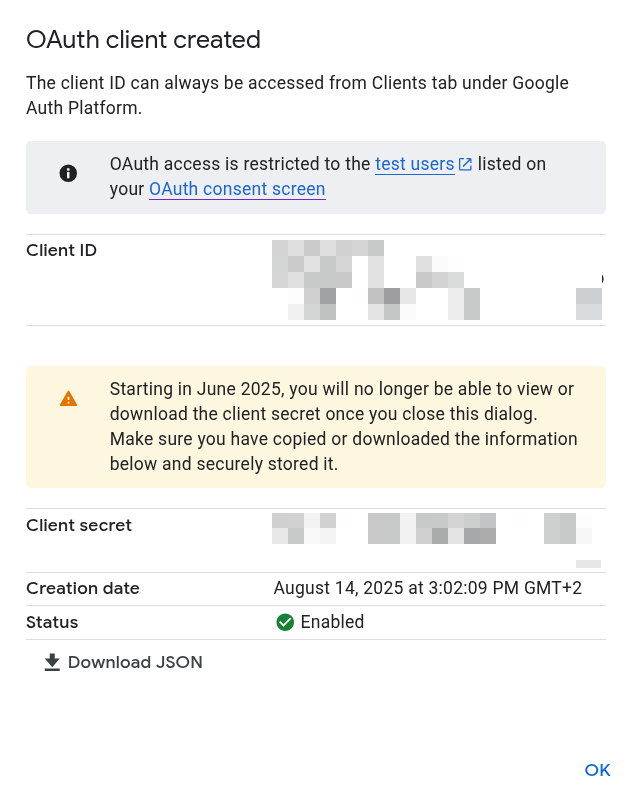
Note the Client ID and Secret
Enable Admin SDK API and Cloud Identity API for your project
If service account is disabled, SAFEQ Cloud will use the Admin SDK API to retrieve info about groups and users and Cloud Identity API to synchronize user group memberships upon login
This API needs to be enabled in the Project where the Client is defined.
-
Navigate to APIs & Services dashboard
-
Make sure the correct Project is selected
-
Click Enable APIs and Services
-
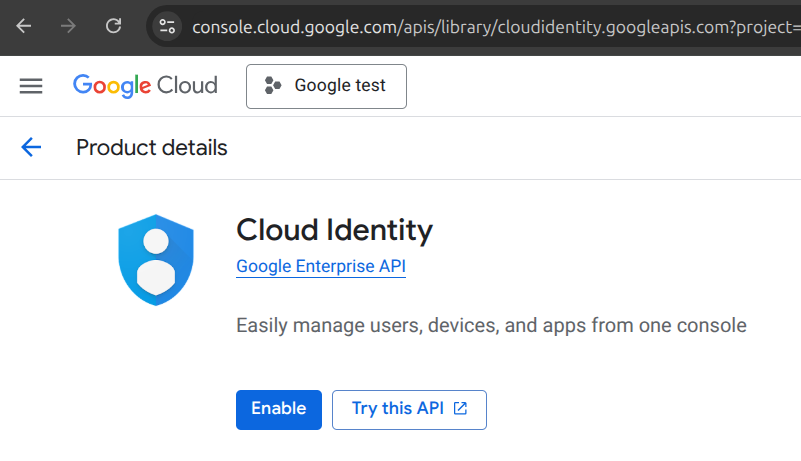
Locate Cloud Identity API, i.e. using the search box, and Enable it
-
Similarly locate Admin SDK API and Enable it also.

Failure to enable the Cloud Identity API, while Service Account being disabled, will not prevent users from logging in, but their group membership will remain unsynchronized.
Failure to enable the Admin SDK API, while Service Account being disabled, will cause loading of external groups in Access Control to fail.
Next, you must create the Authentication provider in SAFEQ Cloud, which will use the app registration you just created.
Creating an Authentication provider in SAFEQ Cloud
-
Log in to SAFEQ Cloud Web UI and go to Users page and Authentication providers tab.
-
Click Add and fill in the general settings (Type, Name, Domains, Priority, and Active).
-
OIDC Authentication section – In Type drop-down list, choose Customizable and fill in the fields accordingly:
-
Client ID – The ID of the registered Google Client you created in previous steps.
-
Client secret – The secret value you created for the registered Google Client in previous steps.
-
Hosted Domain – May optionally be filled to streamline the login experience by prefilling the domain part of the login
-
Use Google Identity - Whether to load user group membership using Cloud Identity API. This setting has no effect if Service Account authentication is enabled.
-
Callback domain for custom application – Select from the list of available domains the one that you defined in Google Client registration as Redirect URI in previous steps, e.g. print.acme.com .
-
Custom token claim names – Click Show to change the mapping between the ID token and Google user attributes, such as username, name, and email.
-
Hide on Login Page – Enable this option to hide the Google button on the SAFEQ Cloud Cloud login page. Otherwise the name displayed on the button is taken from the Name field.
Example:
-
-
Service account authentication section: Enable the Active toggle if you wish to use service account together with OIDC. See the Service account authentication section of this page.
-
Click Save.
-
Google users can now log in to SAFEQ Cloud.
Every user logged in via this provider will have the Authenticated Users group assigned. You can use this group to manage access controls.
Other groups are also synchronized with Google, using Admin SDK API and Cloud Identity API (only without Service Account).
See Access Control.
Upon each user login, explicit consent to the Google application is required. This protocol is mandated by Google to enable SAFEQ Cloud to sustain an offline session. This ensures that the user's account remains synchronized, even when authentication methods such as card, PIN, or other non-Google-redirecting processes are utilized for accessing SAFEQ Cloud.
The necessity for an offline session can be circumvented through the configuration of a Service Account.
Service account authentication
Service account with domain-wide delegation may optionally be configured. This reduces the number of prompts the users have to confirm upon login.
-
Follow the steps in Google documentation: https://developers.google.com/identity/protocols/oauth2/service-account#creatinganaccount .
-
As part of the key creation process, a private key is generated as a JSON file. Save it in your PC. You will need to copy its content into Secret JSON file content form field.
-
Delegate the service account that you have created for domain-wide authority. Follow the steps from Google documentation: https://developers.google.com/identity/protocols/oauth2/service-account#delegatingauthority .
-
You will need the following scopes for SAFEQ Cloud communication:
-
In the Google Workspace authentication provider form creation, enter the account name that has a super admin role (not service account name!) and paste the content of the JSON file you saved before. Make sure that the JSON file content is wrapped in curly braces { } when you paste it. Click Test to make sure it is working. You can also serialize JSON and paste it as a solid string in between { }.
This approach requires using admin account for service account to impersonate, the possible actions for this impersonation are limited by the scopes you entered for the domain-wide delegation. For more information, see this article by Google.
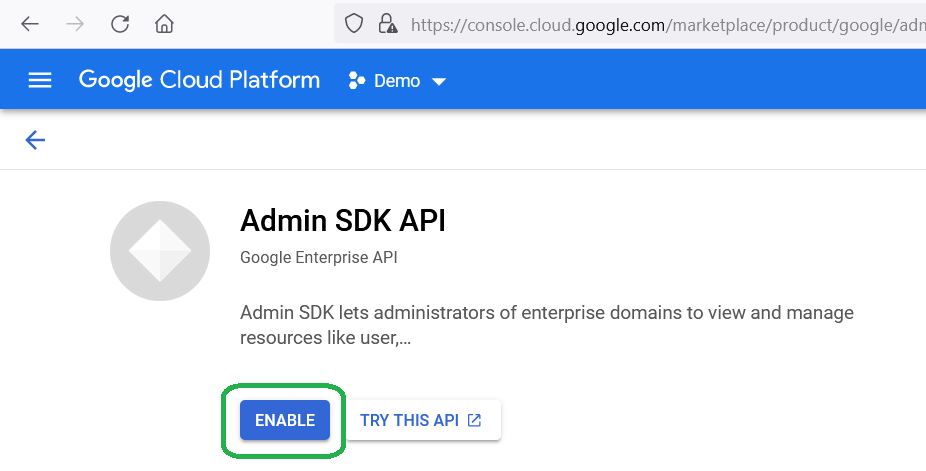
Check if Admin SDK API is enabled for your project, and if it’s not, enable it: choose your project and type in the search line “admin sdk”
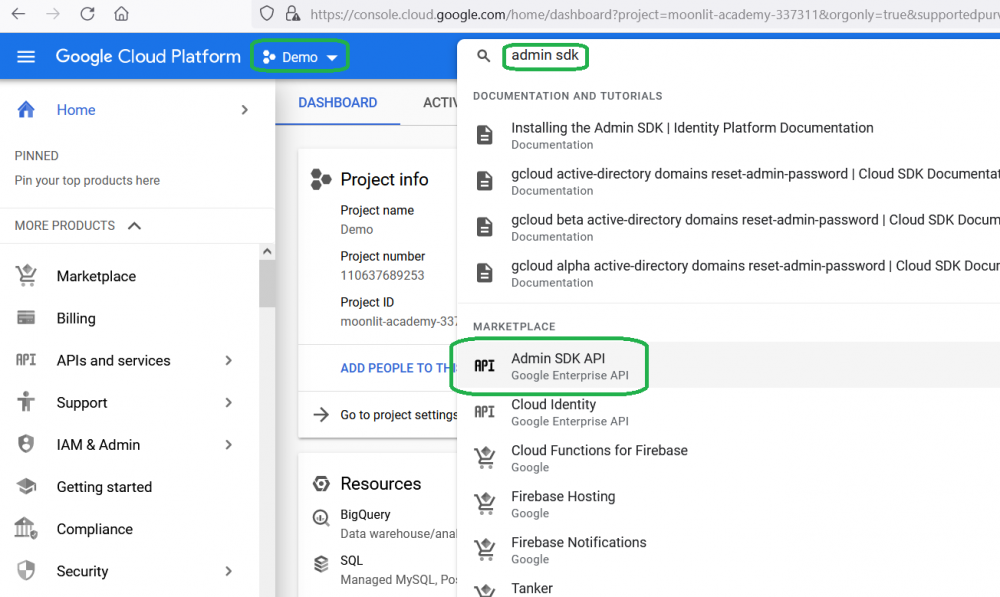
if it is disabled, click Enable button
-
Click Save.
Comparison
If you are still unsure what method to use, here’s a quick comparison
|
Feature |
OIDC Built-In |
OIDC Customizable |
OIDC (Built-in or Customizable)+ Service Account |
|---|---|---|---|
|
Difficulty to setup |
Easiest |
Harder |
Hardest |
|
Screens to login |
Google requires confirmation of several screens on every login |
Mostly invisible |
|
|
Customizable (application name, logo, …) |
No |
Yes |
N/A |
|
Scope of access |
Each user gives consent individually |
SAFEQ Cloud has read-only access to users and groups in Google Workspace |
|
|
User groups usable for Access Control |
Yes |
Depends on Use Cloud Identity settings |
Yes |
|
Synchronization of departments |
No |
Yes |
|
|
Synchronization of cards and pins |
No |
||