
The feature is under KmIwsDeviceLocking feature flag and under beta program. If interested, please register at https://www.ysoft.com/safeq/beta-testing.
Prerequisites
-
i-Series MFD
-
IWS Service platform is not supported on older device generations
-
-
MFD Network Configuration set up as follows:
|
Settings |
Value |
Description |
|---|---|---|
|
Network → TCP/IP Setting → Quick IP Filtering |
No Filtering |
This value allows the terminal to communicate with cloud services. |
|
Network → IWS Settings |
Enable IWS Settings |
|
|
Network → OpenAPI Setting → OpenAPI Setting → SSL Port Settings |
SSL Only |
|
|
Network → TCP Socket Setting → TCP Socket Setting |
Enable Use SSL/TLS |
|
|
Network → WebDav Server Settings → SSL Settings |
SSL/Non-SSL |
This value allows IWS Service platform application to work |
-
License with a KmIwsDeviceLocking feature flag enabled
-
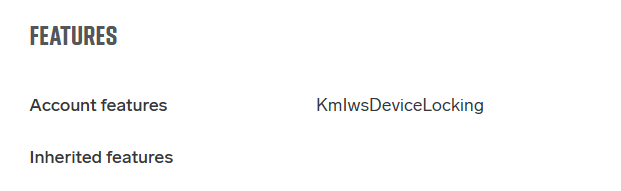
You can verify whether the feature is enabled by opening the Web UI (Settings → Customer account → License) and scrolling down to Features section. The feature flag must be listed under either Account or Inherited Features.
-
-
IWS Service platform application is installed on the MFD
-
The required application version is 1.2.1.002 or newer.
-
The application is available exclusively through the KM Marketplace. If you do not have a Marketplace account or are unable to install the IWS Service Platform application, contact your Konica Minolta printer supplier.
-
-
KM Cloud terminal is installed and configured (i.e. in a state where user can log in and release a print job)
-
A guide for installing and configuring the terminal is available here: Konica Minolta IWS Gen 2 Cloud Terminal)
-
The required terminal version is 2025.11.01 or newer. We recommend enabling automatic updates of Marketplace applications to ensure you always have the latest and most secure version.
-
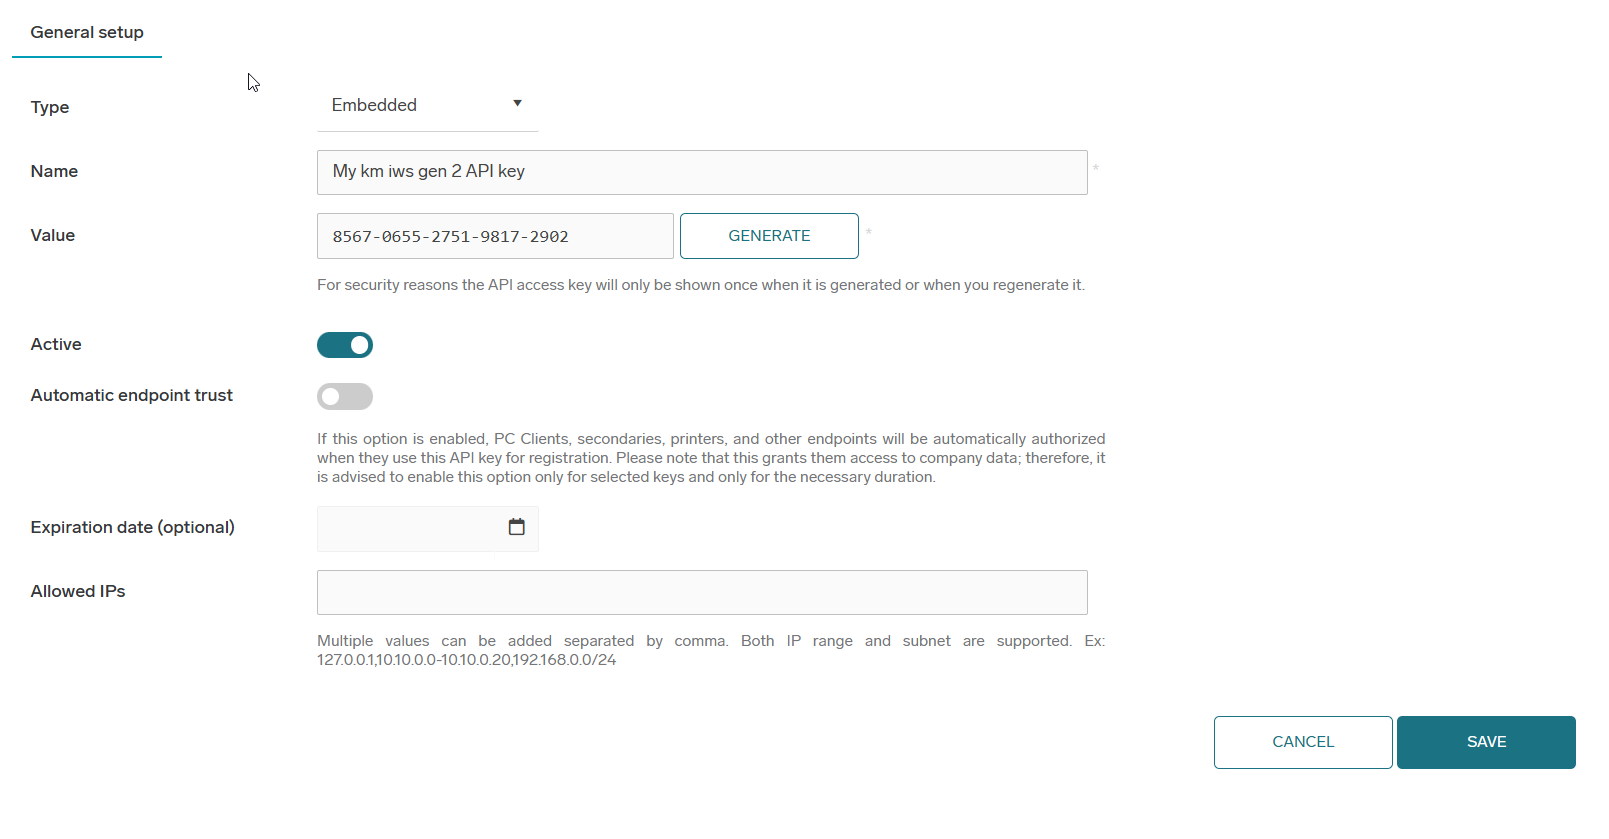
Warning: An API key of type embedded must be used when configuring the terminal. A general type API key can be used for standalone mode (operation without device locking) but is not suitable for the device locking mode. If the terminal was previously registered with a general API key, you must create an embedded API key and re-register the terminal with it before proceeding.
-
-
Valid MFD administrator password entered — without the correct password, both locking and unlocking the MFD will fail. Refer to the Setting the MFD Administrator Password section below.
Setting MFD admin password
-
There are two ways to provide the MFD administrator password
-
Both approaches can be used simultaneously in larger environments where some devices share the same password and others do not
Embedded template level
-
First option is to set the password at the Embedded terminal template level ( Printers → Embedded terminal templates → Select the desired embedded template (Default template for KM devices is Konica Minolta Cloud Terminal) → Detail icon

-
This option is best suited for environments where multiple MFDs share the same administrator password
Printer level
-
The second option is to set the password at the individual printer level ( Printers → Select the desired printer → Detail icon
-
Warning: A password set at the printer level overrides the password configured on the assigned Embedded Terminal Template
-
-
This option is recommended when printers use different administrator passwords
Installation (locking the device)
-
Ensure all prerequisites are met
-
Open the details of the IWS Gen 2 Embedded Terminal Template, for which you want to enable device locking (all devices assigned to this template will be affected) ( Printers → Embedded terminal templates → Select the desired embedded template → Detail icon
-
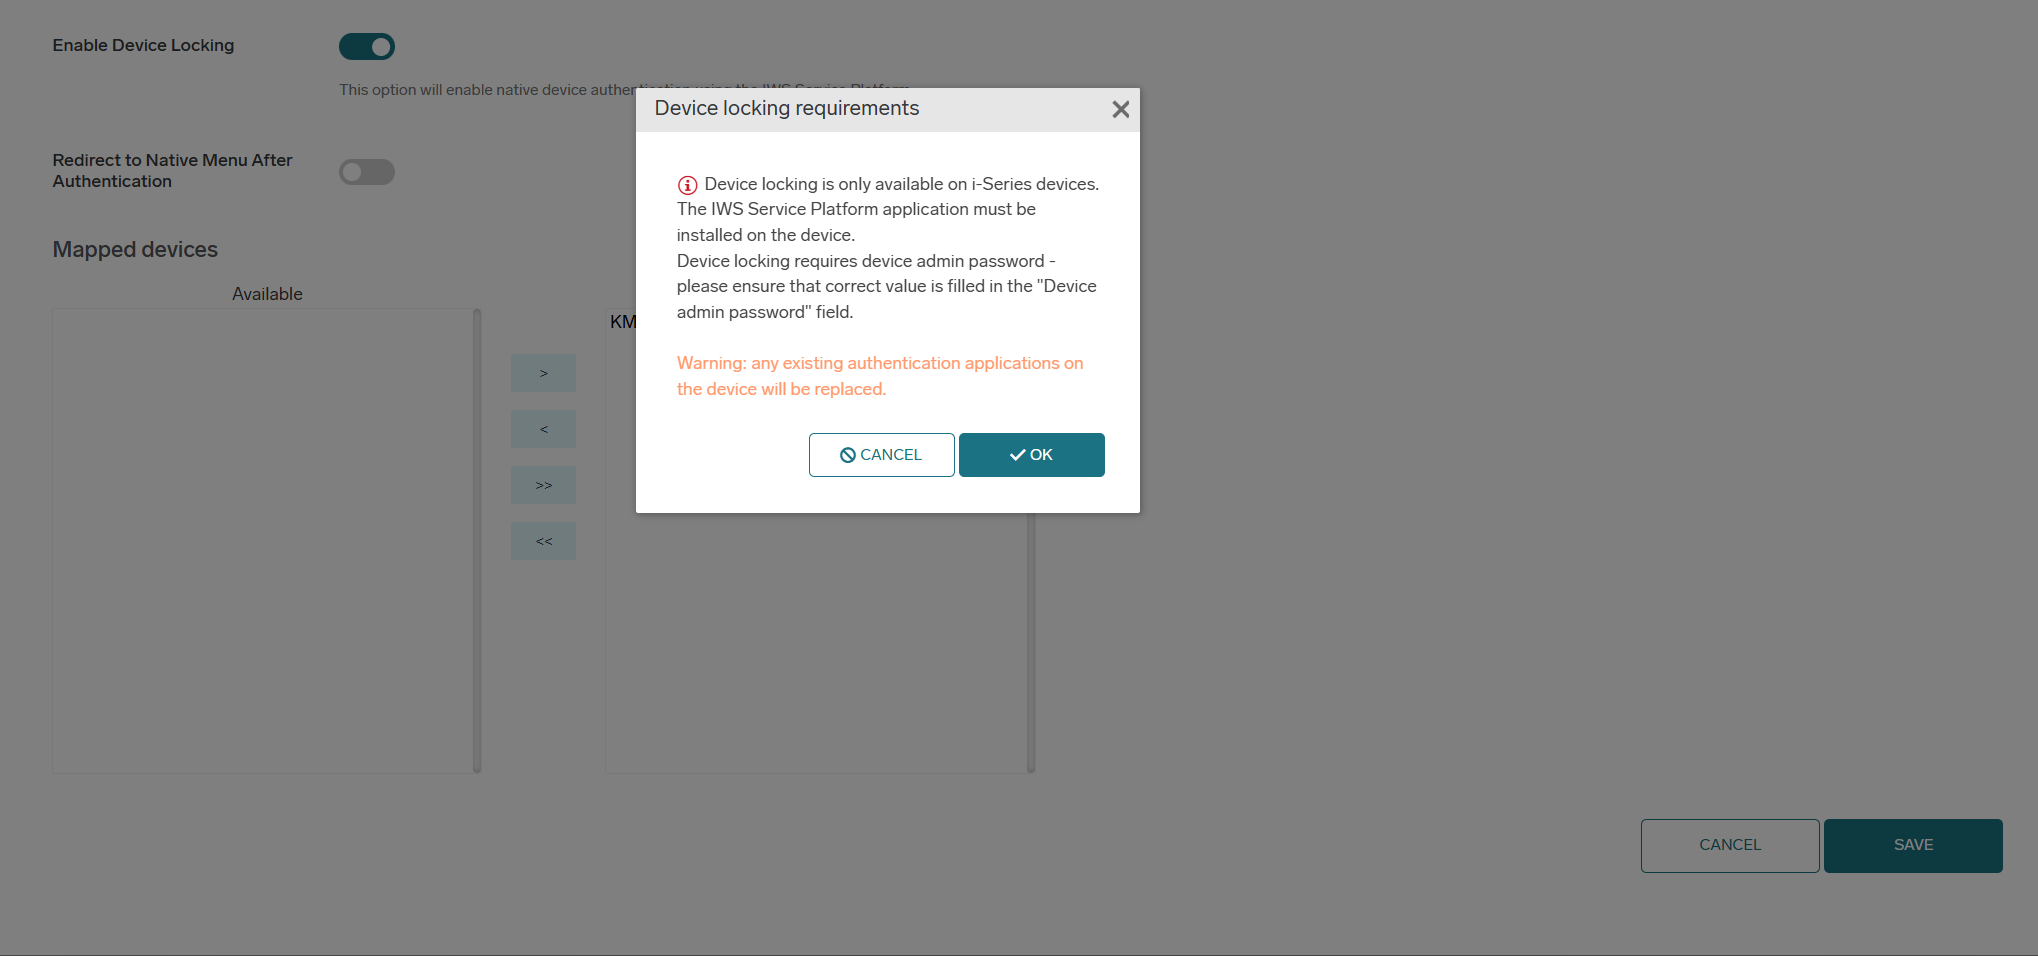
Locate the Enable Device Locking option, set it to Enabled, and confirm the requirements prompt
-
Warning: If another authentication application is already present on the device, it will be replaced
-
If this option is not visible, make sure that Vendor is set to Konica Minolta and Application Type is set to IWS Gen 2
-
-
All devices assigned to this terminal embedded template must now launch the IWS terminal application to process the changes
-
Until the terminal application is launched, the device will not be locked. The terminal remains fully functional and can continue operating in standalone mode
-
-
Upon launching the terminal, the device shall begin the locking process. After the process completes, the authentication screen should appear
If the device did not lock, refer to the Printers page in the WebUI to identify the issue, or check the device logs
For details, see Konica Minolta IWS Gen 2 Cloud Terminal (extensive logging must be enabled during the process of terminal startup)
Uninstallation (unlocking the device)
The uninstallation process affects all devices assigned to the terminal embedded template being modified
If you want to uninstall the feature only from a subset of devices, refer to Uninstalling Just One Device from the Template and apply the procedure to the selected devices
-
Ensure all prerequisites are met
-
Warning: Ensure that the MFD administrator password for each device involved in the uninstallation is still valid (i.e. it is filled in and has not changed over time)
-
-
Access the details of the IWS Gen 2 embedded terminal template you want to modify (all devices assigned to this template will be affected) ( Printers → Embedded terminal templates → Select the desired embedded template → Detail icon
-
Locate the Enable Device Locking option, set it to Disabled
-
On all affected devices, the authentication application must be reloaded (either automatically via device autoreset or by pressing the Reset button on the bottom of the MFD display)
-
Once this is done, the device should unlock itself
-
Afterwards, the terminal application must be launched manually to allow the uninstallation process to finish and continue using the application in standalone mode.
If the device remains locked, refer to the Printers page in the WebUI to identify the issue, or review the device logs
See more in Konica Minolta IWS Gen 2 Cloud Terminal (extensive logging must be enabled during the process of terminal startup)
Unlocking just one device from the template
-
If you want to unlock only one device from the template, that device must be assigned to a different template so that disabling device locking does not affect the remaining devices
-
Open the desired printer detail and click Add new next to Embedded terminal template ( Printers → Select the desired printer → Detail icon
-
Enter a name for the new embedded template and click Save
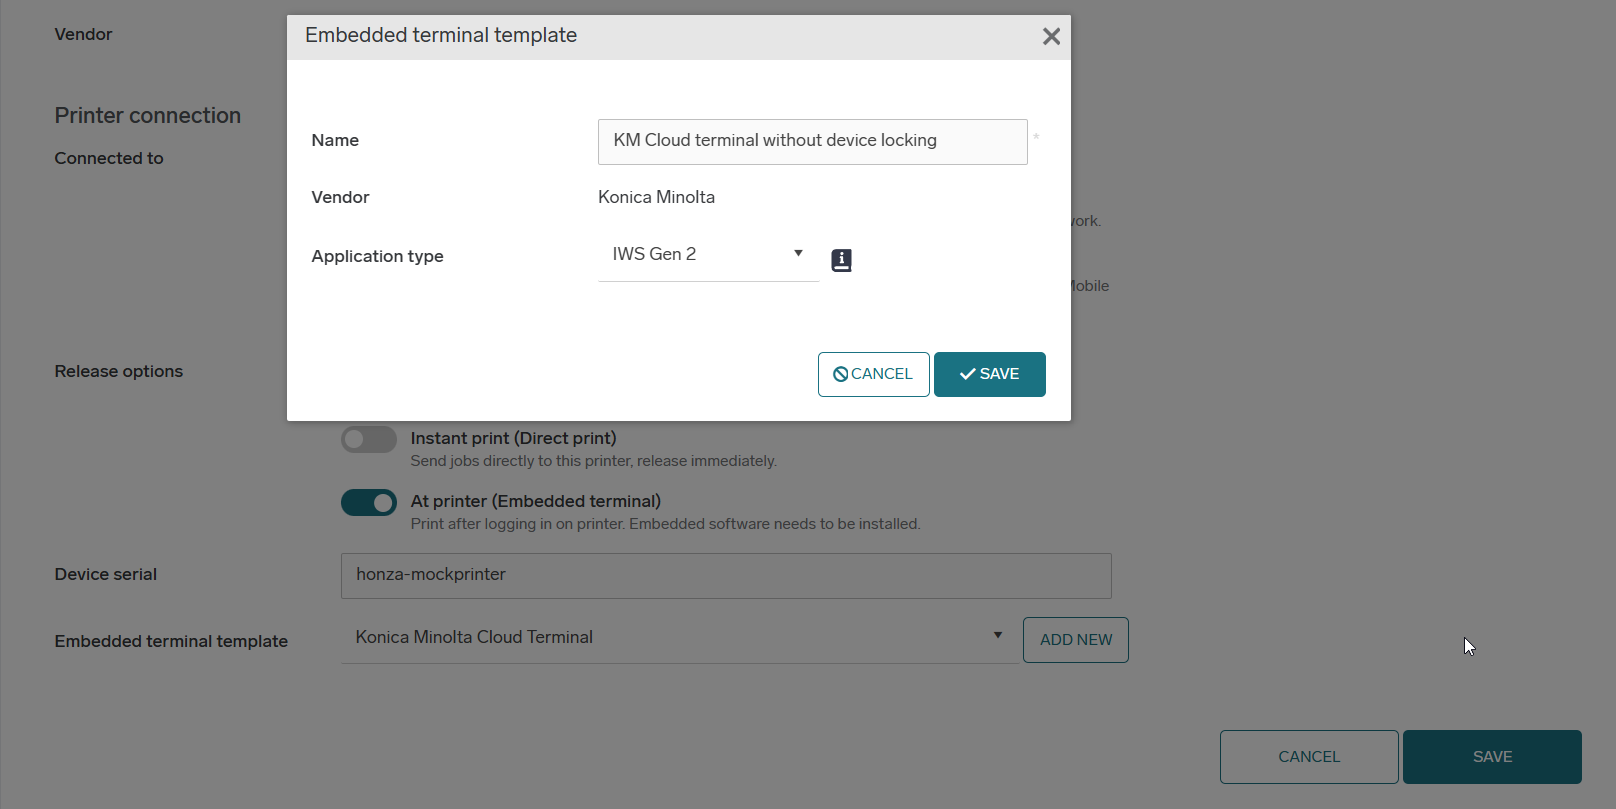
-
Then go to the detail view of the newly created template ( Printers → Embedded terminal templates → Select the desired embedded template → Detail icon
-
From this point on, the uninstallation process is the same
If you need to uninstall multiple devices from a single template, these steps need to be performed only once. For all other devices, you can simply change the embedded template in the Printer detail
Deleting printer with active authentication application
-
Deleting a printer that still has an active authentication application (i.e. the device is locked) will prevent the system from removing the authentication application and unlocking the device
-
Before removing a printer configuration from the Web UI, ensure that the authentication application has been removed and the device is unlocked- Follow the uninstallation guide above and verify that users can access the MFD’s native menu without needing to log in
-
If this situation occurs regardless, please contact your Konica Minolta printer supplier
Supported Firmware Versions
|
Model |
Required Version |
|---|---|
|
bizhub C750i |
GC4-RB or G00-RF or later |
|
bizhub C650i, C550i, C450i |
GC4-RB or G00-RF or later |
|
bizhub C360i, C300i, C250i |
GC4-RB or G00-RF or later |
|
bizhub C287i, C257i, C227i |
GC4-RB or G00-RF or later |
|
bizhub 950i, 850i |
GC4-RB or G00-RF or later |
|
bizhub 750i |
GC4-RB or G00-RF or later |
|
bizhub 650i, 550i, 450i |
GC4-RB or G00-RF or later |
|
bizhub 360i, 300i |
GC4-RB or G00-RF or later |
|
bizhub C4050i, C3350i |
GC4-RB or G00-RF or later |
|
bizhub C4000i |
GC4-RB or G00-RF or later |
|
bizhub 4750i, 4050i |
GC4-RB or G00-RF or later |
|
bizhub 4700i |
GC4-RB or G00-RF or later |
|
bizhub C751i |
GC4-RB or G00-RF or later |
|
bizhub C651i, C551i, C451i |
GC4-RB or G00-RF or later |
|
bizhub C361i, C301i, C251i |
GC4-RB or G00-RF or later |
|
bizhub 751i |
GC4-RB or G00-RF or later |
|
bizhub 651i, 551i, 451i |
GC4-RB or G00-RF or later |
|
bizhub 361i, 301i |
GC4-RB or G00-RF or later |
|
bizhub C4051i, C3351i |
GC4-RB or G00-RF or later |
|
bizhub C4001i |
GC4-RB or G00-RF or later |
|
bizhub 4751i, 4051i |
GC4-RB or G00-RF or later |
|
bizhub 4701i |
GC4-RB or G00-RF or later |
Limitations
General
-
Configuration using a secondary gateway server is not supported
-
Features that are not documented may not be supported.
Authentication
-
Card authentication is active regardless of the selected login method. It can be disabled by unplugging the card reader or turning it off in the MFD settings
-
The software logout button

-
Logging out via card and automatic logout period are also not available
-
Accounting
Printing
-
External direct print is not accounted (may change in future releases)
Scanning
-
Native scanning is always accounted as a Black & White
Printing
-
USB printing is not restricted by the USB print permission. Instead, it inherits the release job permission and the black-and-white or color print permissions accordingly